


I have not been happy with the lighting on the Mikini. It is rather dull and not a pleasant color.
I have posted a YouTube link about this light conversion as well. It is available HERE
The inspiration for using this light source was due to the posts in this thread: http://www.cnczone.com/forums/diy_di...ed_lights.html
The light is sold on eBay by user "seemmy999". I bought 4 units since the shipping was a little high, so lower "per unit" when I bought 4. The units were shipped from China, and arrived in a few weeks.
The power cord that was supplied with the lights was removed and switched it over to 3 conductor cable with 6 feet of cord. A ground wire was attached to a screw in the light housing (the original wire was 2 conductor, so no ground). Finally, a three prong plug was put on the other end of the cable.
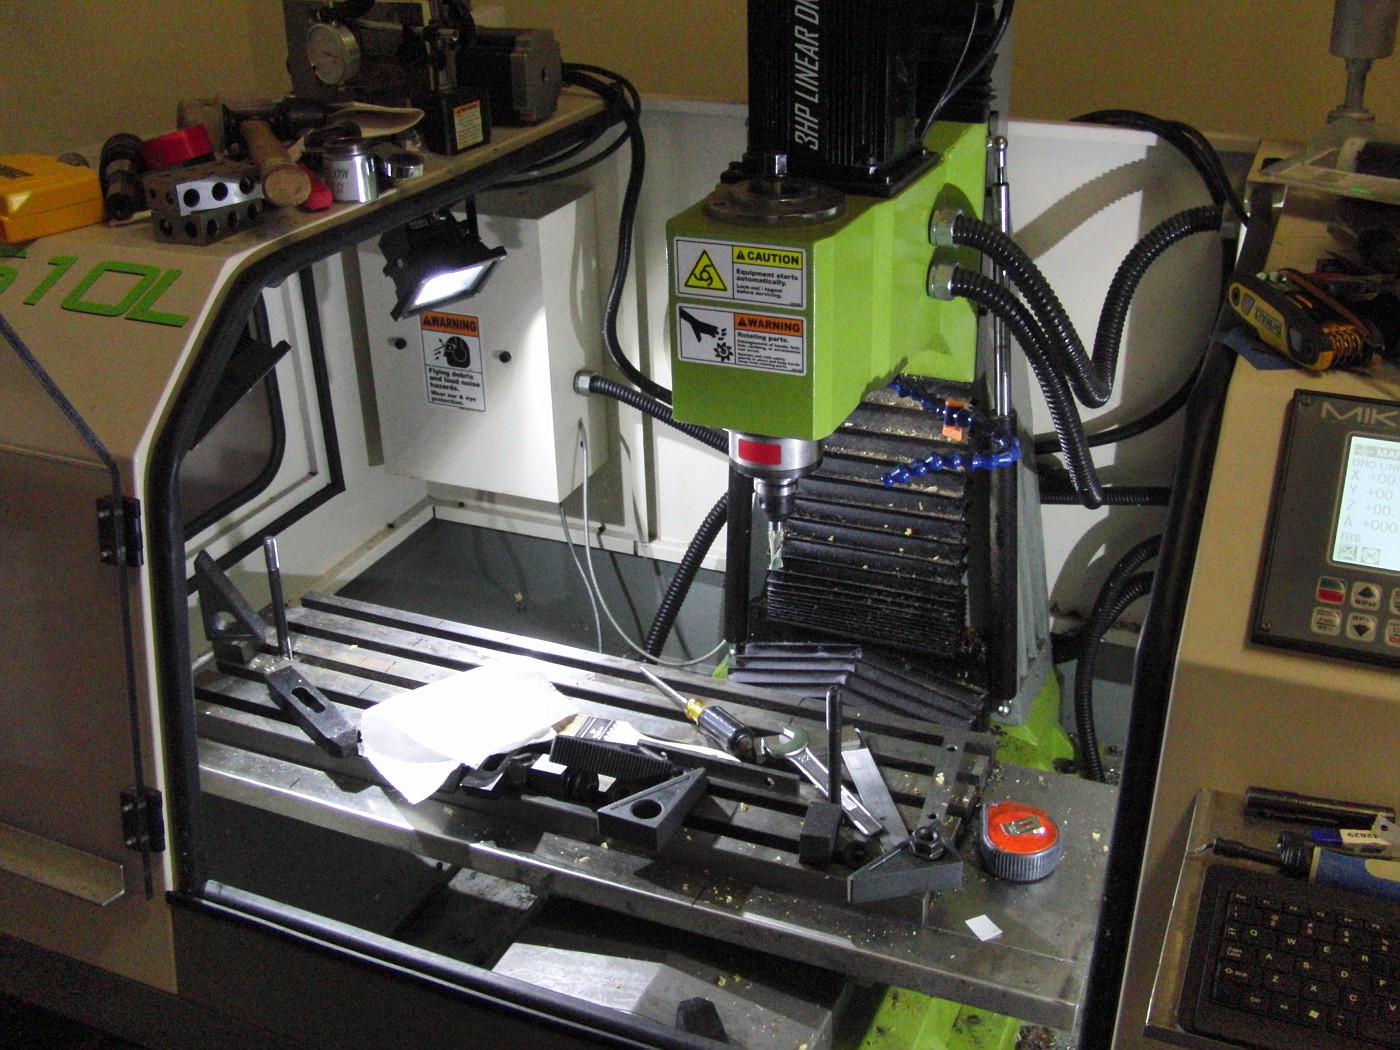
On the Mikini, I cut the cable going to the fluorescent light and unmounted the light (cable is in the area where the oiling pump sits). A three prong socket was put on to the cut cable (machine side). Next I plugged a power strip in to the new socket and double stick taped the power strip to the left side of the machine. The new lights are all plugged in to the power strip. All the lights go on and off using the original "Aux 2" button. The lighting is now MUCH brighter than it was before!
Two lights were mounted using the old fluorescent light mount on the left side, and one on the right side using a bolt that mounts one of the shelves under the keypad in place. The plan is to epoxy rare earth magnets to a fourth light, so it can be placed where needed for bright task lighting (videos, etc.).
So, here are some shots of the new and improved machine lighting:
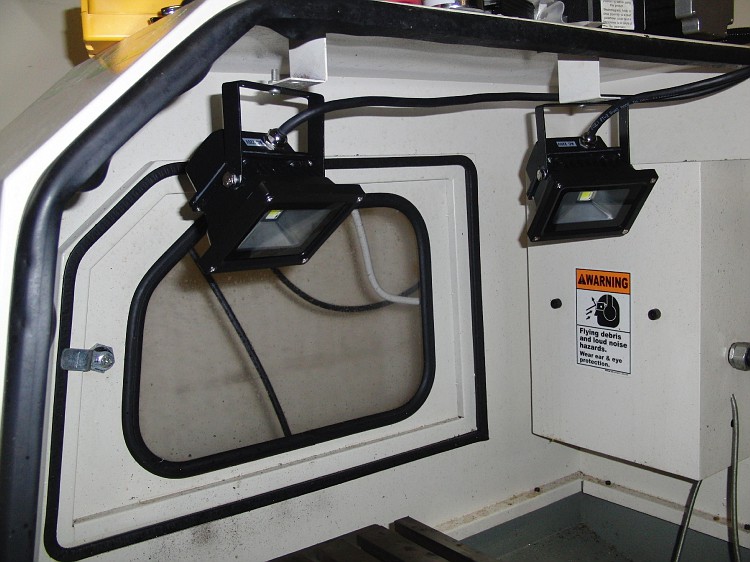
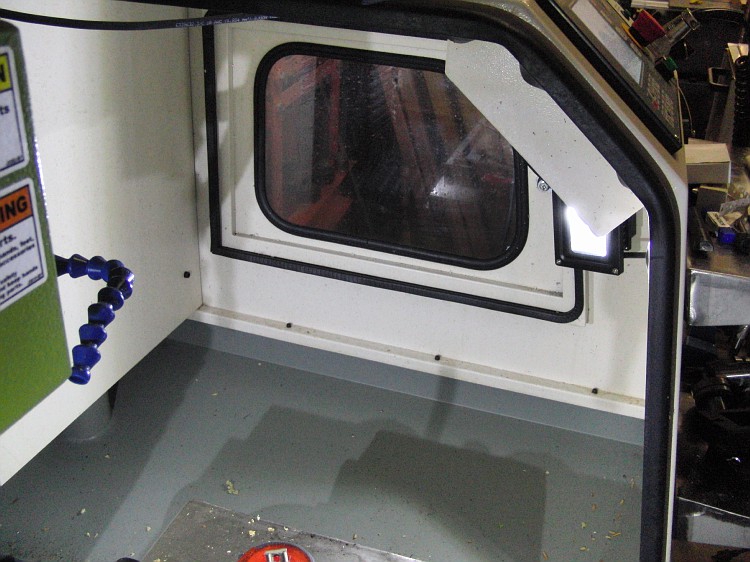
Left floods mounted:
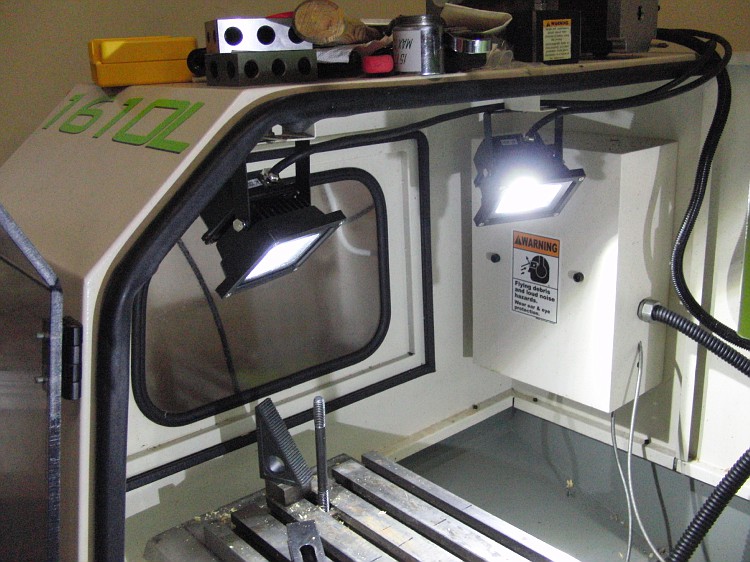
and lighted:
Right side lighting:
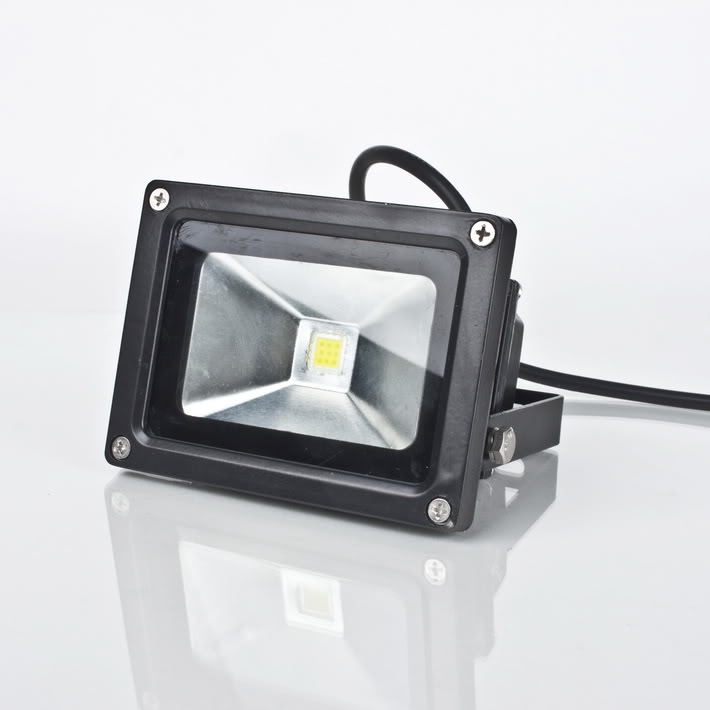
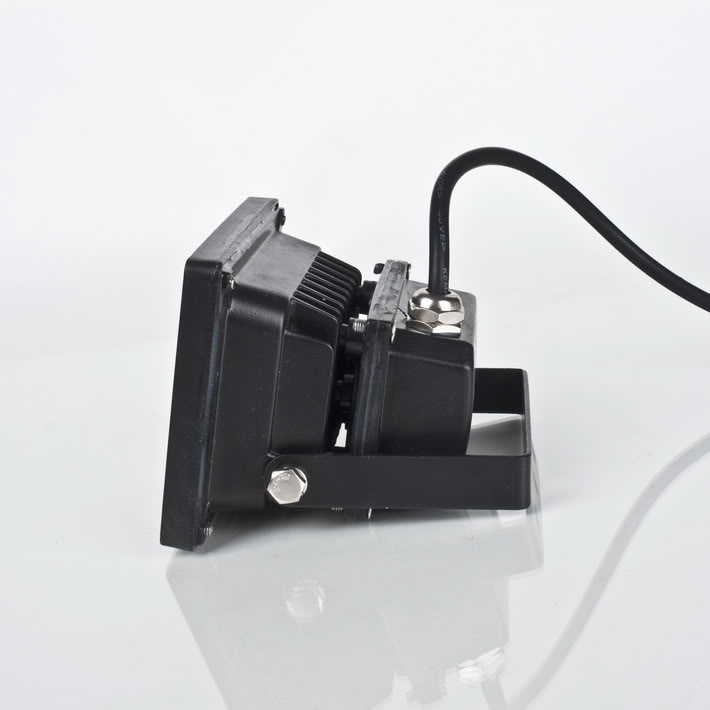
Images from the eBay listing:
A couple more pix in my Fotki: LED Lights album | mcphill | Fotki.com, photo and video sharing made easy.
Thread: Improved lighting
Results 1 to 2 of 2
-
11-28-2011, 02:10 AM #1
 Gold Member
- Join Date
- Feb 2009
- Posts
- 2143
Improved lighting
CAD, CAM, Scanning, Modelling, Machining and more. http://www.mcpii.com/3dservices.html
-
10-16-2013, 08:02 PM #2
Registered
- Join Date
- Aug 2010
- Posts
- 599
The supplied Mikini fluorescent light was literally disintegrating from coolant. I kept getting shards of the housing down in the enclosure. It was adequately bright but it was one sided. There was always a bad shadow cast on the right of everything. Anyway Viola, thanks for the idea Mike!


Sent from my SCH-I545 using Tapatalkwarmachinellc.com

 Reply With Quote
Similar Threads
-
Lighting problems
By coykiesaol in forum AutodeskReplies: 1Last Post: 11-01-2012, 12:34 PM -
Need suggestions for lighting for an X3.
By slashmaster in forum Benchtop MachinesReplies: 6Last Post: 09-27-2010, 01:51 AM -
Has solidcam improved?
By thebowman in forum SolidCAM for SolidWorks and SolidCAM for InventorReplies: 1Last Post: 09-02-2009, 08:06 AM -
Lithophane lighting
By dmparrott in forum VectricReplies: 2Last Post: 12-12-2008, 11:03 PM
