


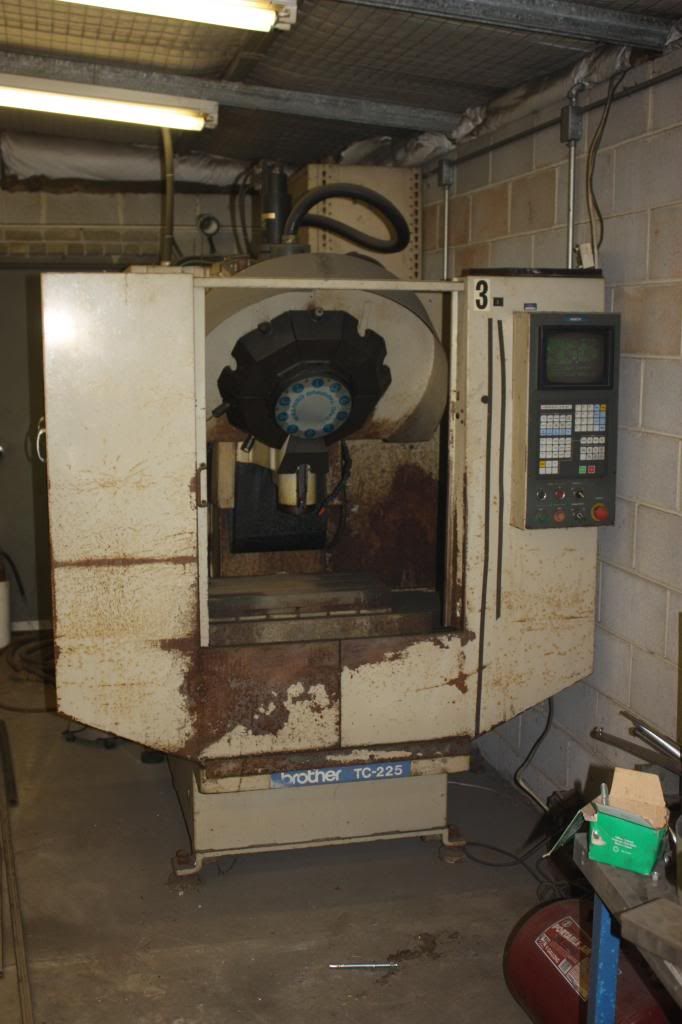
This thread will be a build log of the refurbishing and retrofit of a BROTHER TC-225 Drill Tap center.
A quick background on myself and this project, to give you an Idea of my skills, capabilities and equipment for anyone interested in doing something like this themselves.
I am 23, I have been in machining for about 4 years now, I by no means consider myself a "master machinist" or machine builder. I finished my last two years of high school at a local college going through their Drafting & Design as well as the Manufacturing Technology degrees, and realized I really enjoyed machining. I had always been mechanically inclined and enjoyed build things as a kid, so it was a logical next step. I completed both my AA's about a year after graduating high school and started working as a lab tech in the machining program at the school. I had the opportunity there to get a good amount of time on the machines (all haas CNC's some bridgeports and JET engine lathes) I also had the opportunity to do quite a bit of repair work on the equipment at the school(repairing lathe gear boxes, fixing leaks, troubleshooting CNC's, calibrating machines ECT ECT. ) For the last 3 years I have been working in industry the last 2 at a prominent custom wheel manufacture doing programing, setup and of course a good bit of repairs. I have always wanted my own CNC to tinker with prototyping parts but the high cost has always put them out of my reach.
Which brings me to where I am right now in the rebuild and retrofit of this Brother drill tap center.
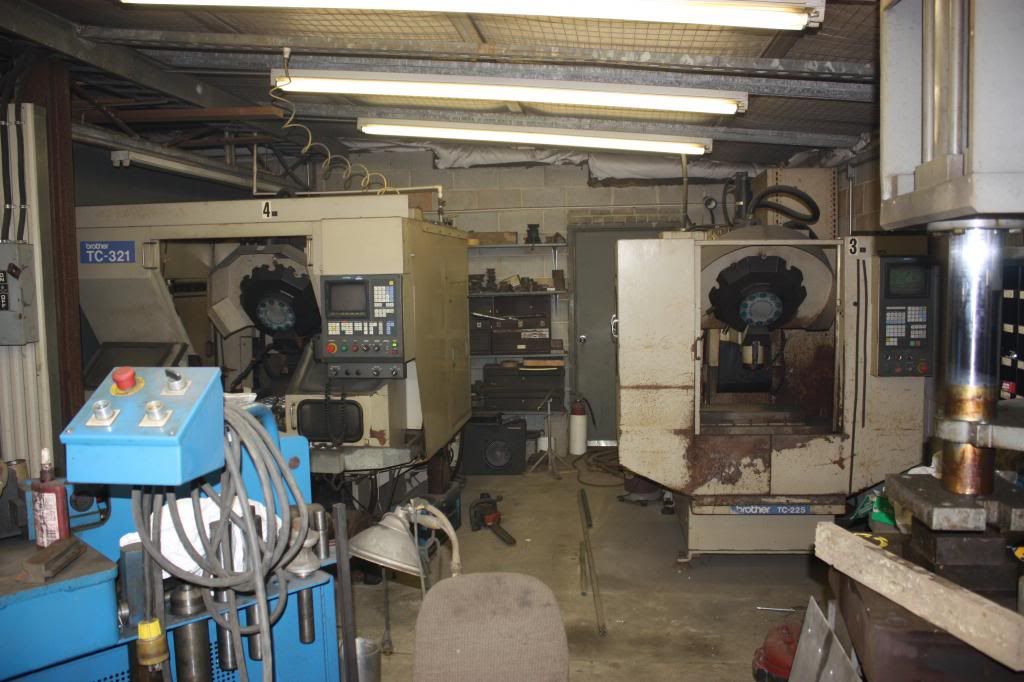
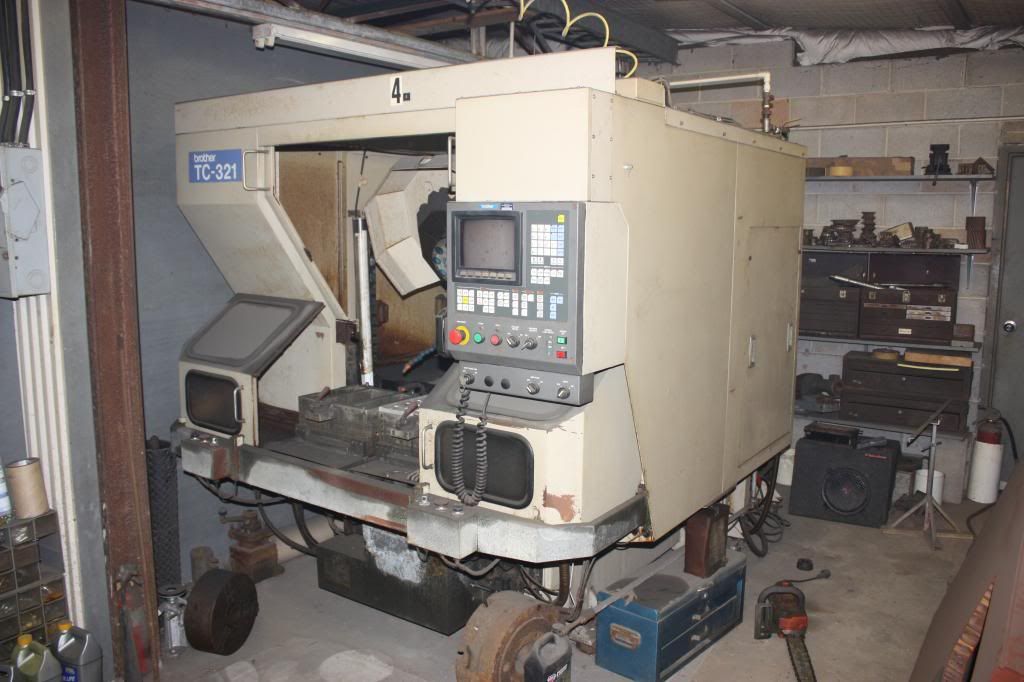
I often skimmed Craigslist for used CNCs hoping to find some out of this world steal on a small HAAS Mill or similar but It wasn't happening. by dumb luck I was browsing craigslist adds in Georgia (I live in central Florida) and came across an add for two brother CNC Mills for 5K. It sparked my interest and I started researching. I found that everyone who ran them had nothing bad to say about the mechanics of the machine, quite a few spoke highly of it, but the only downfall being that the control was an outdated conversational type that did not even support G code what so ever. After negotiating with the seller I was able to purchase the two machines for 2k both powered up and all axes and spindle sounded good and came with a few boxes of tool holders and tooling!
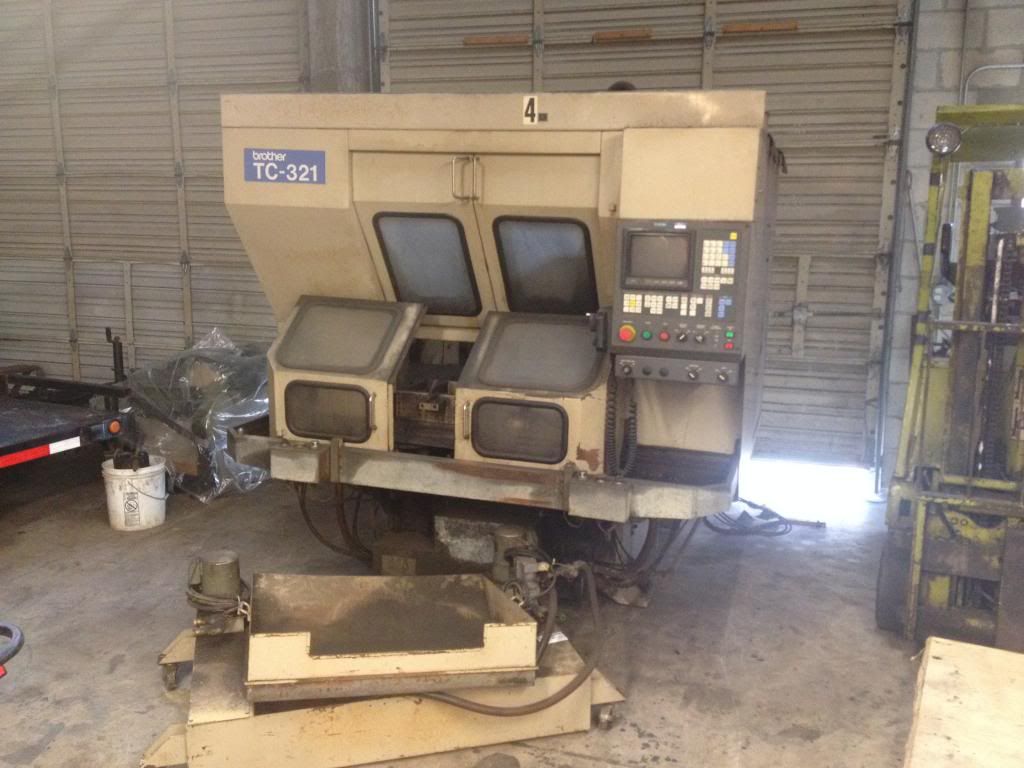
I drove up and picked up the two machines with the help a friend and his truck and trailer to what turned out to be South Carolina 800miles away one direction. Brought both machines back and sold the Brother TC-321 for 3k to a guy I lined up before the trip and recouped the cost of both machines and all my transport expenses!
Wow that ended up a lot longer than planed, sorry for the long winded background story!
So on to what you all came here for.... The Build!
My goals for this build:
-Complete tear down to the casting.
-Sand blast and refinish all painted parts including all castings
-Inspect all mechanical components of machine (linear rails, ballscrews, spindle, tool changer ect.)
-Remove and sell all electronics from machine
-Acquire all new electronics for machine (servos, drivers, controller ECT.)
-Implement automatic grease system
-Upgrade coolant system
-Reassemble and rewire machine
-Do final controller programming
-MAKE PARTS
The Machine will be retrofitted with a controller from MACHMOTION.com and be running on MACH 3 and a Motion control board from MACHMOTION.com
I Will start with the photos in the next post, and bring you all up to date with where I am at now. Hope everyone enjoys the build and I would love to hear your comments, concerns and questions!
Results 1 to 20 of 26
-
12-20-2013, 11:04 PM #1
 Registered
- Join Date
- Aug 2013
- Posts
- 76
Brother TC-225 Rebuild & Retrofit
-
12-20-2013, 11:50 PM #2
Gold Member
- Join Date
- Feb 2009
- Posts
- 6028
FWIW, the brother control is faster than a Mach based system. Those little machines could rigid tap at 6K RPM. Id try and use existing servos if it was me. They are pretty good quality. Never changed one of those all the years I was with Yamazen.
-
12-21-2013, 02:20 AM #3
Registered
- Join Date
- Aug 2013
- Posts
- 76
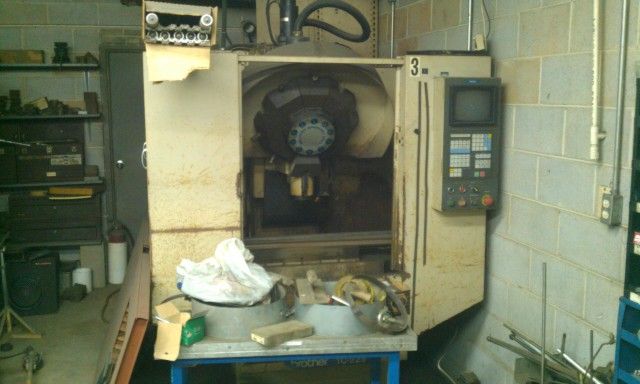
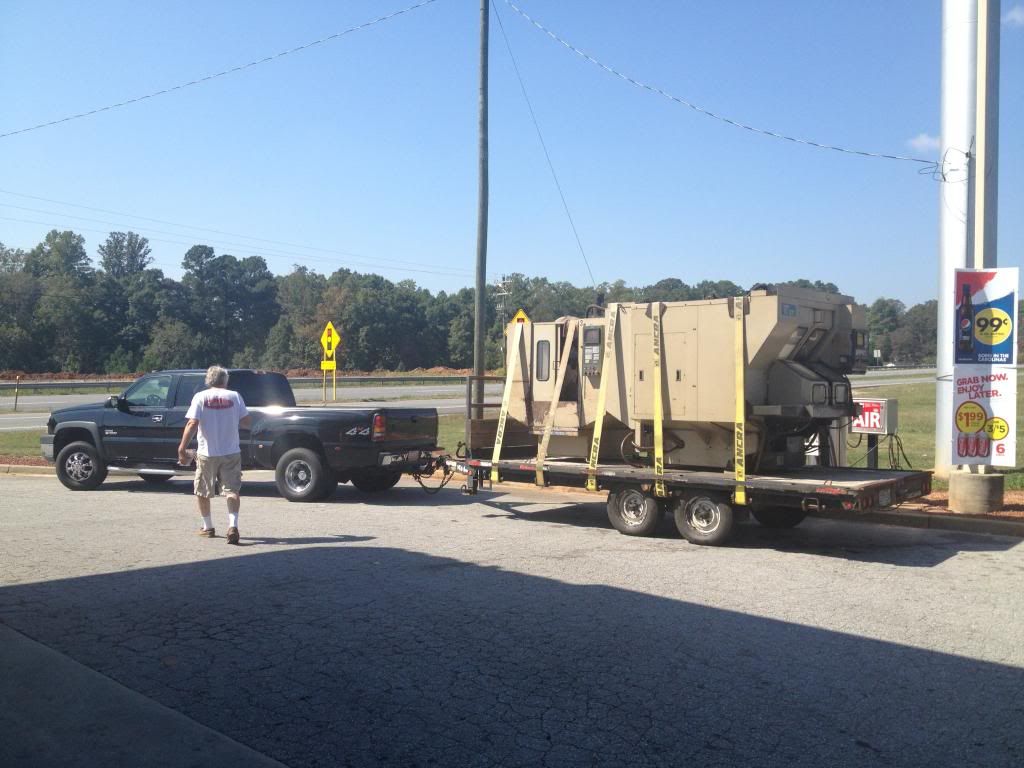
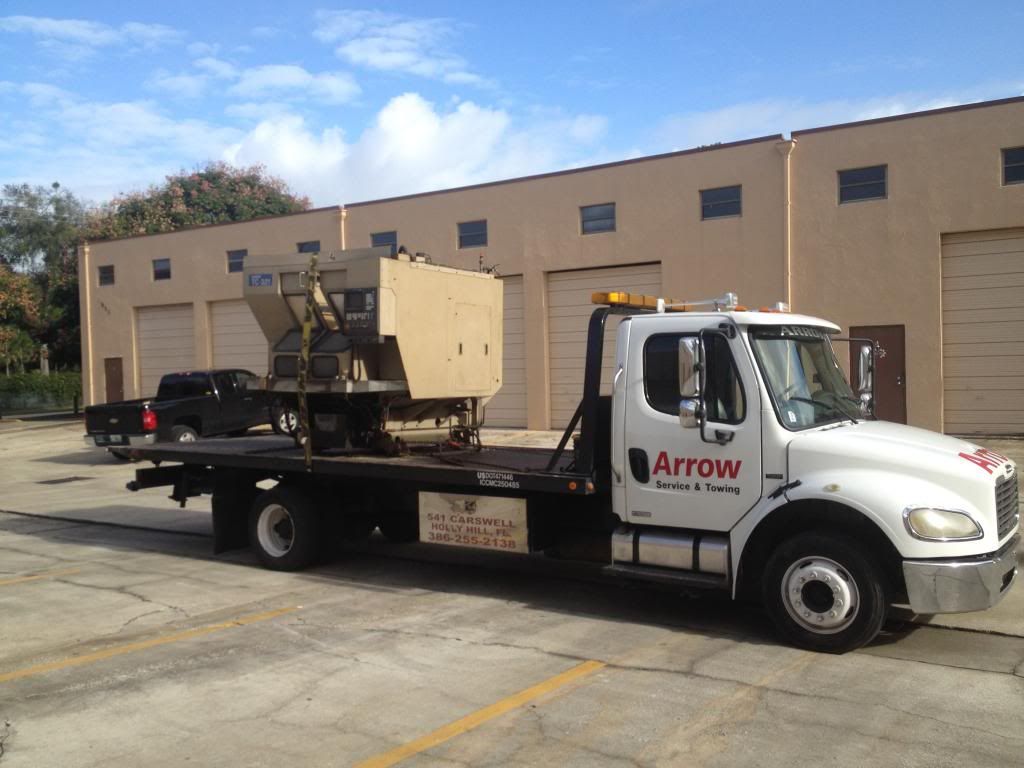
Few Photos of the machines when I went to pick them up in SC. Loaded up on the trailer. (that was extremely overloaded) and one of the 4 blowouts we had on the way home
") They definitely had some wear and tear but the important part was in good shape.
They definitely had some wear and tear but the important part was in good shape.

-
12-21-2013, 02:34 AM #4
Registered
- Join Date
- Aug 2013
- Posts
- 76
Underthetire, I don't doubt that the controller was quality if you were doing things simple enough to use the conversational control, but I plan on doing some complex 3D contour machining once its all said and done. I would love to use the servos from the machine but they are in pretty rough shape and I can not find any documentation for them and no one is able to communicate with the factory drives for them. Additionally the drives and parts were all proprietary from what I understand and are no longer supported so the only option for repairs is to send out to japan for repair or buy expensive used replacements. With the new electronics are affordable off the shelf parts. I know there will be alot of people that are not fans of MACH3 but a expensive fanuc control would cost 3 times what this machine is worth and just doesn't make sense. Running a motion control with Mach works to alleviate the non realtime issues from windows and give good quality control of motion.
-
12-21-2013, 03:20 AM #5
Registered
- Join Date
- Aug 2013
- Posts
- 76
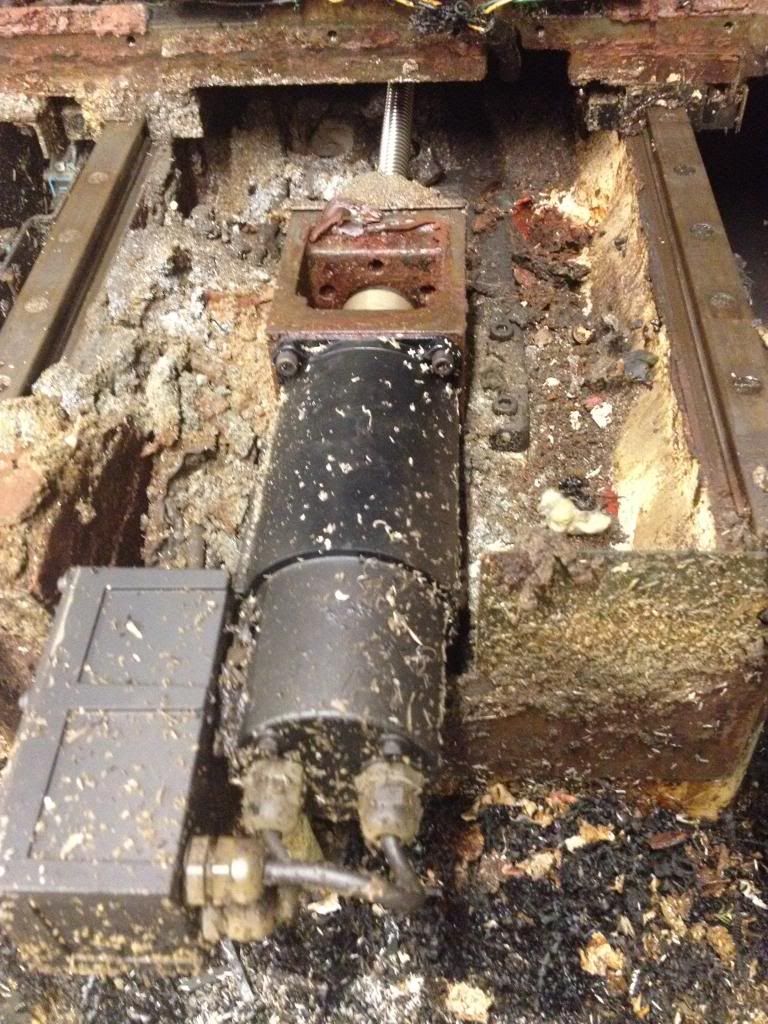
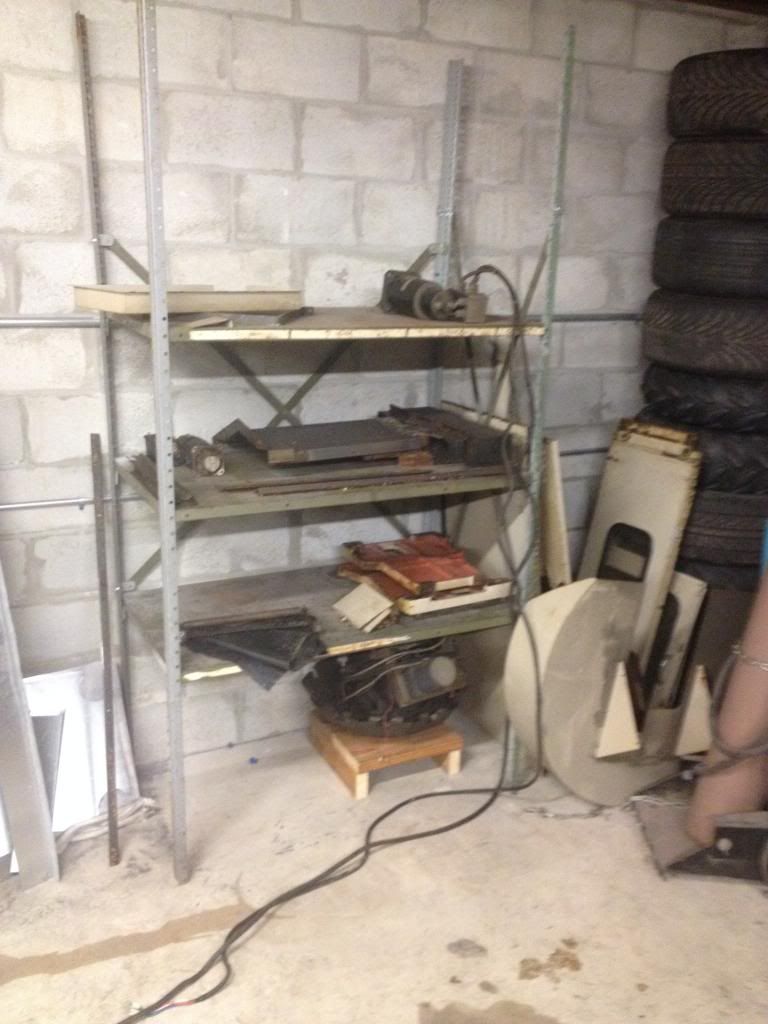
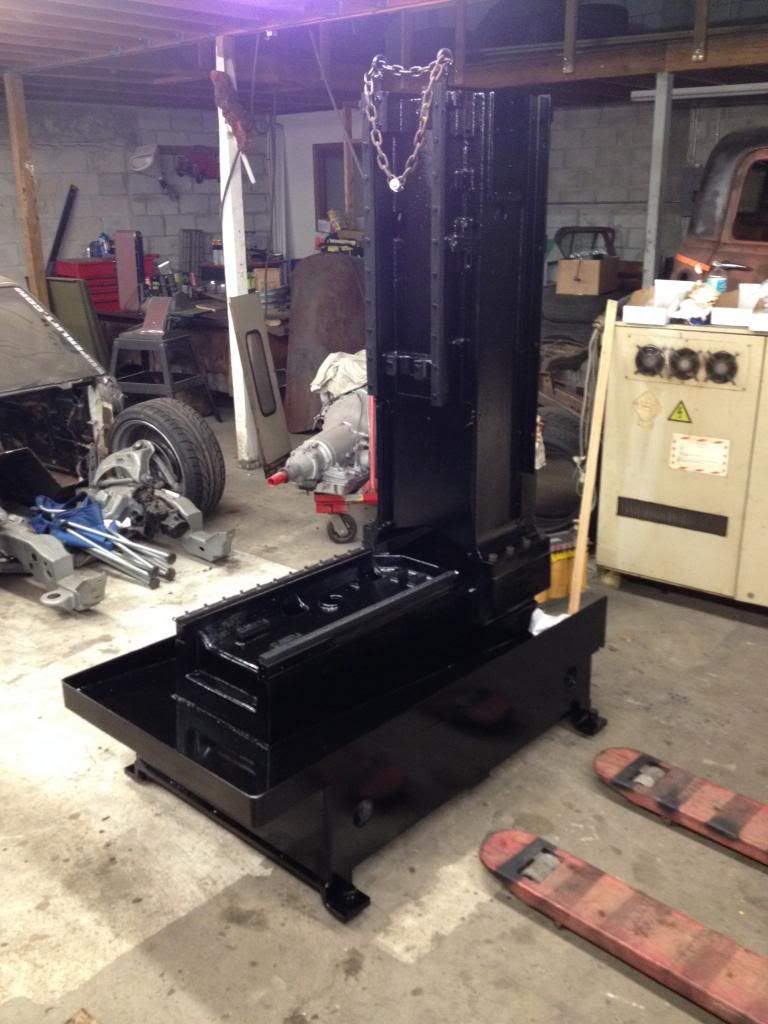
Sheet metal off on to the tear down.
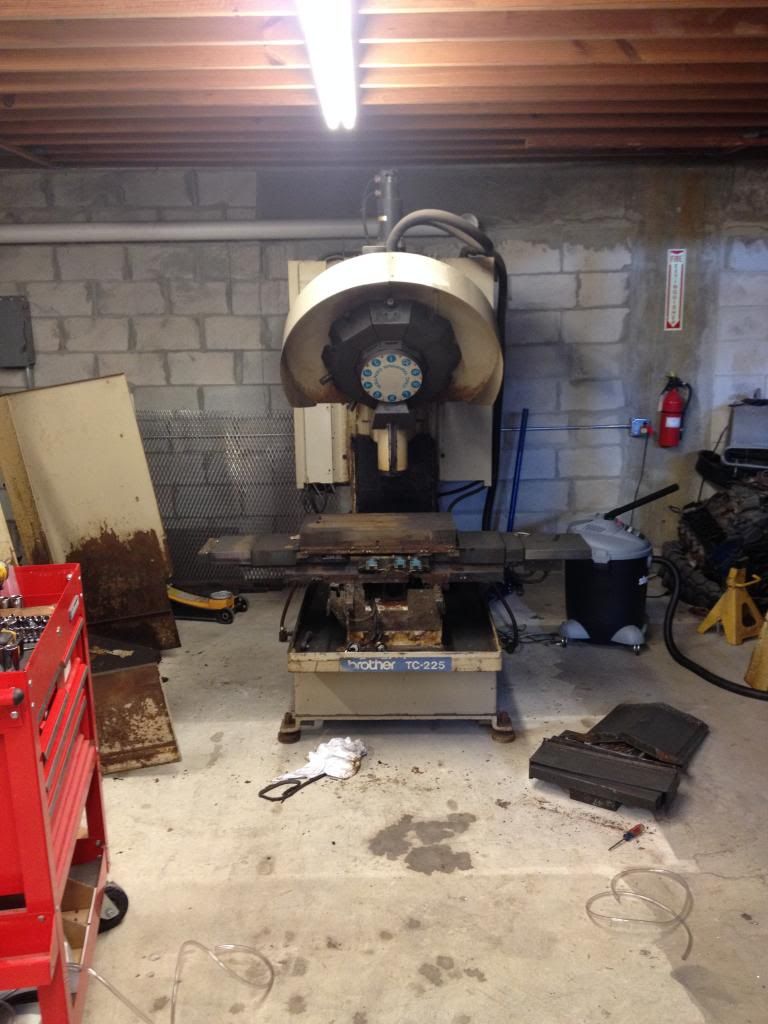
Some of the 20 years of the NASTYS under the way covers
Various states of dis-assembly
Shelf starting to fill up with parts
Preparing all the castings making blocks to cover all the sensitive parts before sand blast I think I made about 40 different individual wooden blocks
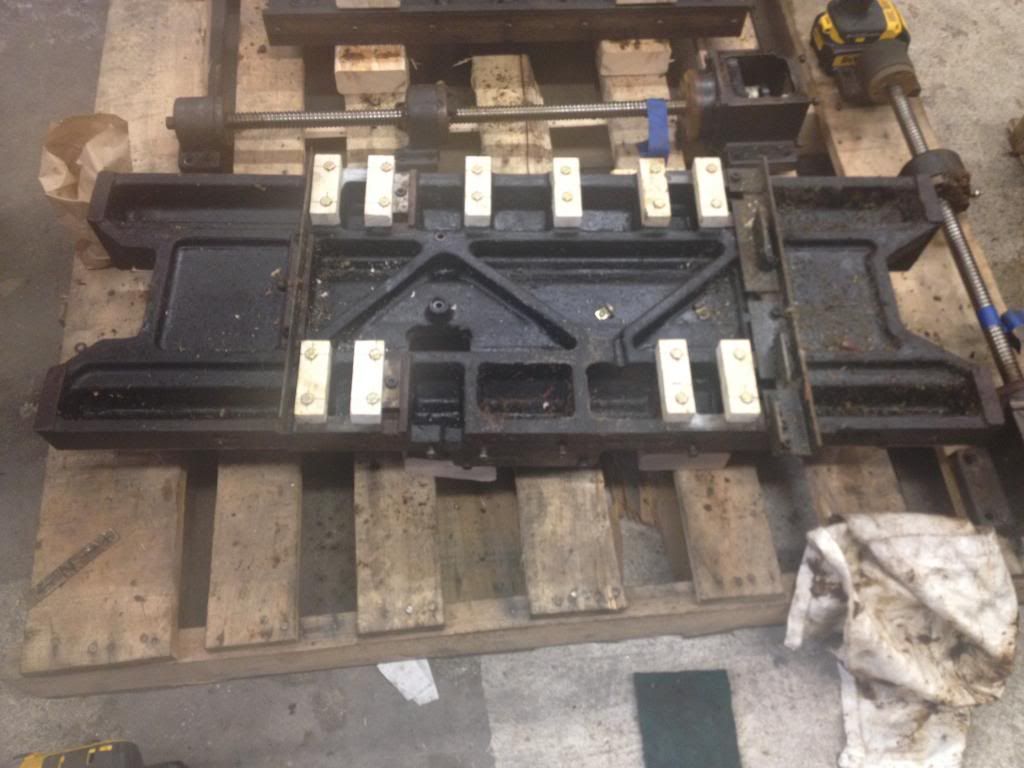
Loading up and off to sandblast the heavy stuff... fun fun

-
12-21-2013, 03:37 AM #6
Registered
- Join Date
- Aug 2013
- Posts
- 76
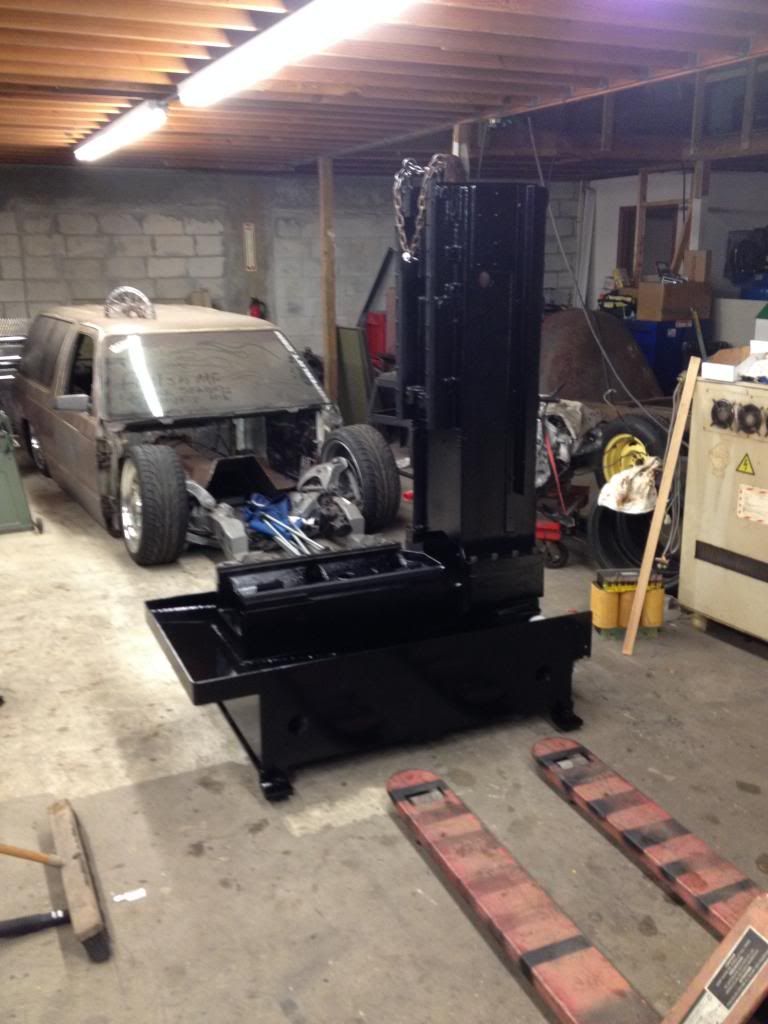
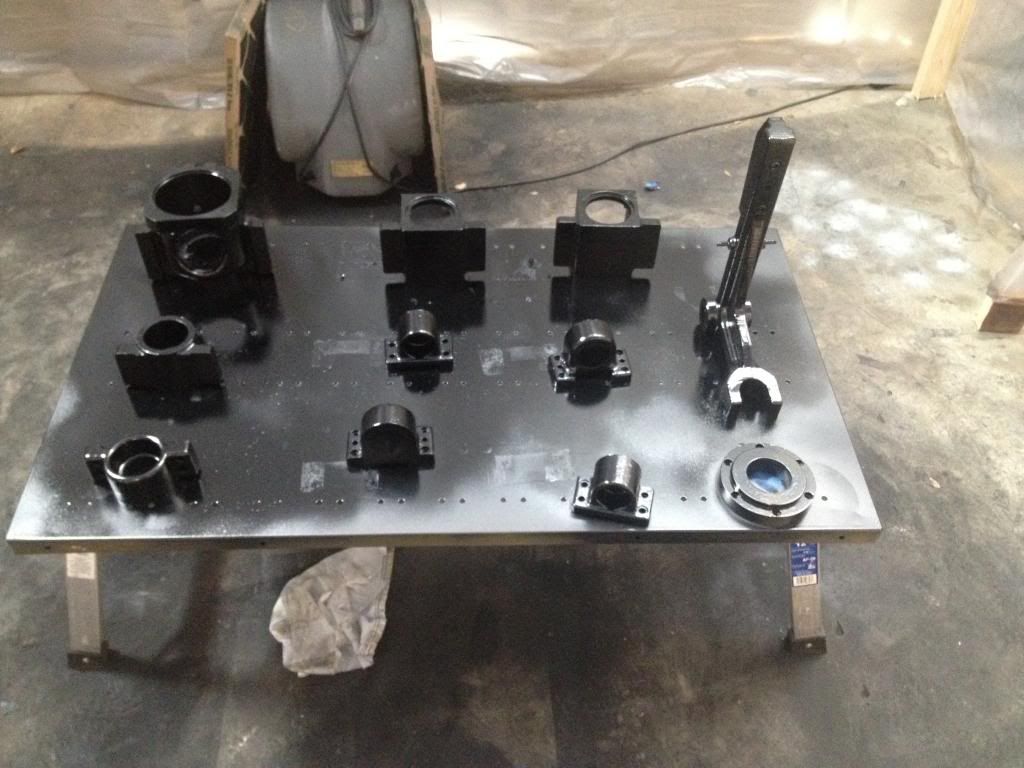
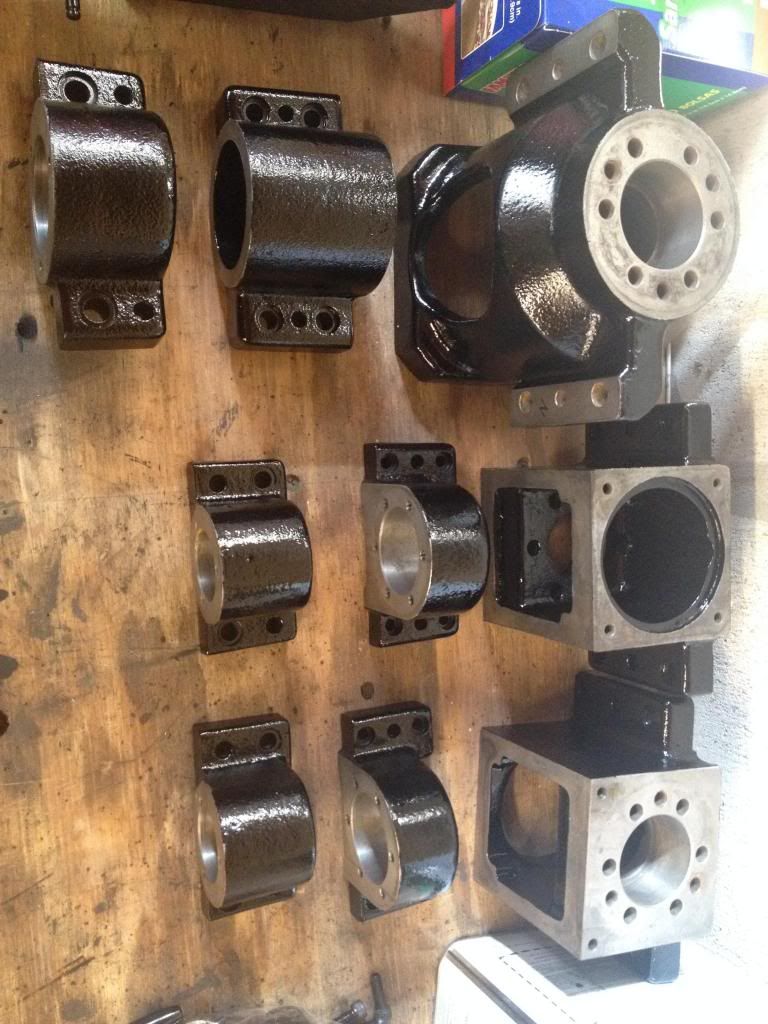
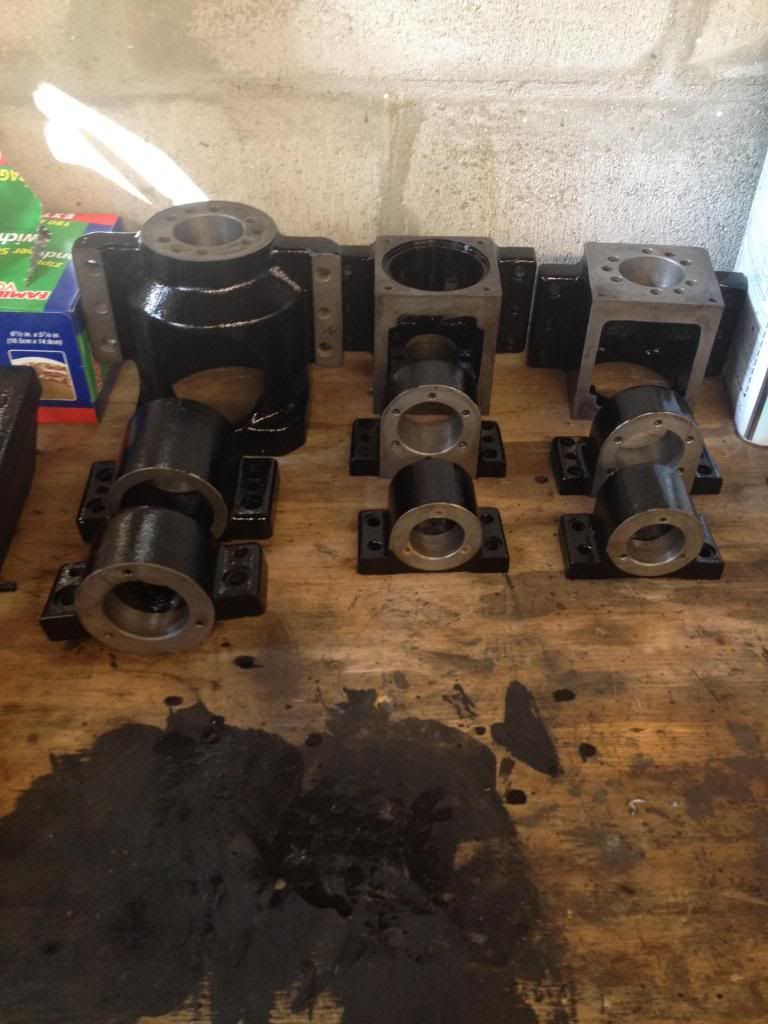
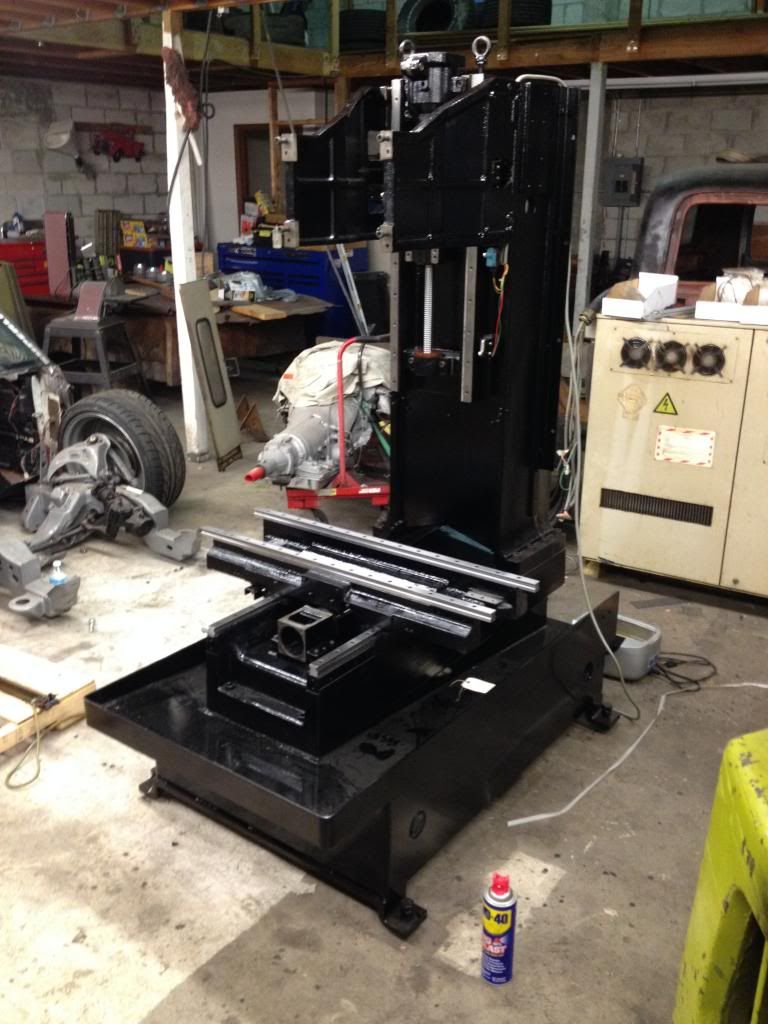
Slinging some paint and starting to bring this machine back to life.
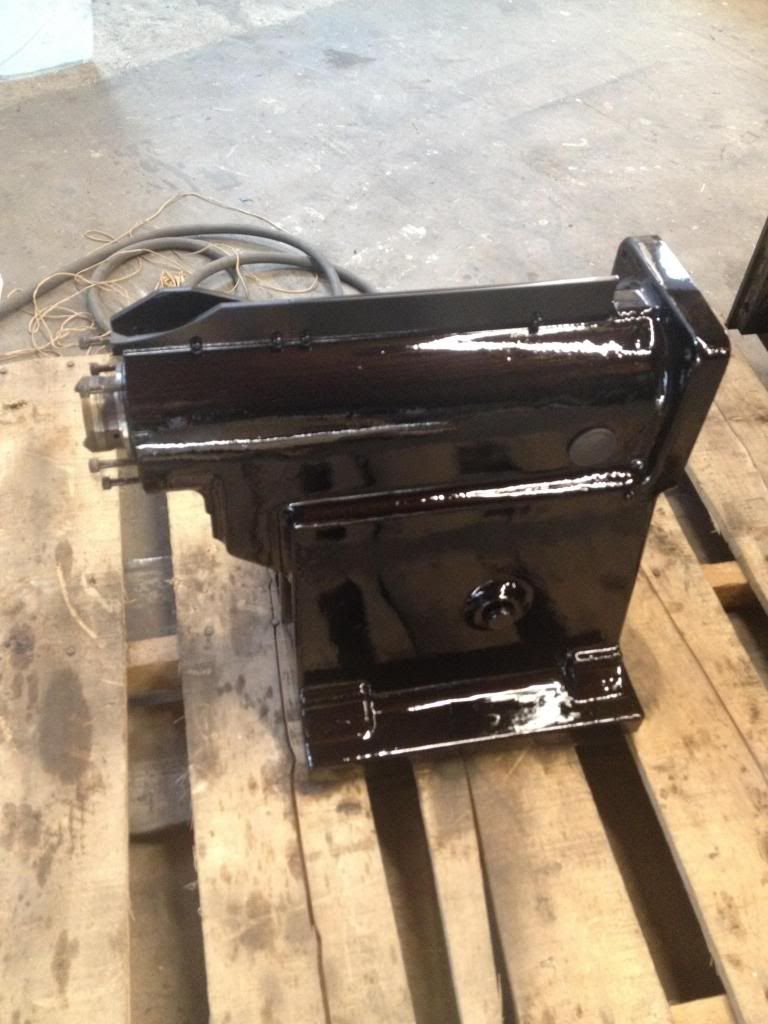

Other machine off and to its new owner
-
12-21-2013, 04:08 AM #7
Registered
- Join Date
- Aug 2013
- Posts
- 76
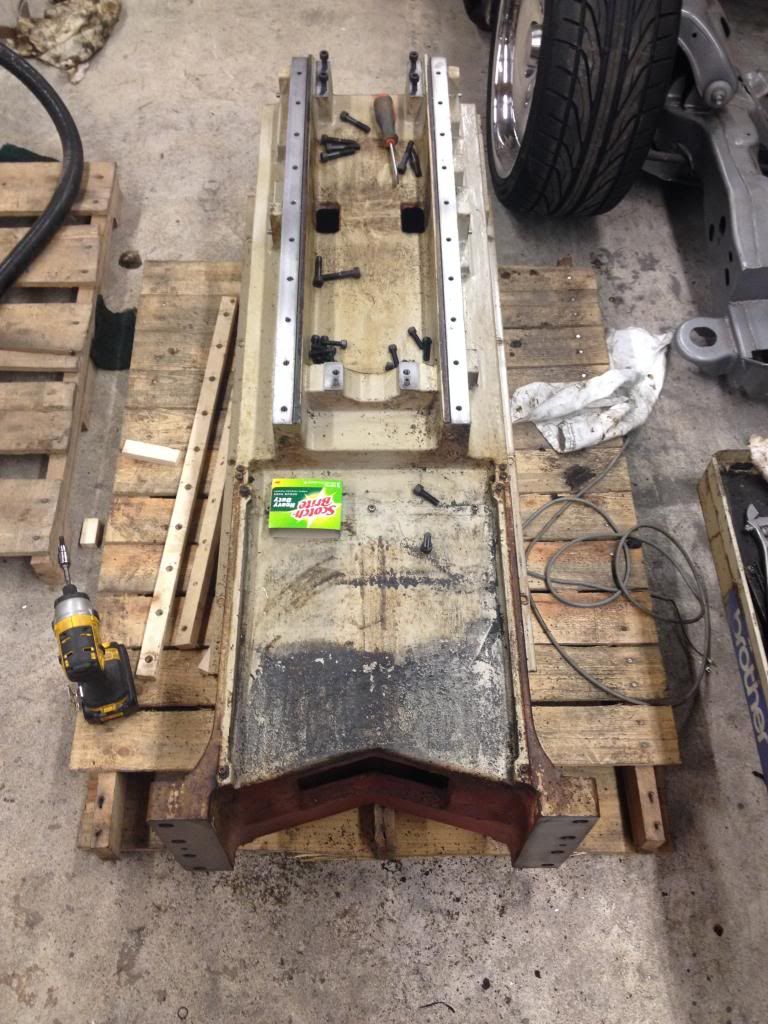
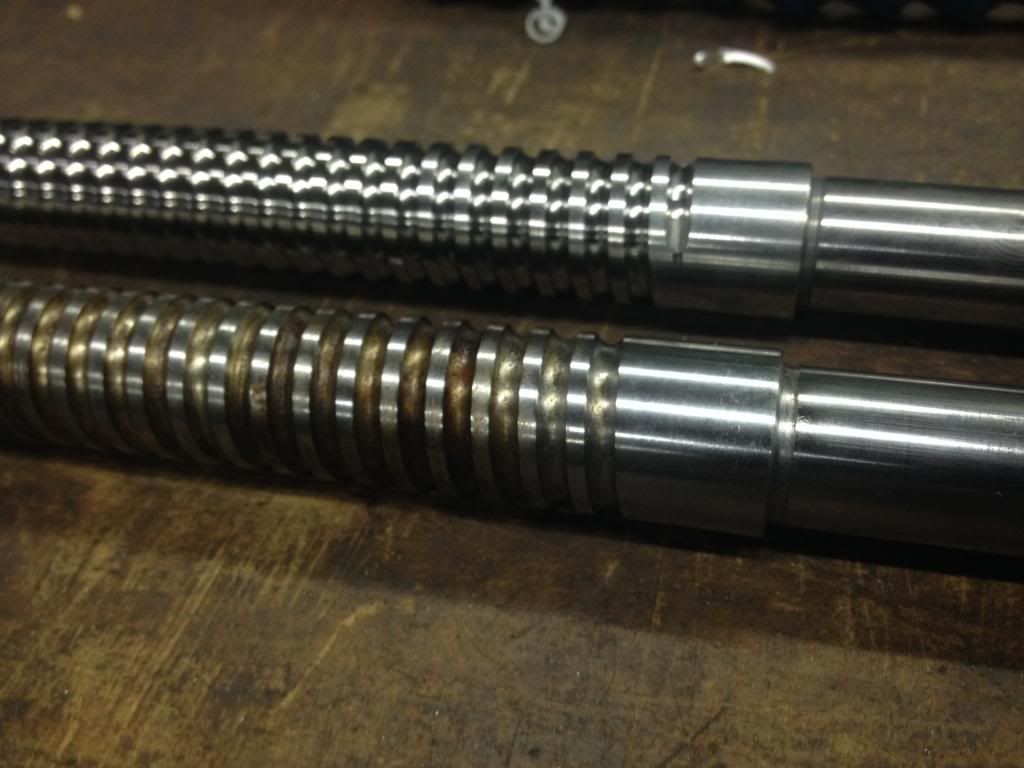
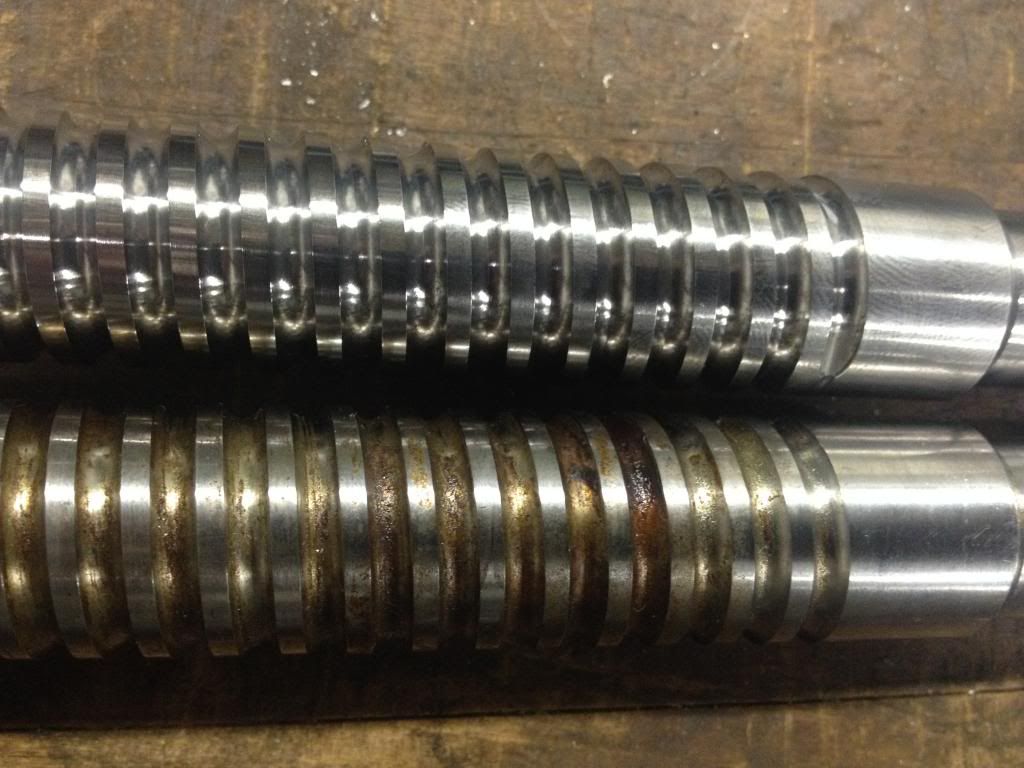
Started to tear into the ballscrews to clean them up and inspect them.
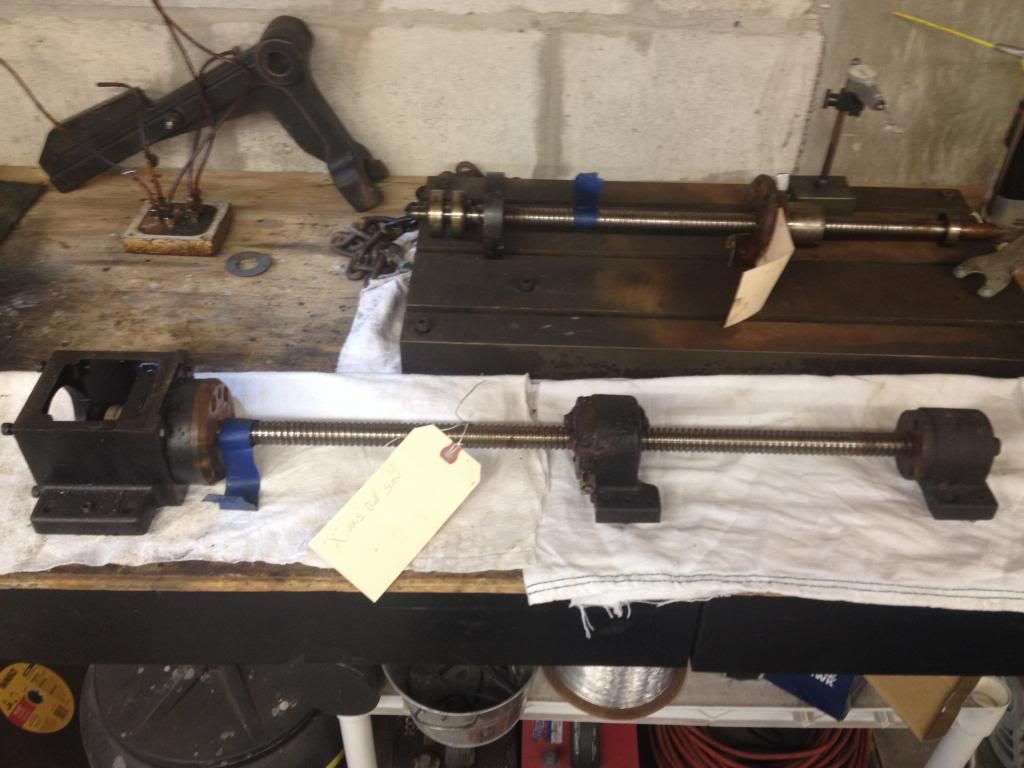
While they were apart cleaned them up and painted them as well
Unfortunately whenn I pulled down the ball screws I found that one of the axses had the thrust bearings replaced, but they had put the wrong bearings in for the repair.( standard balls versus angular contact) No damage done but if they weren't replaced with the right bearings the backlash would be extreme I'm sure. So I called Yamazen find the replacement bearings, $385 a pair, with some searching I was able to find them new on ebay from NSK for $60 a piece Sweet! To screws were all pristine, but the ball nut balls had seen there day
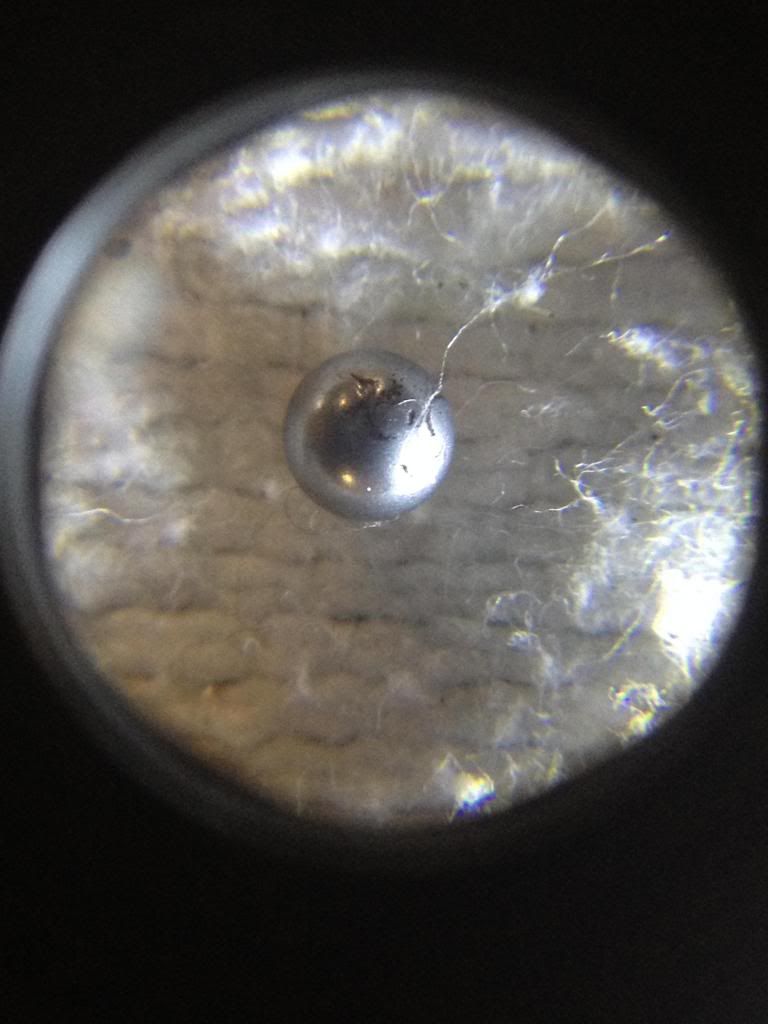
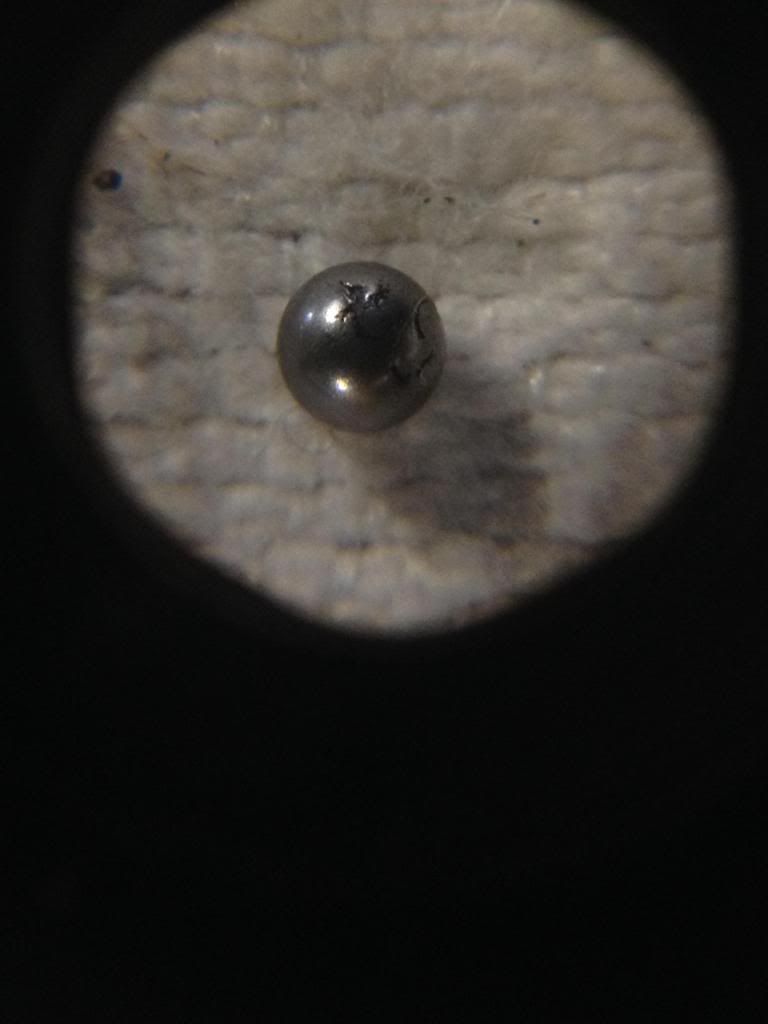
So ordering up some new balls and reballing the screws while there out as well..
-
12-21-2013, 04:40 AM #8
Registered
- Join Date
- Nov 2013
- Posts
- 29
Wow, that's quite an undertaking you got there! Impressive. How did the linear guides feel? Based on what I've seen on other machine repairs, they seem to go south first cause debris is more likely to get trapped in the guides than the screw.
-
12-21-2013, 06:21 AM #9
- Join Date
- Feb 2013
- Posts
- 17
Hey there,
Good to see another young buck like myself interested in challenging themselves by learning new technical skills. Good luck with your project, you've got your work cut out for you but im sure your capable of anything you put your mind to.
W.
-
12-21-2013, 09:25 AM #10
Registered
- Join Date
- Oct 2012
- Posts
- 393
Cool thread, I like how you managed to sold other machine and cover expenses for trip and machine that you will keep, very cool.
Keep good work, I am following this.
-
12-21-2013, 08:52 PM #11
Registered
- Join Date
- Aug 2013
- Posts
- 76
Nigel, The linear guides seemed to be in pretty good shape, but they all had at least one seal end or bottom that needed to be replaced. After alot of searching I was able to locate a US dealer for Tsubaki. So I contacted them about replacement seals and they informed me that they did not sell replacement seals and I would have to buy new blocks. After alot of arguing they contacted Tsubaki and said that they would be able to get me the end seals but Tsubaki would not sell the bottom seals as it is a liability issue for them as the balls need to be removed to replace the seal(not that I care) So without much other option I am ordering all new bearing blocks at the cost of about $1500 OUCH. But I really have no other option.

znajmr, Selling that machine was the only way I can afford this project as fund are pretty tight for me. I will be selling all the drives and boards from this machine as well to fund the new retro fit electronics. My budget has gotten even tighter lately as work has gotten slow and I got laid off a few weeks ago.
So if anyone is looking for replacement parts for your BROTHER MACHINES all my stuff is listed here:
paintballer355 | eBay
-
02-26-2014, 12:27 AM #12
Registered
- Join Date
- Aug 2013
- Posts
- 76
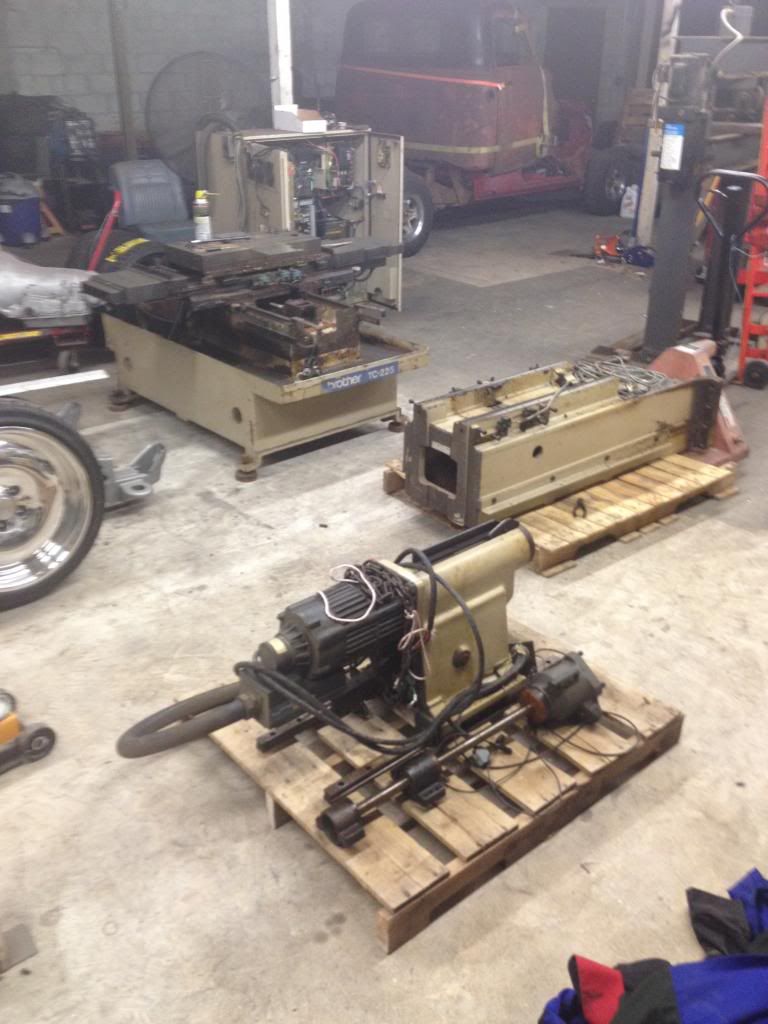
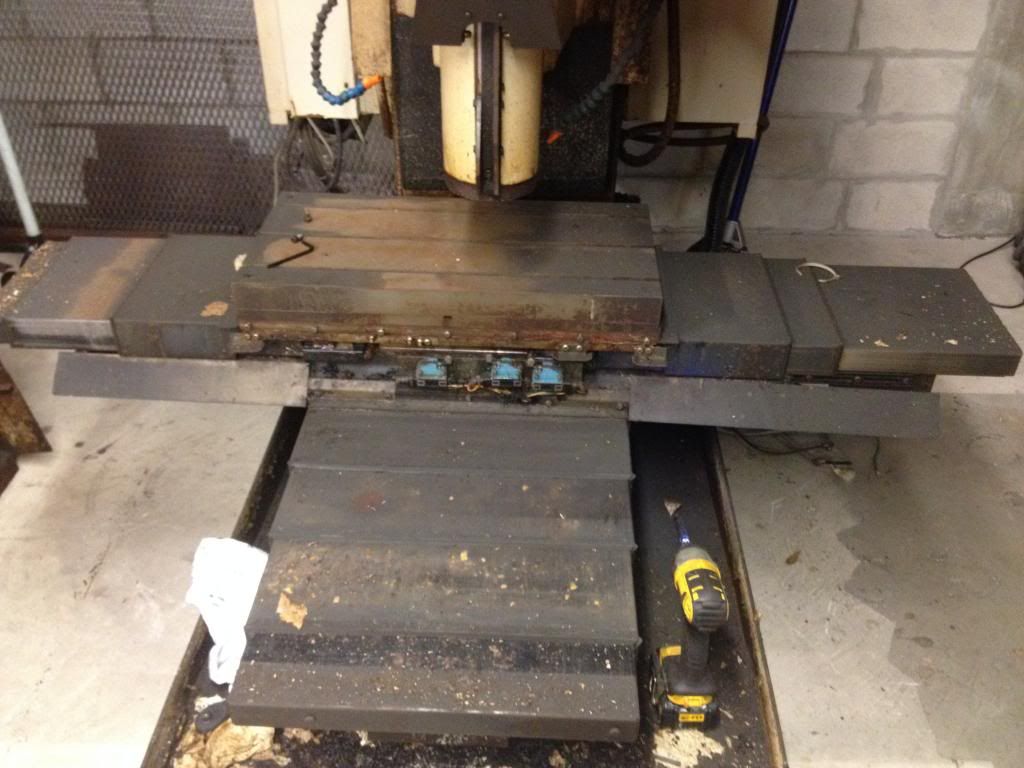
Well I guess I should post some progress on the build here since its been a few weeks. I haven't made a ton of progress as I have been fighting weather delays, some issues with the ordering of the linear rails and blocks (Yes blocks AND rails =/ ) BUT.. I have made some progress now.
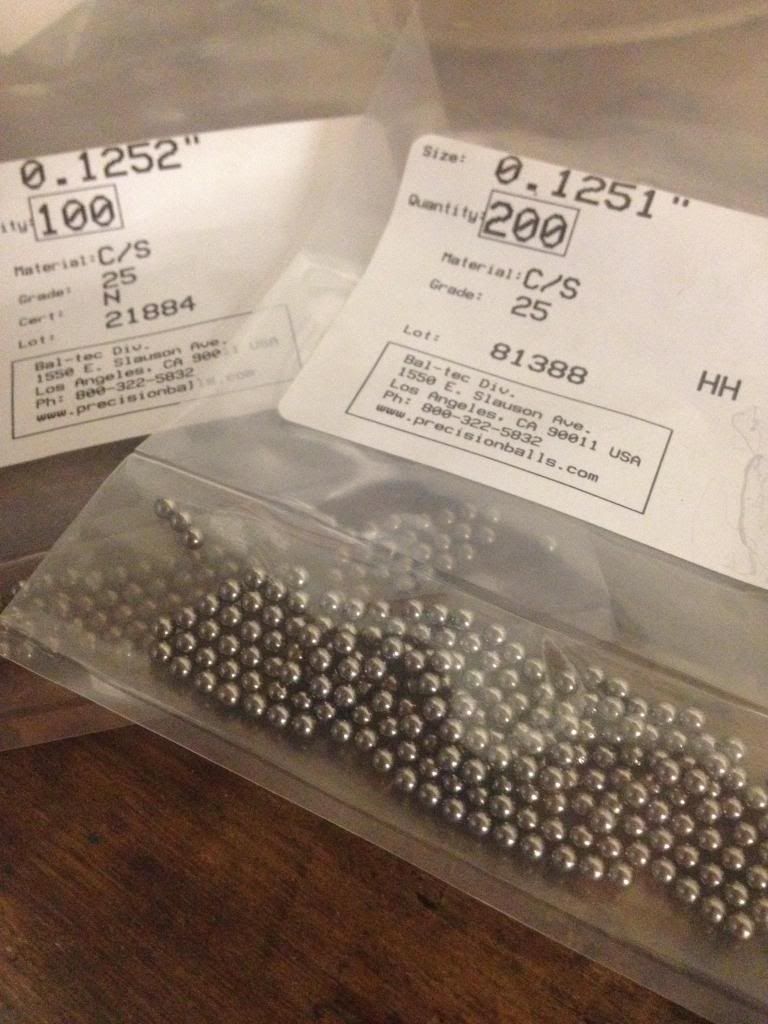
I left off at the ball screws.. The screws were completely torn down, the nuts removed from the screw and deep cleaned as well as all the support bearings. I found that one set of support bearings had been replaced at one point, but with the wrong bearings as i noted earlier. Once they were all cleaned I re greased them with the appropriate grease and fill amount and moved on to the ball nuts. The ball nuts had all there balls replaced with brand new balls the same size, but I changed them from the original one onsize 2-3 undersize 1 onsize setup to all onsize balls for better stability like most modern ball nuts. I ordered all the balls from a guy on ebay, he was very helpfull and had a quality product for a good price. unfortunately he was out of one size i needed so I had to order from precision ball at about 3x the price.
Some before after shots of the screws
After the screws were done I moved to the rails, as iI started cleaning them I realized they were in worse condition than I thought and after alot of debating I decided to replace them with the the linear guide blocks.
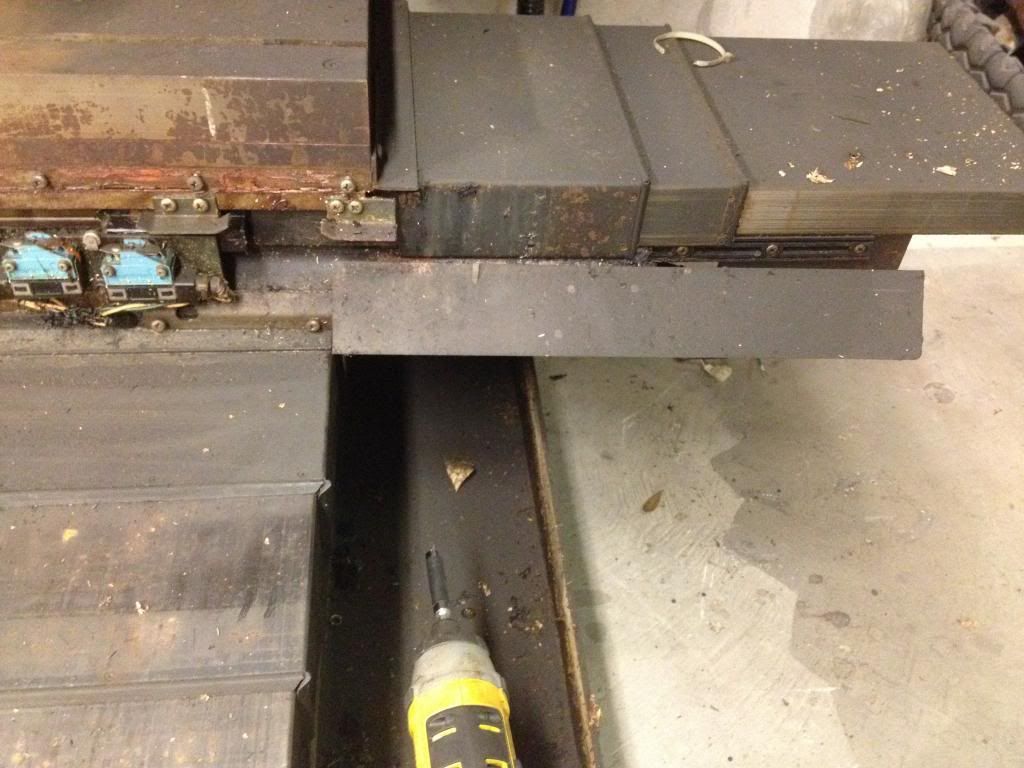
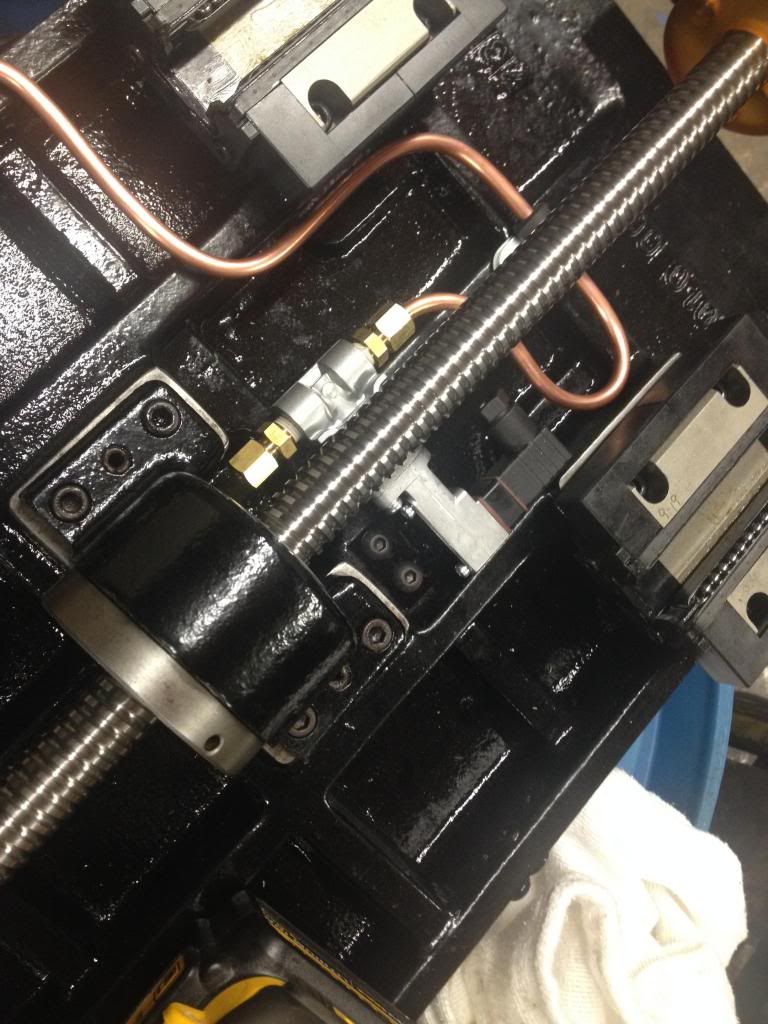
with the new rails and blocks in finally i was able to start fitting some of the machine together to figure out the central lubrication system I wanted to install on this machine.
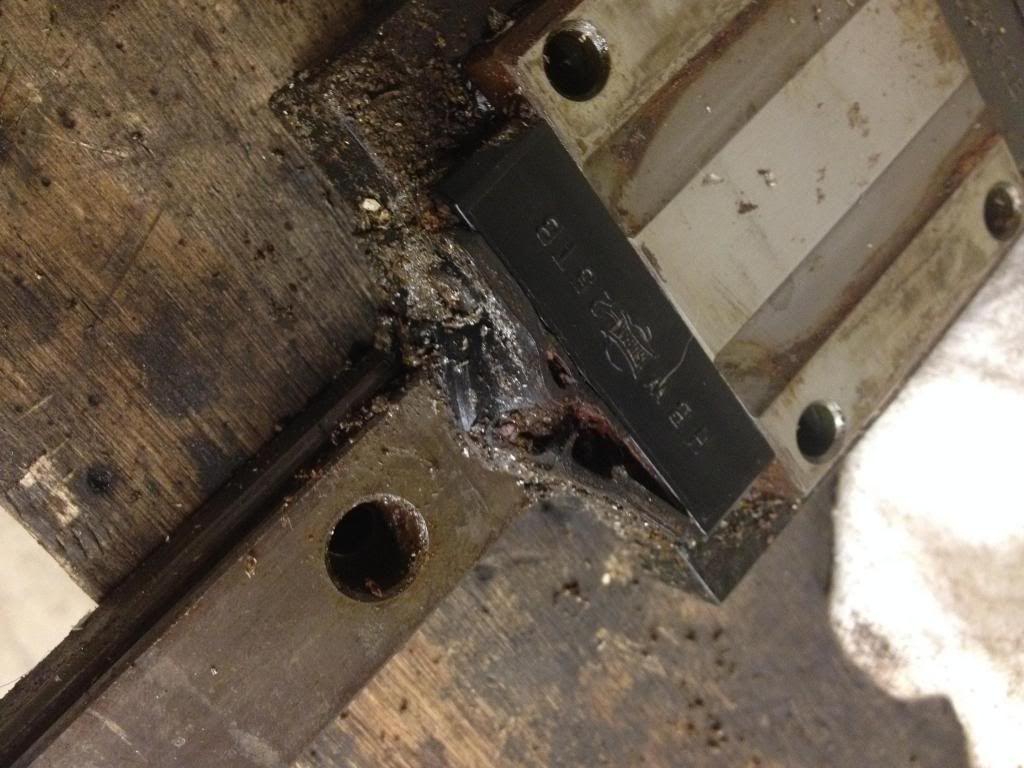
I had to add some drilled and taped holes at the ends of the "Y" axis rails. You never know when that weird little vise that someone gave you that you saved forever because you would need it someday would come in handy!
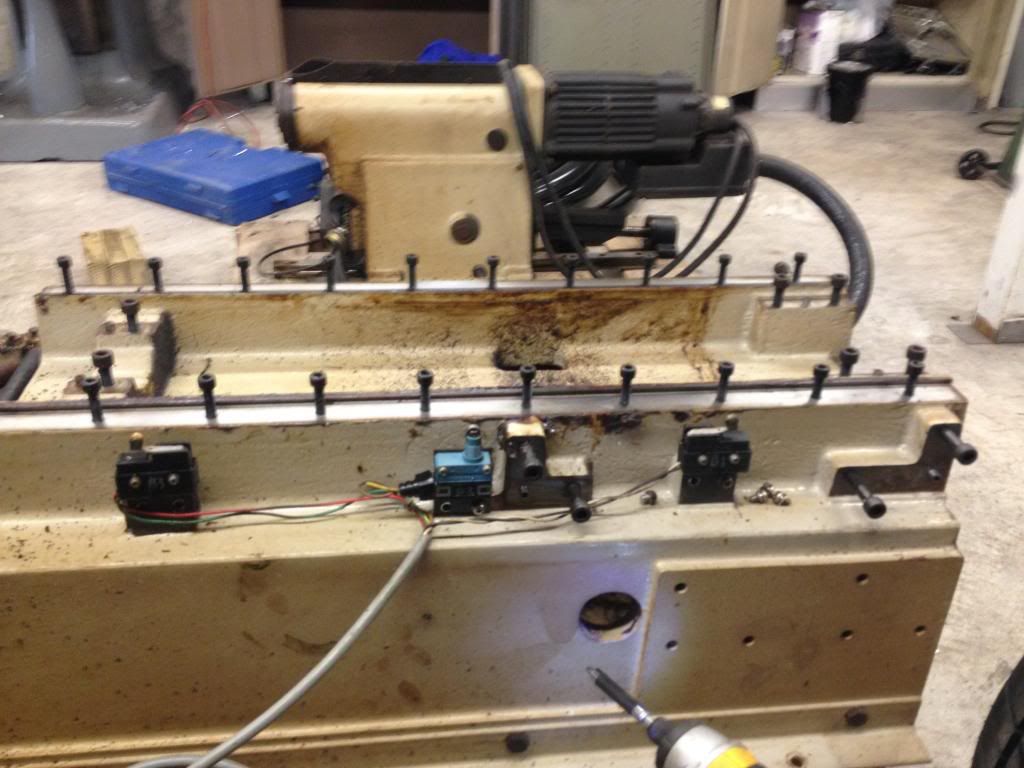
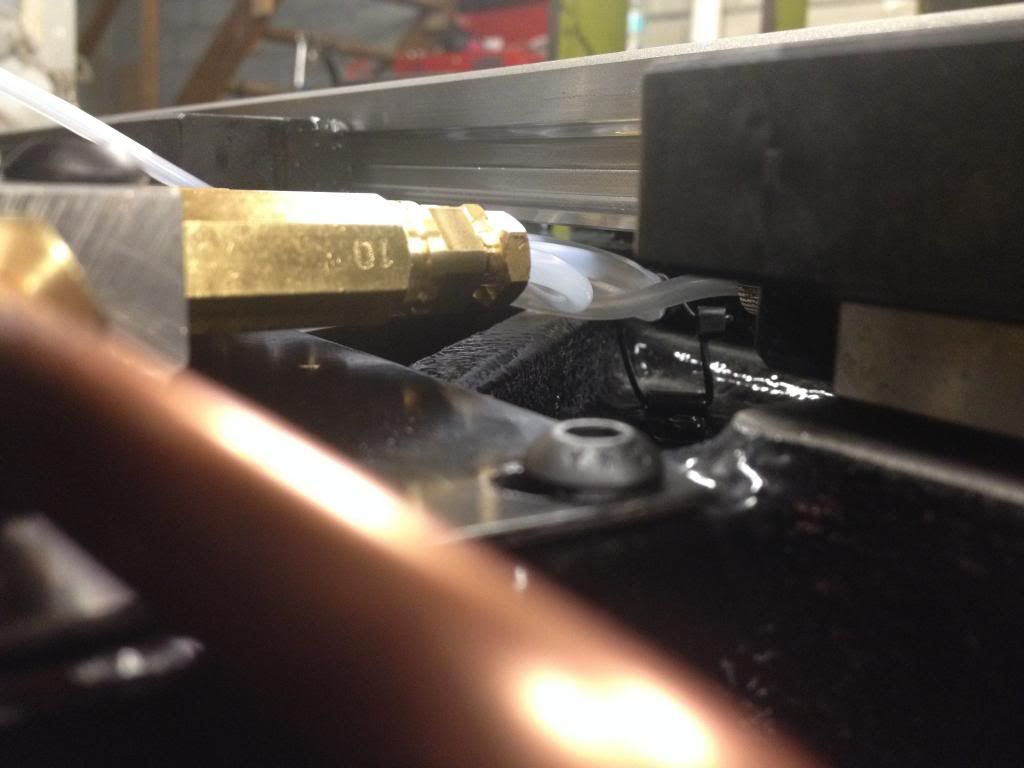
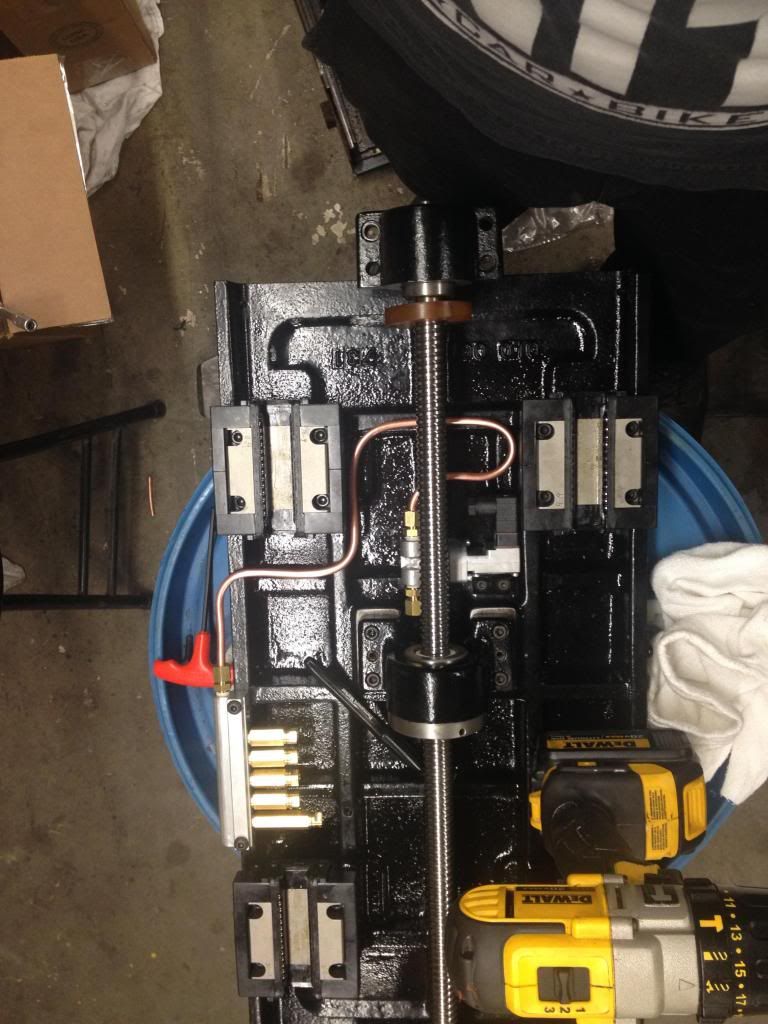
I ordered all my central lubrication parts from Lube-Corp through all world machinery. After driving Brad from Lube-Corp (who was Very helpfull) up a wall with all my questions I'm sure, we got everything figured out and my parts arrived last week. I have started working on getting all my components in place but, wow is it a small space to cram alot of stuff!
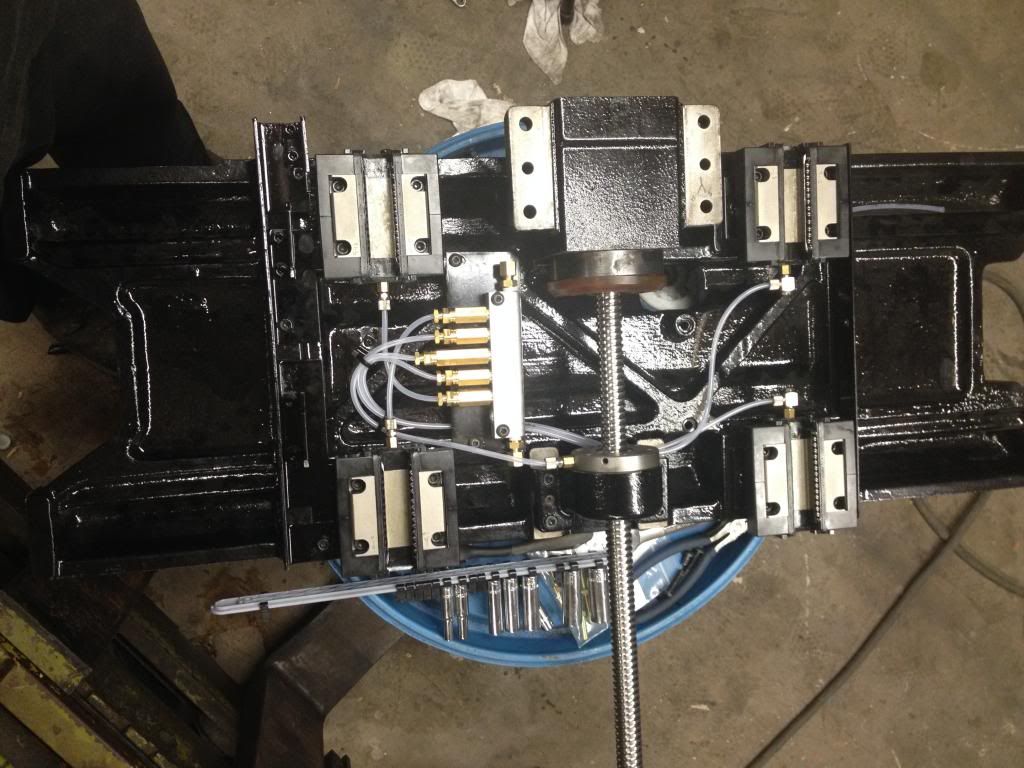
Its a tight fit under there!
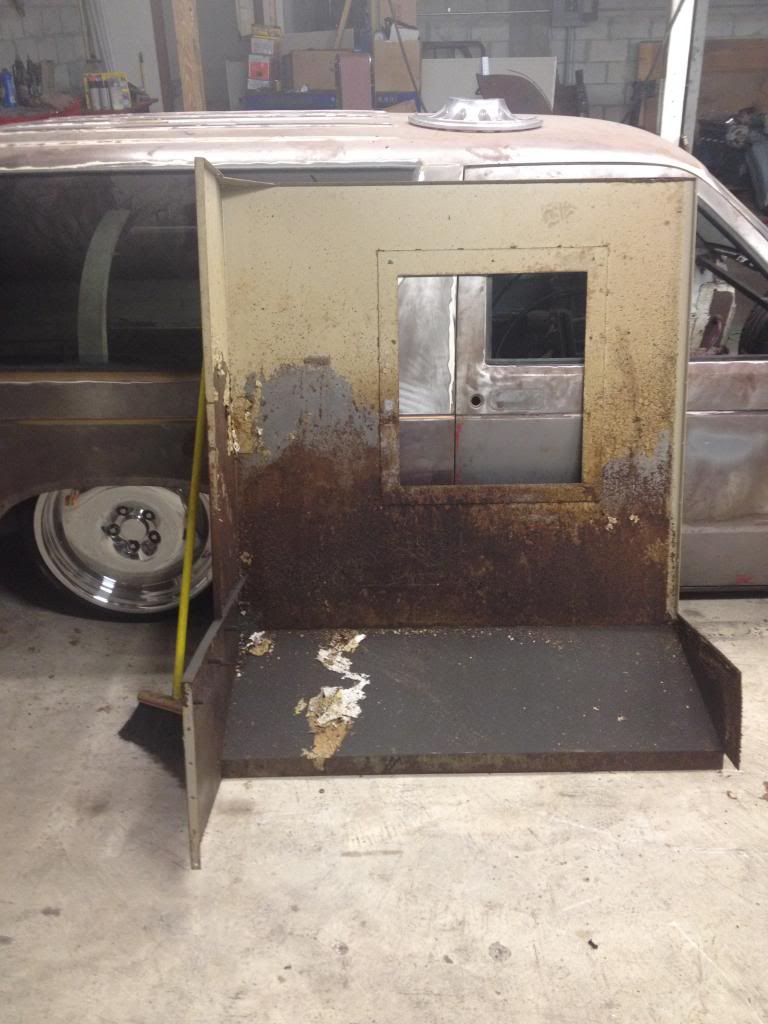
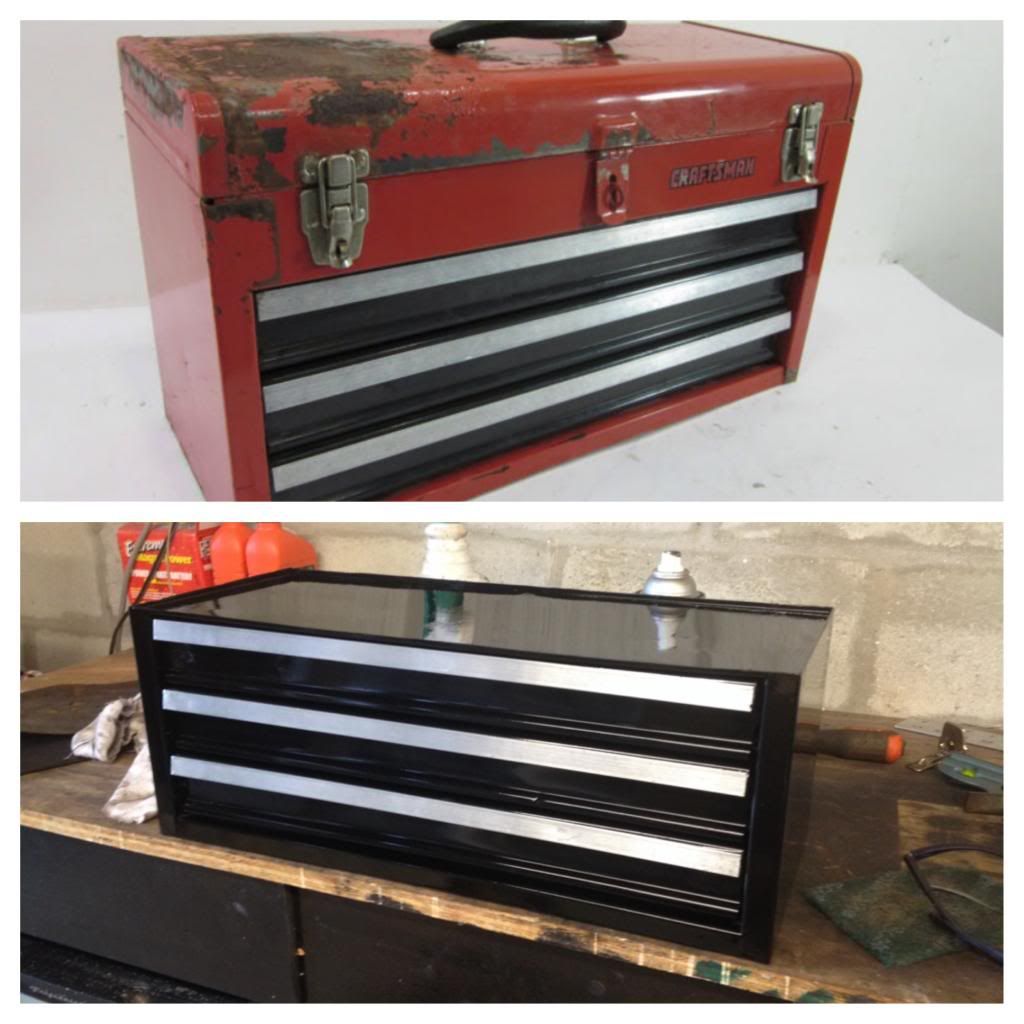
And just a off topic side note, I got tired of having all my tooling sitting around on shelves in my cabinet but I didn't want to spend big money on the fancy index drawers and tool drawers that started at like $400.. So I found two of these crusty old craftsman portable toolboxes at a garage sale $20 for the pair cut the tops off painted them and made some awesome tooling cabinets. and they work great.
Ill be working on the lube system this week and hope to get all the plumbing buttoned up, and then start routing all the electronics.
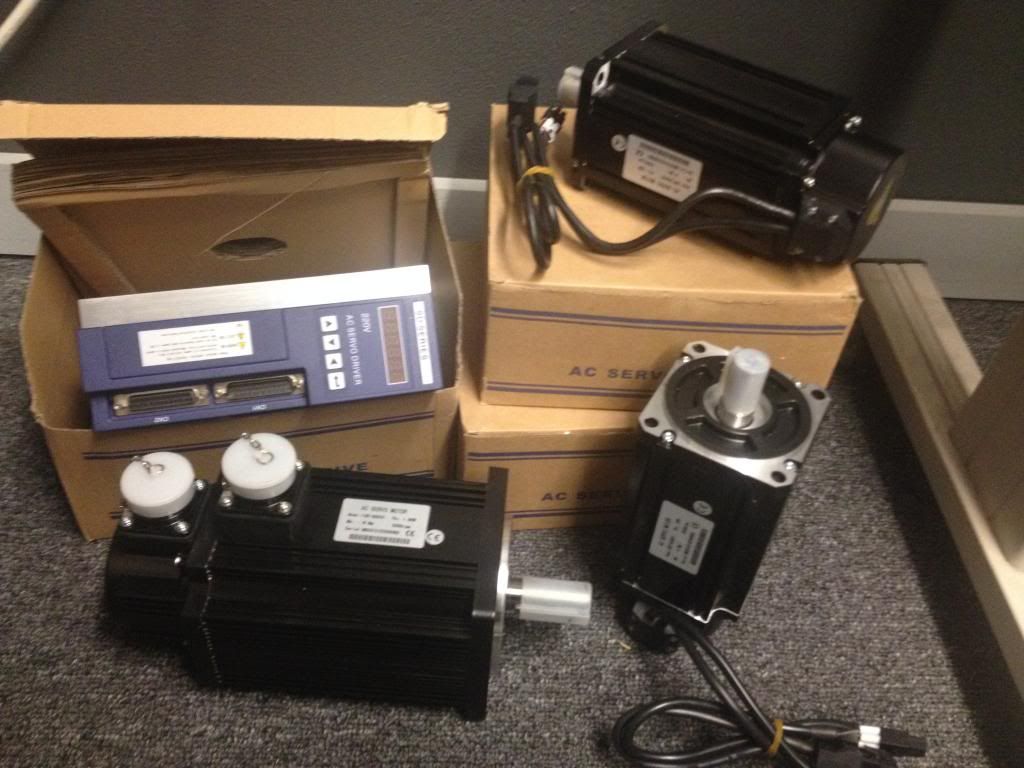
Also my Servos and drives came in as well. Ordered them from Mige servo through Alibaba. I was very skeptical, but they were extreamly attentive and help full and i was very impressed with the quality of the products and the pricing as well! cut my budget for servos and drives by 2/3 going through them!
-
02-26-2014, 12:36 AM #13
Registered
- Join Date
- Mar 2004
- Posts
- 392
Great to see the progress. Loving the rebuild.
Following this thread with great interest.
Cheers.
-
02-26-2014, 09:48 PM #14
Registered
- Join Date
- Oct 2012
- Posts
- 393
Nice update, I was worried that something happened to project, or you

-
02-27-2014, 05:59 AM #15
Registered
- Join Date
- Aug 2013
- Posts
- 76
Glad you guys are enjoying, and appreciate the kind words. I'm going to try to stay a bit more active here.
Also if the person who called me about the servo motors that was calling from a canadian number is on here... I am having trouble with international calls on my phone recently but feel free to PM me here or email at [email protected]
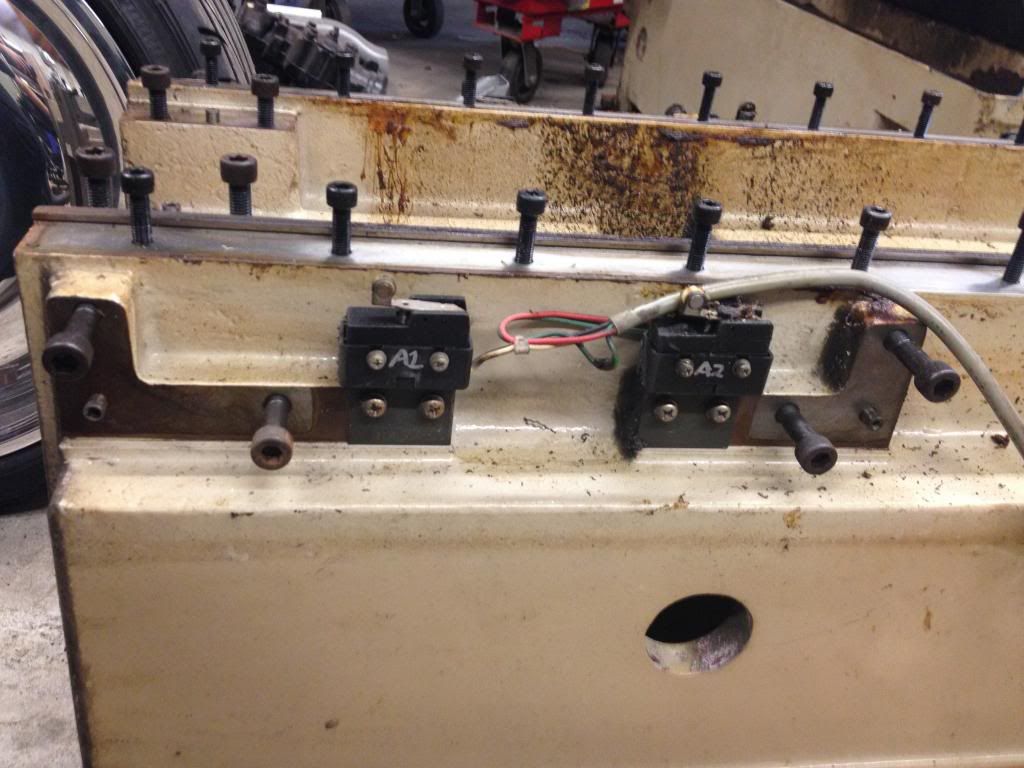
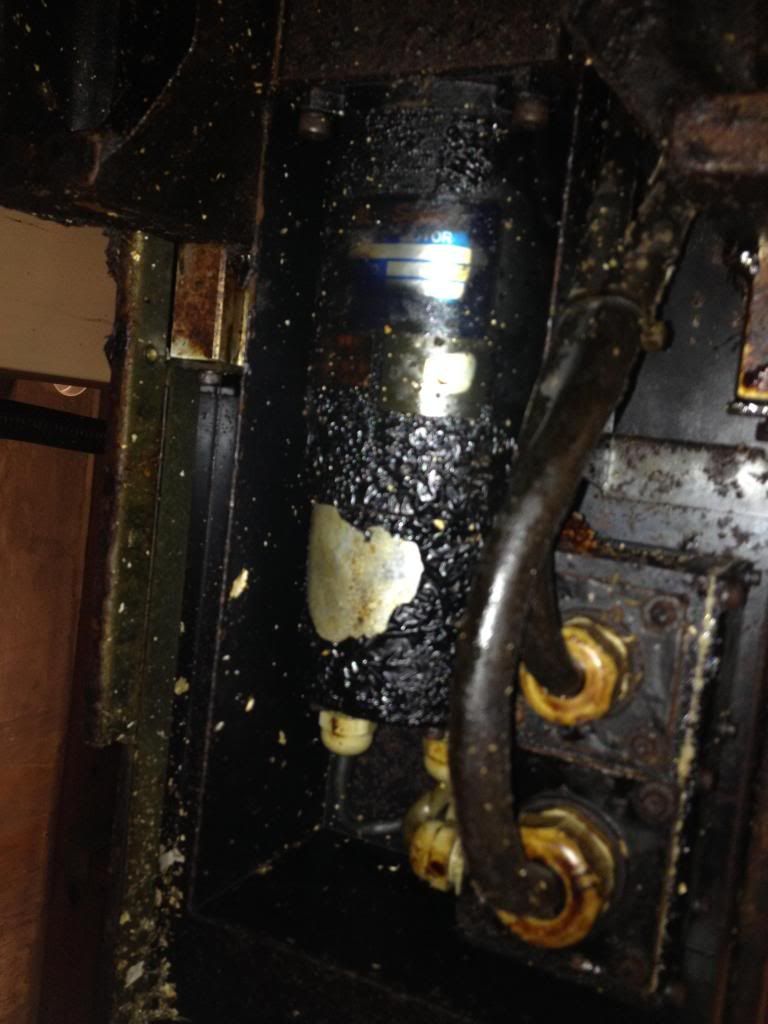
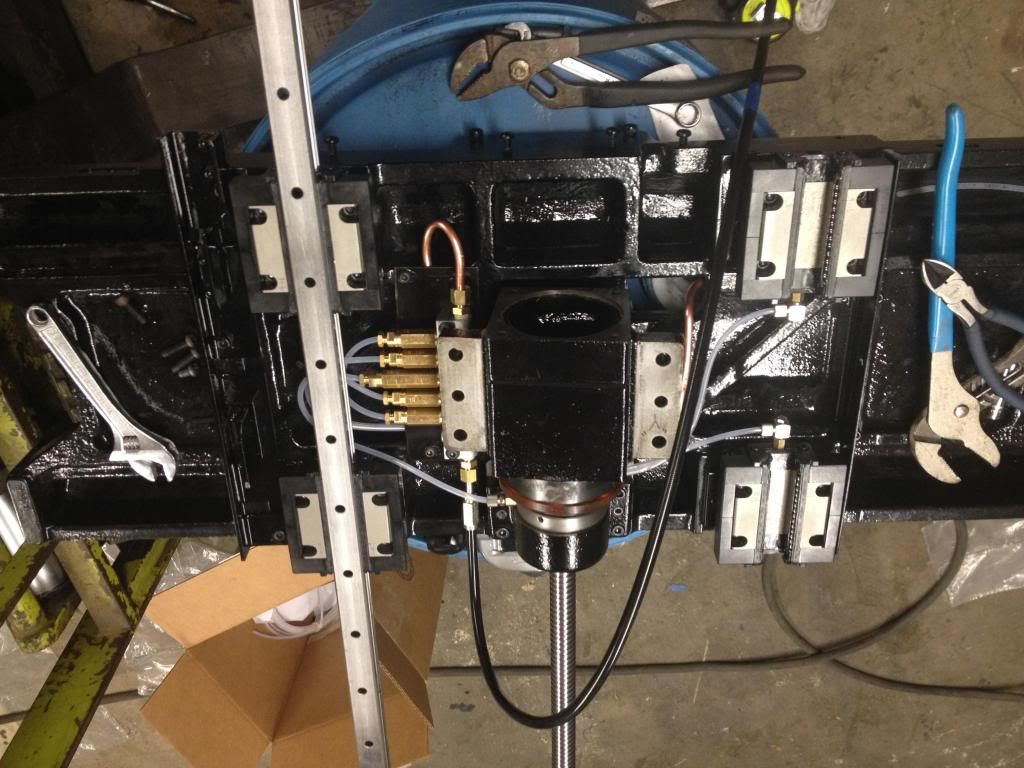
I didn't make as much progress as I hoped today, trying to get all the grease system parts in a place they fit and don't interfere with anything else has proven to be extremely difficult. Non the less I think I figgured out everything for the X axis now. I had to get creative with some mounting tonight as well.
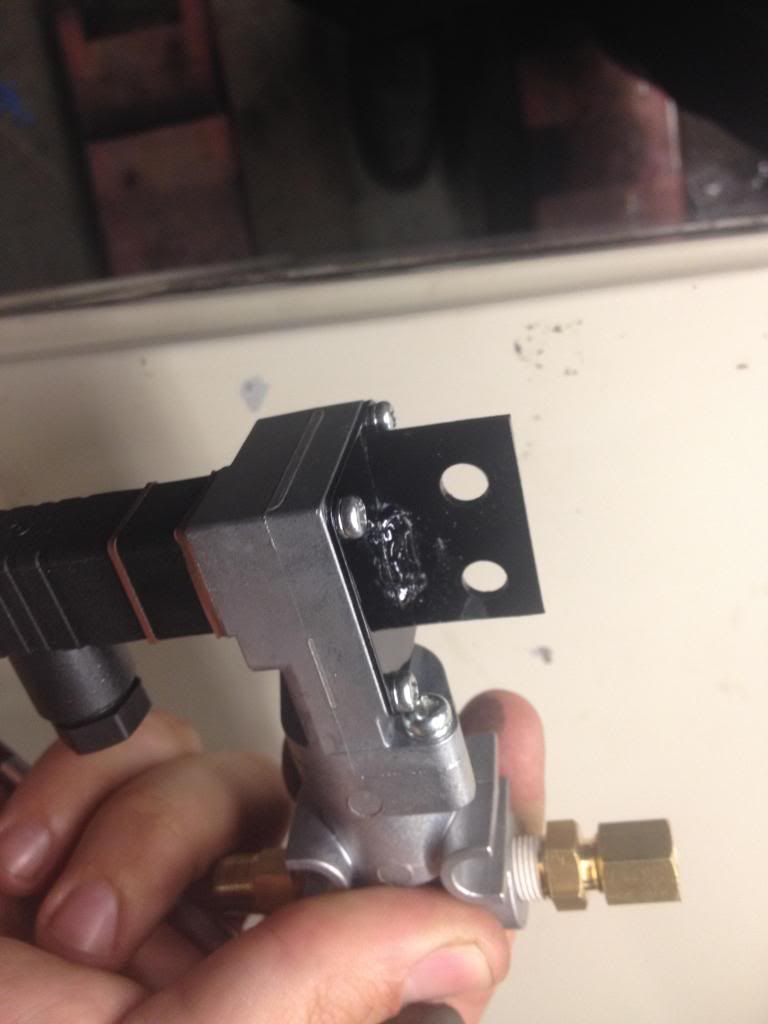
That pressure switch was the biggest challenge, i ended up taking off that cover and welding on a tab and re installing it so I could mount it as I didn't have clearance for bolt heads on the intended mounting location.
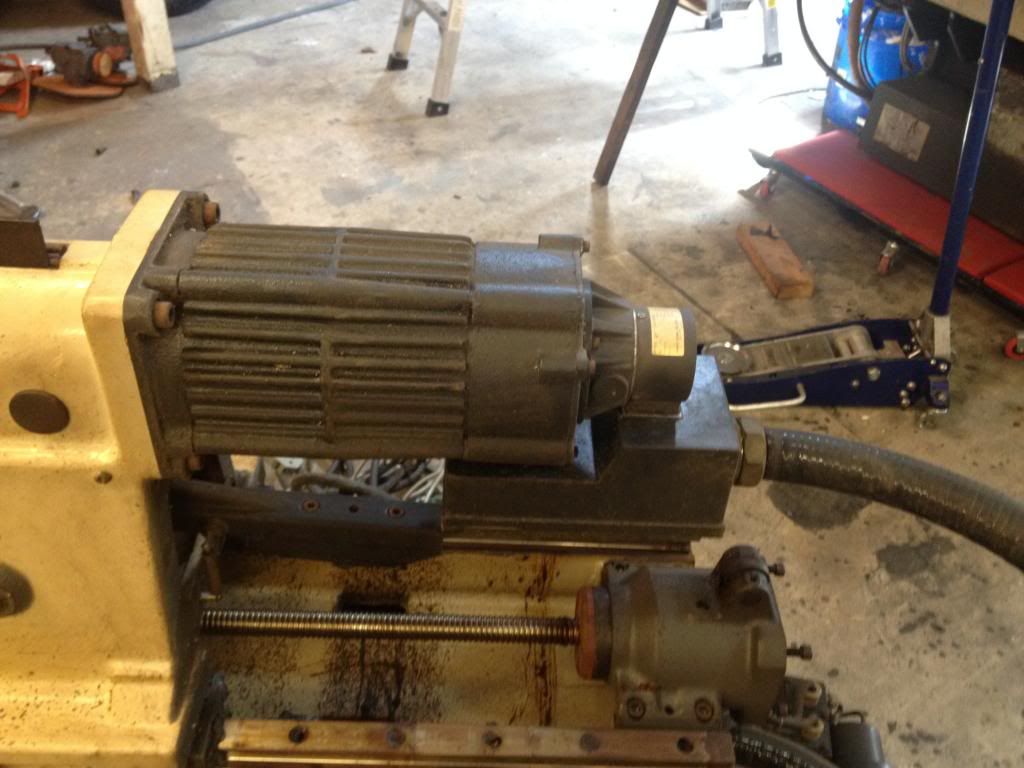
I also snaped a pic of the old spindle motor next to the new one... bit of a size difference. Old motor was 5 HP max 6000rpm new motor is 10HP max 10,000rpm
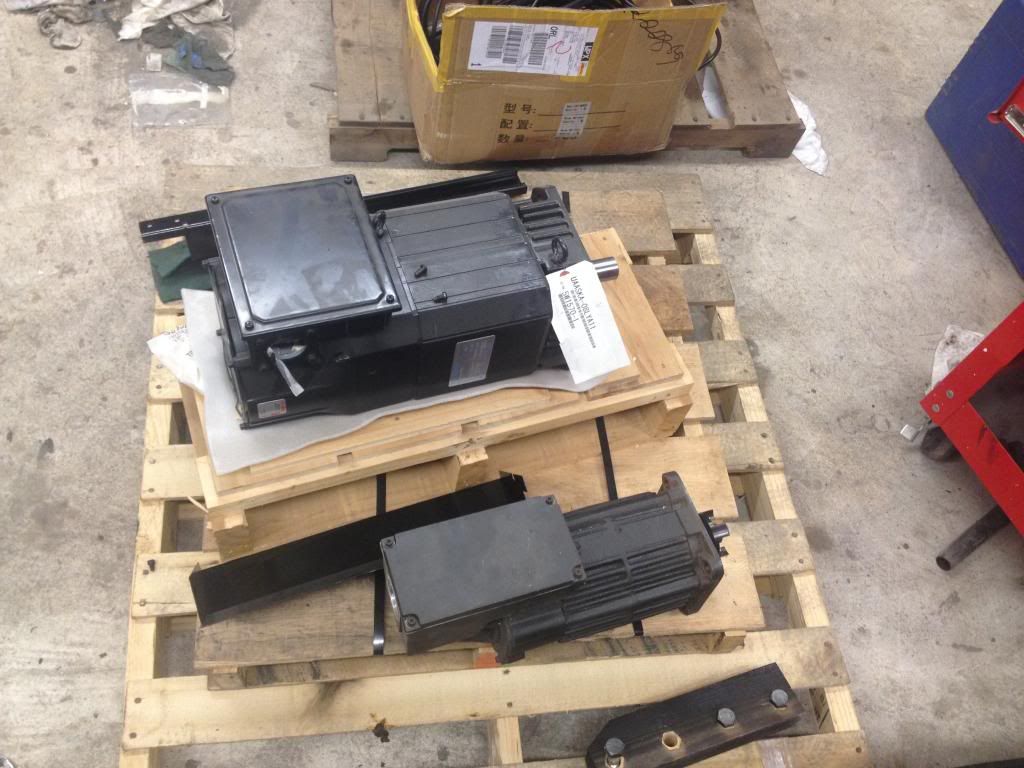
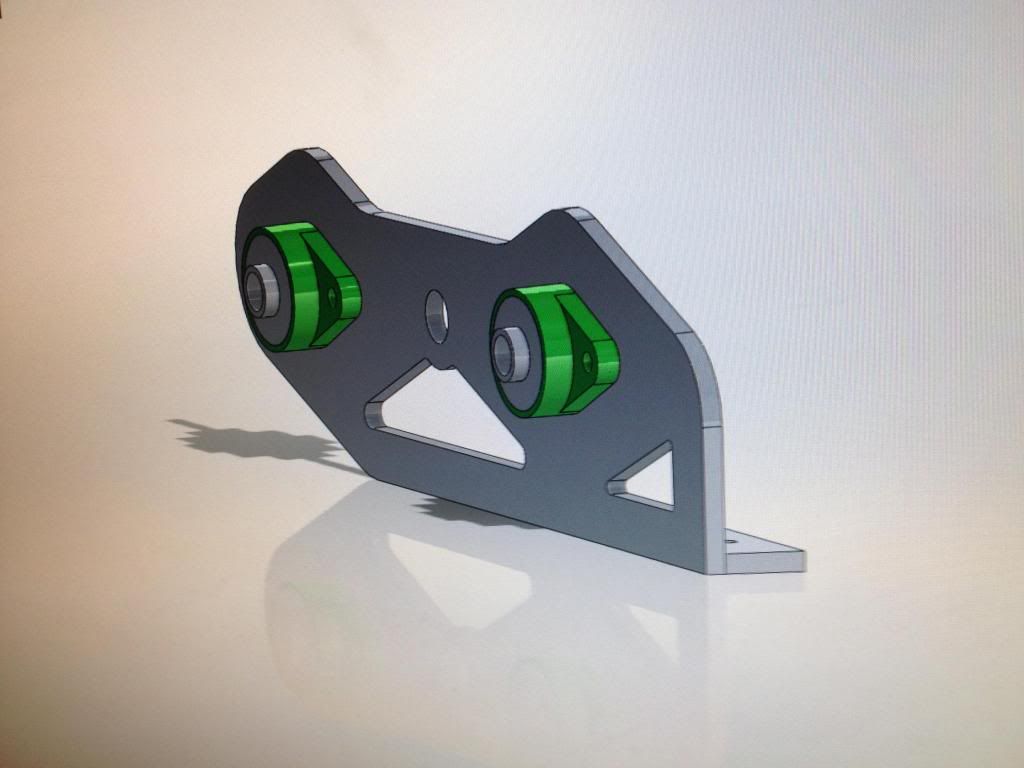
I also got some of the last parts for the pneumatic counterweight system I designed to support the new motor. and a drawing of the mounting plates for the upper guides.
-
03-04-2014, 03:43 PM #16
Registered
- Join Date
- Feb 2009
- Posts
- 137
Looks like a very nice build, you seem to be a pretty smart guy and very capable. I would seriously consider looking into LinuxCNC it will provide trouble free high end performance for a REAL machine such as yours. Look into Pete's Cincinnati Arrow adventure and you will see how he came from Mach3. Anyway I am sure you did your research so good luck on the build.
-
03-10-2014, 10:05 PM #17
Registered
- Join Date
- Aug 2013
- Posts
- 76
mmprestine, I have looked at linux CNC and Mach, I decided to go with mach, purely because i have no experience with Linux and reviewing the the documentation for linux CNC it seemed very intensive on the user setup side. If anything I think my plans are to setup with Mach and I may look into linux CNC down the road. Once the machines up and running I can play around with linux on it.
have you used both softwares?
-
03-11-2014, 10:12 AM #18
Registered
- Join Date
- Jan 2008
- Posts
- 1529
I've used both, and the basic setup was actually quicker with LinuxCNC. It's easier to setup now than in that past.
Installation is a live cd, just pop CD in and install to a blank hard drive. LinuxCNC application and the operating system are all installed by this. Then for a standard 3 axis or similar machine there is a simple wizard to get going. That's all you need for a basic setup.
I've found LinuxCNC much more reliable and usable than Mach. There are also hardware step generators (mesanet 5i25 Pico systems for example) available for much cheaper and without some of the limitations of the smooth stepper.
More in depth configs require some text file editing, but there are lots of examples around, some times can be a bit tricky. But with Mach you need a plug in written to change / add most things.7xCNC.com - CNC info for the minilathe (7x10, 7x12, 7x14, 7x16)
-
03-11-2014, 11:33 AM #19
Registered
- Join Date
- Jul 2006
- Posts
- 367
I just stumbled onto this thread and all i can say is wow!!!! It's great to see young blood getting into, not only machining, but, getting to know the inner workings of the machines you make chips on. Great stuff!!!!
pete
-
03-13-2014, 10:04 PM #20
Registered
- Join Date
- Aug 2013
- Posts
- 76
Thanks Slowtwitch,
I've been machining for awhile and this kind of stuff is what I love to do so It goes together well.
Unfortunatley this Automatic grease system is giving me hell to route im on my third revision of brackets and routing and moving to the fourth
I think I've got it this time, maybe... Then I can start getting some of this stuff wired up and see some results!
My control boards from CS-LAB Should be on the porch when I get home, and I built a nice MINI ITX computer to run on the other day.
Maybe have some updates this weekend


 Reply With Quote


Similar Threads
-
Brother TC229 Linux CNC retrofit
By sbaer in forum Vertical Mill, Lathe Project LogReplies: 8Last Post: 10-06-2023, 05:16 AM -
Brother TC225 retrofit
By Jonne in forum Vertical Mill, Lathe Project LogReplies: 31Last Post: 02-02-2023, 08:37 PM -
CNC Retrofit Rebuild Mach 3 Extras?
By WilliamsTool in forum Benchtop MachinesReplies: 0Last Post: 12-29-2011, 07:54 AM -
brother tc 211 retrofit/upgrade possibilities
By ihavenofish in forum Uncategorised MetalWorking MachinesReplies: 4Last Post: 09-02-2010, 08:43 PM -
Rebuild & Retrofit De Vlieg 4H-72
By J Hill in forum Australia, New Zealand Club HouseReplies: 0Last Post: 09-27-2008, 12:55 AM
