


I asked a lot of questions read a lot of threads and decided to go with the book build, I am going to take my time with it so bear with me. Any suggestions or comments (positive or negative) are welcome
I went out and bought plywood instead of MDF and I ordered the Hardware kit. Went tot he local Lowes and purchased the angle aluminum and I began putting things in order.
[IMG][/IMG]
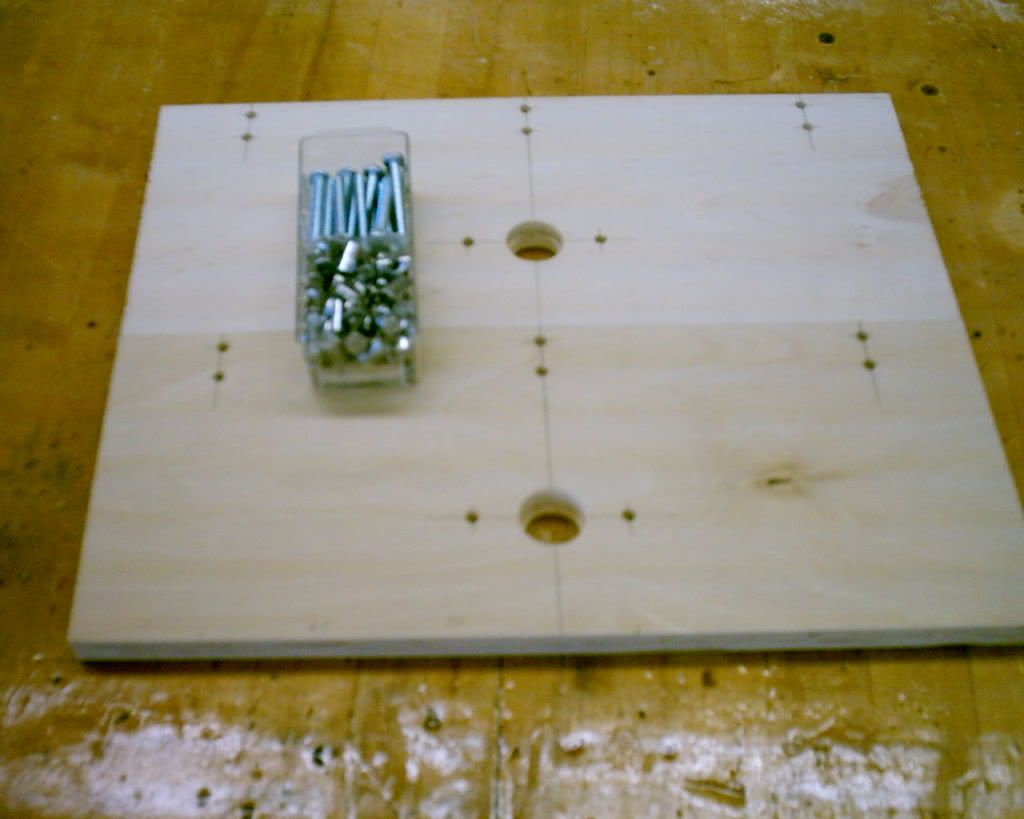
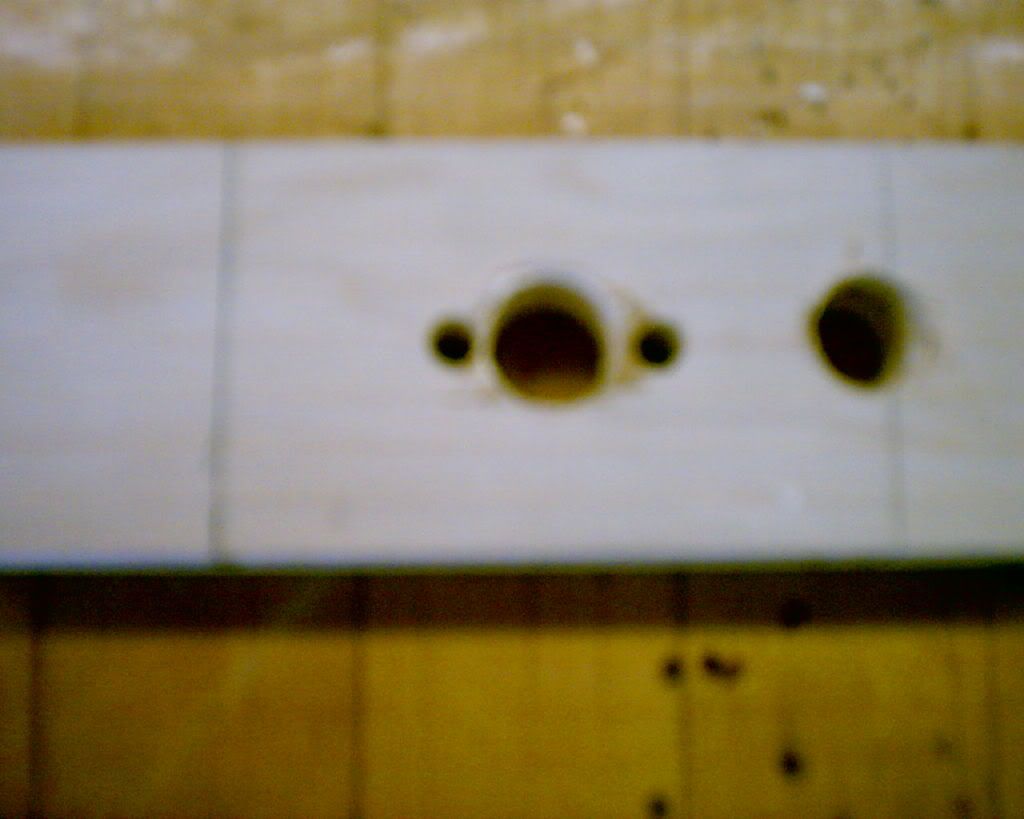
Next step was to build the BRAs
[IMG][/IMG]
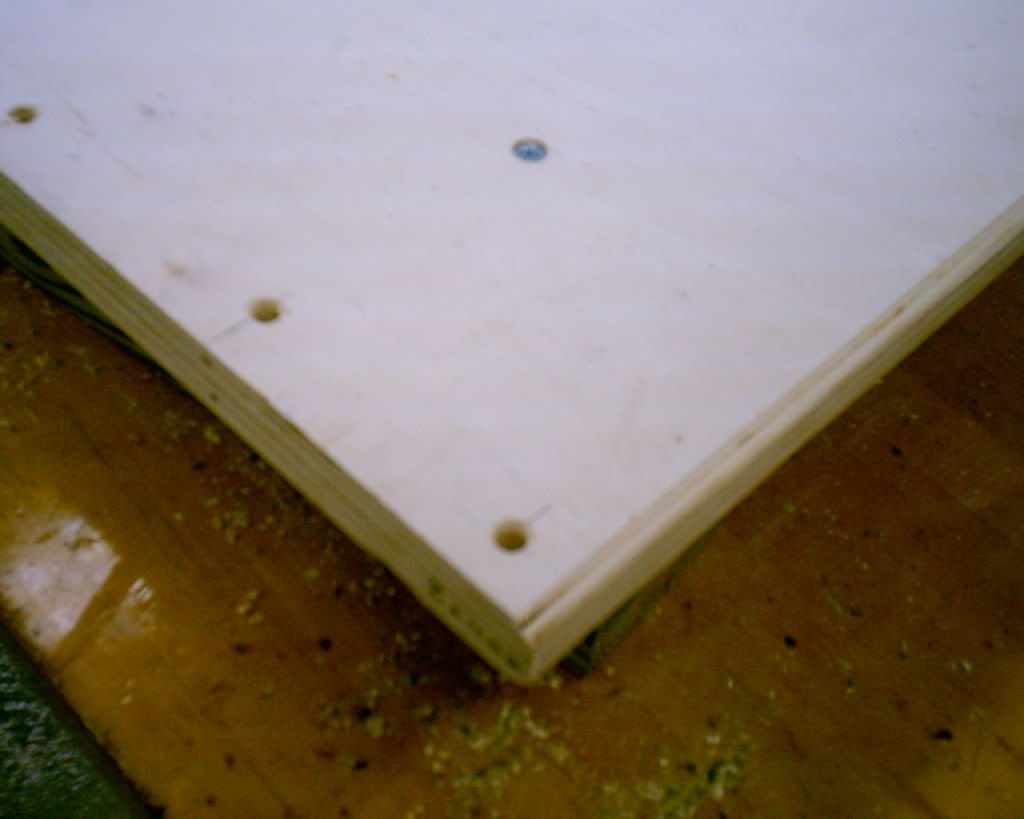
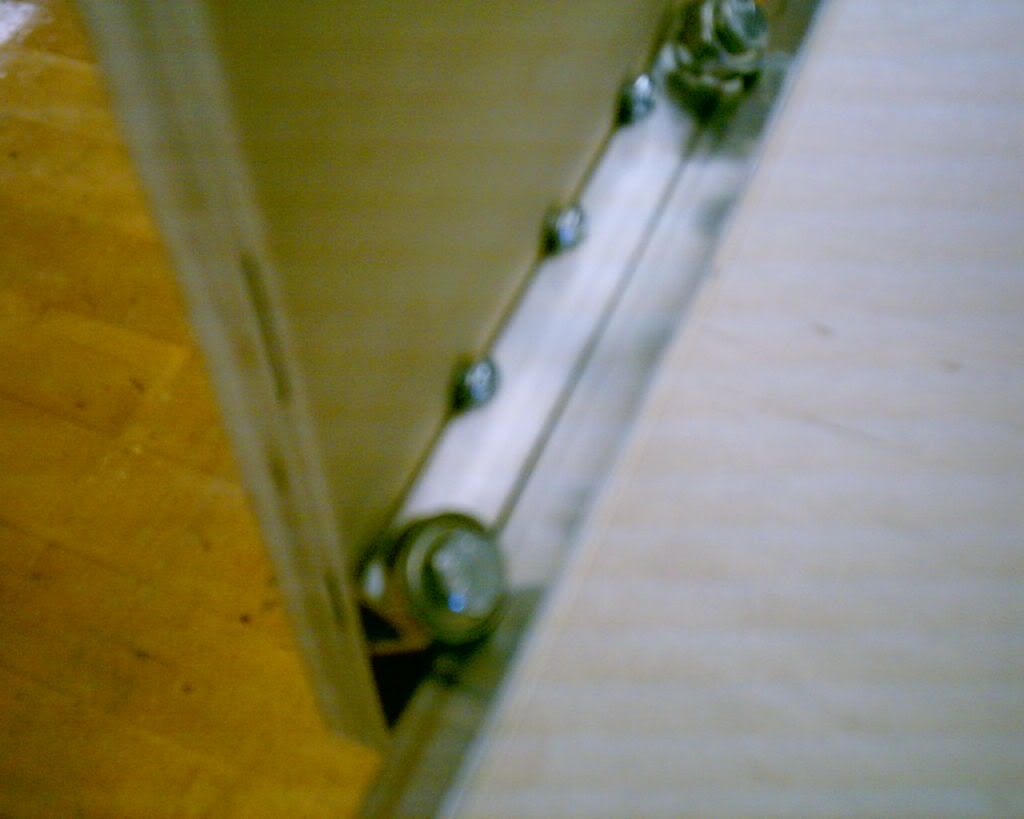
Today I clamped my top and bottom together and drilled the 1/8 inch pilots and the 1/4 inch holes.
Next step is going to be the chamfering on the top and bottom.
I did have a quick question. The drawing in the book shows 6 FHMS countersunk in the top to hold this together.
The scres I have are only 1" butt he plan calls for 1 1/4"
I do have 1 1/4" RHMS, but this would require a counterbore instead of a countersink. Am I missing some screws or do I use the RHMS, or do I REALLY countersink the FHMS and REALLY counterbore the 1/4- 20 nuts?
Pardon my picture quality, I am using a Vivitar 3315, until I can talk the wife into letting me use the "good" camera at school here.
Verga
Thread: Book Build in Va
Results 1 to 20 of 20
-
05-27-2010, 04:12 PM #1
 Registered
- Join Date
- Apr 2010
- Posts
- 0
Book Build in Va
-
05-27-2010, 06:50 PM #2
Member
- Join Date
- Apr 2007
- Posts
- 8082
Which book build would that be? It kinda looks like one of the Solsylva designs so far.
CarveOneCarveOne
http://www.carveonecncwoodcraft.com
-
05-27-2010, 06:57 PM #3
Registered
- Join Date
- Apr 2010
- Posts
- 0
Patrick Hood-Daniel "Build your own CNC Machine", Sorry I did not make that more clear. I am kind of nervous with doing this log and build, so if I am not clear on something just feel free to ask. I am going to try and do the chanfer later today or tomorrow. Originally Posted by CarveOne

-
05-27-2010, 10:06 PM #4
Member
- Join Date
- Apr 2007
- Posts
- 8082
Ok, good. Just needed to get a reference point so that people reading your build log know which one you are building. No need to be nervous. Just do your thing. We'll watch and see what we can learn. Originally Posted by verga
CarveOneCarveOne
http://www.carveonecncwoodcraft.com
-
05-29-2010, 07:57 PM #5
Registered
- Join Date
- Apr 2010
- Posts
- 0
5/29 More progress
I was able to get more done today than I anticipated.
I test fitted the 1/4-20 FHMS and was not happy with having to drill out more for the 1" length screw recommended, so I bought 1 1/2" replacements, but might switch to 1 1/4".
I drilled ends and chamfered the sides.
Next step was to cut out the legs and drill all the holes.
I attached the legs. I made one mistake in drilling the bottom dowel locations, they were about 1/4" short but this will not affect performance.
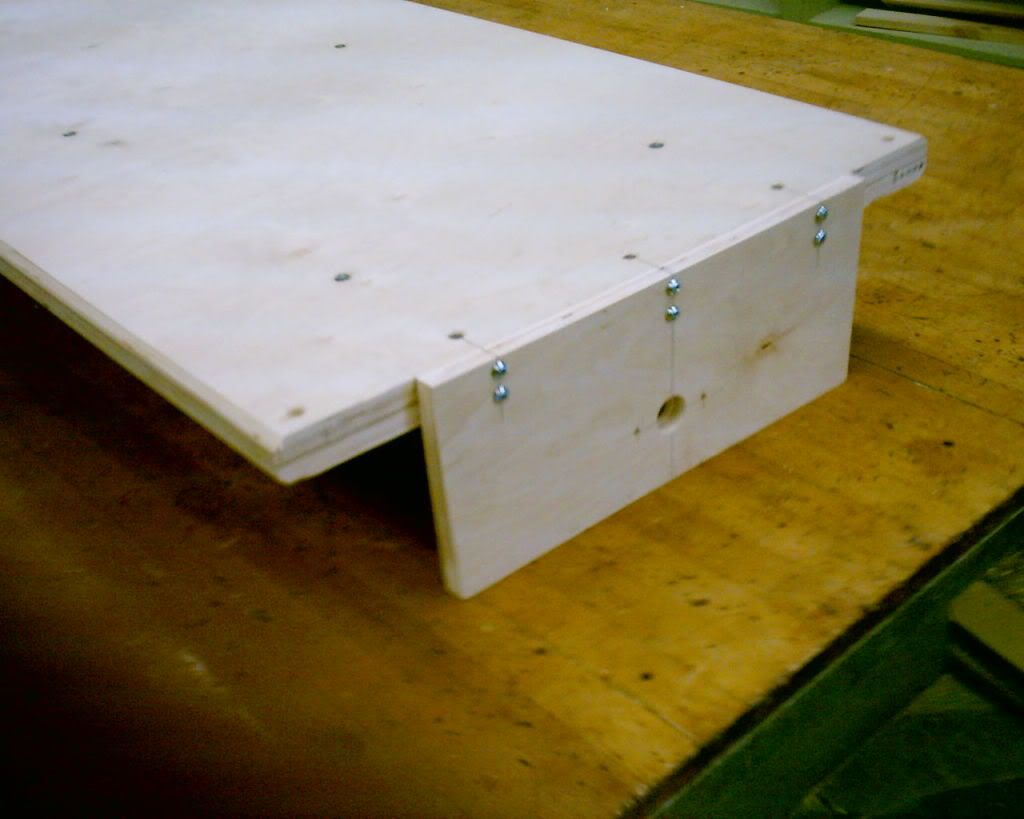
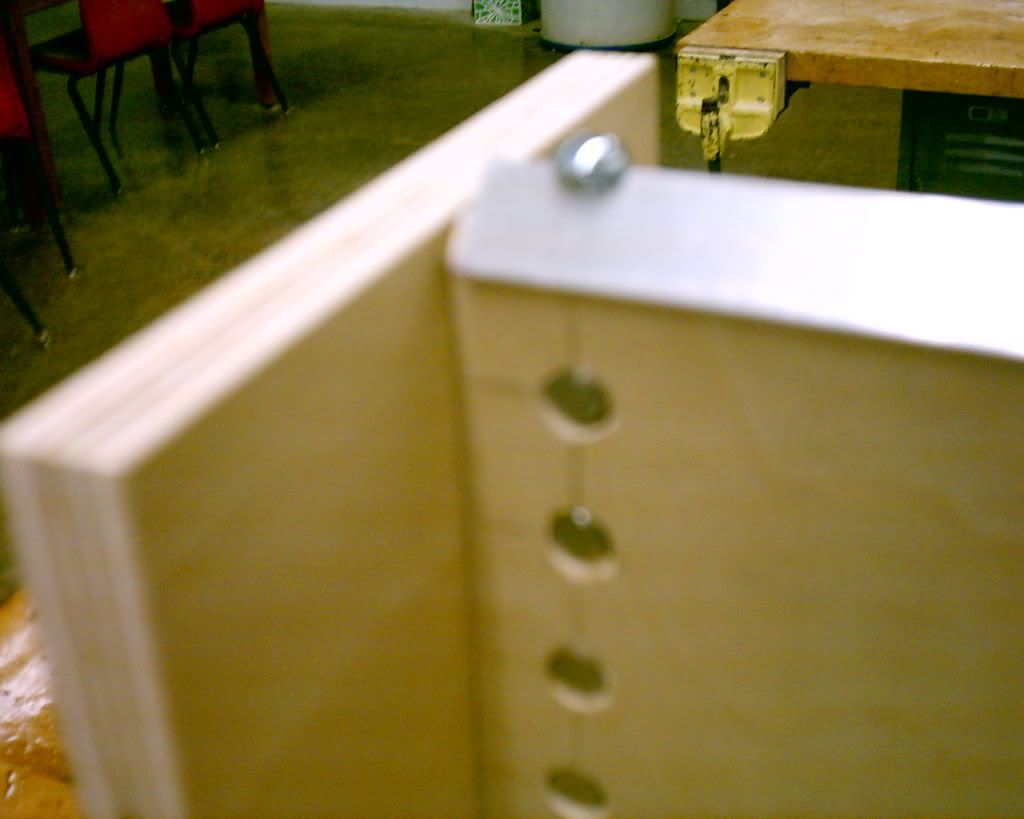
Ended the day by drilling the rails, drilling the side location holes and installing the rails. The book recommended drilling 5/16" hole to give a little more wiggle room. This was probably a good idea.
All in all a very productive day
-
05-30-2010, 03:52 AM #6
Gold Member
- Join Date
- Apr 2009
- Posts
- 5516
Prett cool compact design.... That's the Y axis?
-
05-31-2010, 01:37 PM #7
Registered
- Join Date
- Apr 2010
- Posts
- 0
Yes, that is the Y axis. Originally Posted by louieatienza
I cut out the X axis this morning, and will be drawing up the drill locations , and hopfully drilling it this afternoon.
-
06-05-2010, 07:24 PM #8
Registered
- Join Date
- Apr 2010
- Posts
- 0
Been a while since I posted progress or pictures, but I have been busy giving students final exams and correcting them.
I was working on my machine, but just diodn't ahve time to post, so here is where everything stands so far:
Started out the week with two mistakes:
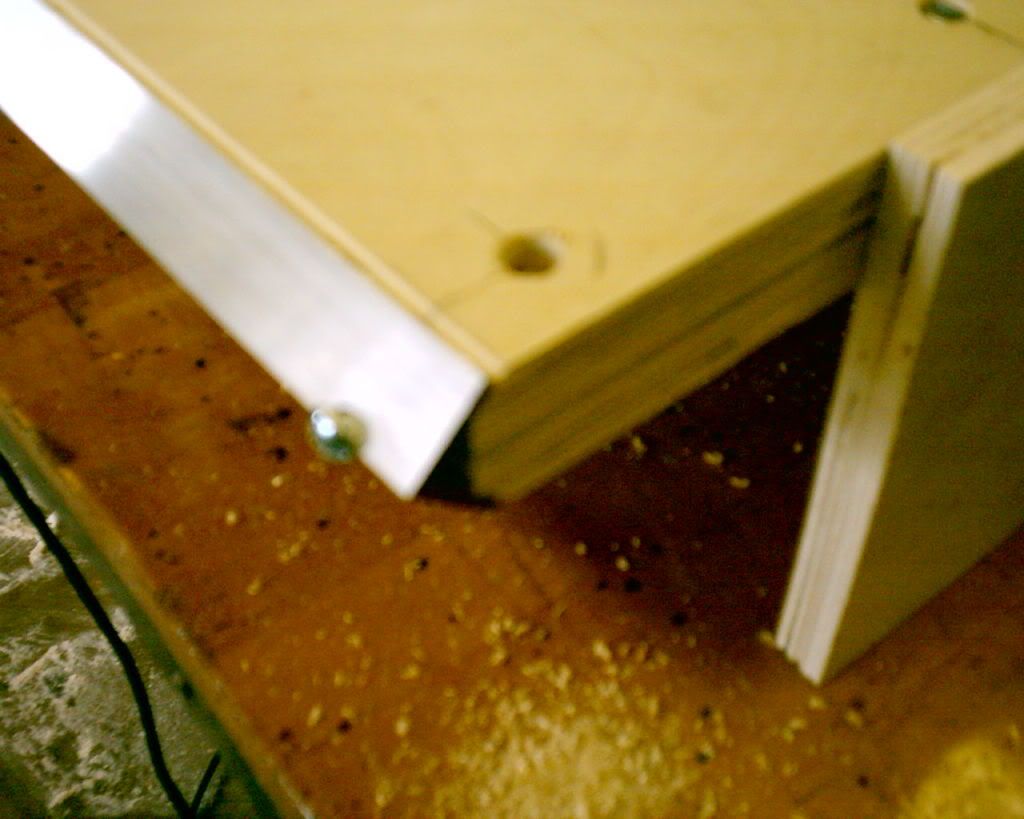
First when I drilled the Drive assembly (Part E) for the Gantry bottom my bolt location was off, not a lot but enough so that the bolts would not go through the holes.MY apologies for the poor picture quality.
Next day made a new one of those.
Then I followed taht up by having the motor mount holes out of alignment for the gantry sides. Every other hole was spot on.
Made new ones of those and they lined up perfectly.
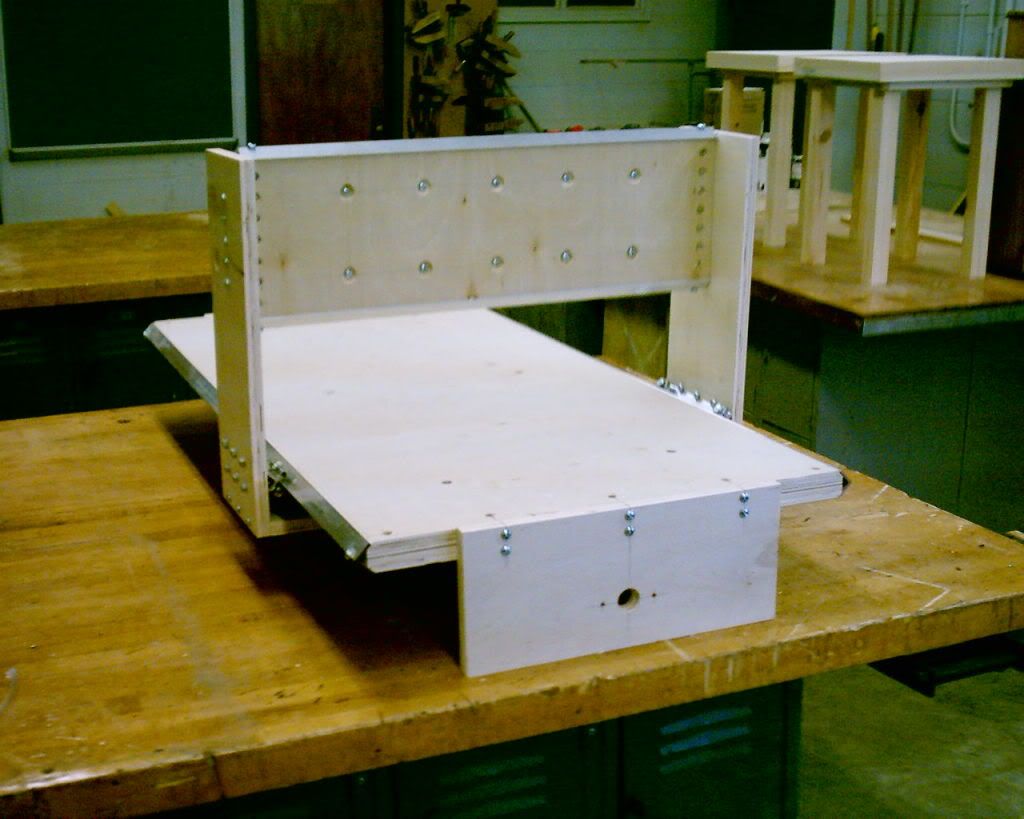
Today I was able to get the entire gantry assembled and sliding.Table top and Y axis with the gantry side.
Gantry side and X axis rail.
Front view of Machine.
Back view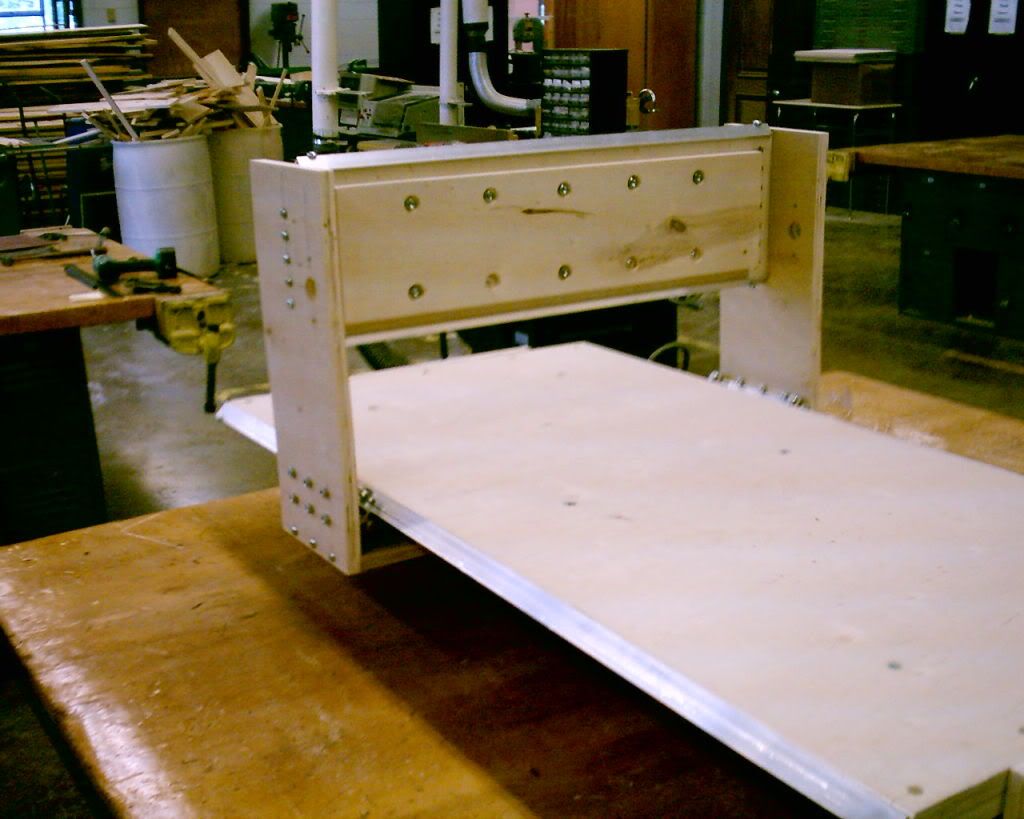
I have discoved that I am missing some 3" bolts and about 25 or so 1/4" nuts, but it seems I do hafve extra cross dowels and 2"bolts.
Does anyone think that using the 2" instead of the 3" will impair the machines strength and or accuracy?
-
06-09-2010, 08:34 PM #9
Registered
- Join Date
- Apr 2010
- Posts
- 0
I contacted Patrick Hood-Daniel about the missing parts at about 6 am (Via E-mail) Less then 5 hours later he contacted me to let me know tha the parts were on there way.
This is some of the absolute best Cutomer service I have ever seen!
-
06-17-2010, 09:59 PM #10
Registered
- Join Date
- Apr 2010
- Posts
- 0
I recieved the parts from Daniel and was able to complete the Y and Z axis.
both axies (spelling?) are a bit over size so I do need to trim a bit and re-assemble. I did have a problem with making the z axis a bit tight the first time so I am being very careful this time around. it's kind of funny the X axis was spot on the first ime around, but the smaller ones are a little off.
I will post new pictures as soon as I can.
-
06-30-2010, 09:10 PM #11
Registered
- Join Date
- Sep 2008
- Posts
- 142
I was also inspired by the same website to build one machine (sold) and am building my second and planning to build another once that one is finished.....one gets such good ideas when building!!
May I suggest that your take off more wood when doing the beveling, just leave enough in the middle to allow the bearing of the cutter to track properly.....the small bevel you are doing has two negative effects:-
1) location of the angle is not 100%
2) If glueing, you need too much glue to get it properly fixed and located.....(I screwed on the first machine Y rails, but since then I ONLY glue with industrial grade glue.....looks better and holds far better!!)
Otherwise very well done.
Regards
Andy
-
06-30-2010, 10:51 PM #12
Registered
- Join Date
- Apr 2010
- Posts
- 0
Andy
Thank you, for the advice, which bevel are you referring to? If it is the one on the table, that is a problem, because I already made the gantry and it is perfect fit.
If it is the one on the Yaxis and Z axis I will give it a go.
Right now work is at a bit of a stand still until I get enough money for my electronics and motors.
Can I ask where you got yours from and what size etc.. that you went with?
Verga
-
07-01-2010, 11:25 AM #13
Registered
- Join Date
- Sep 2008
- Posts
- 142
I was talking about the bevels on each of the axis, where you glue/screw the Aluminium angle on to form the rails.
Having only a small bevelled area reduces the gluing area(strength) and also does not make sure that the angle is 100% at 45° to the axis......
So it is a problem of both accuracy and strength.
Screwing damages the angle and should never be used. Modern glues, provided the rail is cleaned with Meths or similar first, bond as good as "Forever!"
It is also important to have the sides exactly parallel before routing the angles, this can only be achieved on a large industry circular saw.....not on home DIY machines.....
Accuracy, Accuracy, Accuracy, Accuracy, Accuracy, Accuracy.
I build into each machine a small amount of adjustment for each axis. I then use an electronic clock gauge to get all the adjustments as exact as I can, which is generally around 0.05mm ( about 0.002"), which is the limit of the surface quality of the plastic coated chipboards that I use.
Also using the thickest board that you can find helps accuracy, especially on the table. I use 30mm High density, plastic coated chipboard. Thats OK for up to about 2.5' x 4' aproximately.....for any larger I would glue two such boards together.....and have more feet.
Feet need to be adjustable and the machine needs to be set up so that the table is horizontal in both directions.....A good spirit level is a must. I did condier building two in at right angles to each other....but never actually did it!!
See my simple diagram:-
-
07-01-2010, 11:56 AM #14
Registered
- Join Date
- Sep 2008
- Posts
- 142
I forgot to mention, ebay is a good source for cheap motors and electronics.
Though electronics are relatively simple to build if you are not a copmplete newbie to them and you follow the rules for using a PC parallel port etc...
I can recommend a Yahoo blog for extra help over and above the good help and diagrams that can also be found here:-
http://groups.yahoo.com/group/DIY_CNC_Interfacing/
As many designs incorrectly stress the electronics of the PC/Laptop Parallel Printer Port (assuming thats what you want to use!), even commercial designs do this more often than is good!!!
A good design has output resistors from the port of at least 2K Ohms in value (never less!) and full Opto Coupler isolation!!! The ground of the PC port and the ground of the driver card should be totally isolated from each other.....or you will be buying a new mainboard soon!!
Read the help files on that website I mentioned....even if you want to buy a finished set of drivers....so that yoou know what to look out for......
But if electronics scare you (it does many!) then buy new electronics (with a guarantee!) and secondhand motors on ebay. I bought 15 Sanyo 1.8 amp, 200 step (1.8°) motors for less than €20 including postage. Only one was unuseable!!!
Buy motors that you envisage as being a little bit too big/powerful, you will never regret that.
Buy electronics with good modern chips that can drive your oversize motors easily and also have microstep possibilities.
You should have single stepping to at least 1/8 stepping. Many older chips/designs cannot achieve this.....
Microstepping smooths out the movement and reduces the possibility of resonance becoming a problem.....
I am also relatively new to this hobby, but being retired, I have time to read up and lean a lot, so the last 2 years of learning have not been wasted!!!
Best of luck.
-
07-01-2010, 12:59 PM #15
Registered
- Join Date
- Jul 2003
- Posts
- 114
Your build is looking good. A friend built one last summer and has been using it regularly since. It appears to be a good design and will work well. You will need to monitor the bolts time to time to make sure everything stays tight. The electronic setup shown in the book works well. Of course if you plan to build something bigger in the future you may want to buy more powerful motors. I wouldn't go much bigger however because the machine was designed around the motors specified.
Good Luck with your build I know you will enjoy the machine.
Russ
-
07-01-2010, 02:16 PM #16
Gold Member
- Join Date
- Apr 2009
- Posts
- 5516
verga that is looking good! There's some good deals on eBay. Also if you want to get it all from one source Xylotex and HobbyCNC are popular choices (I use Xylotex, the controller comes completely assembled and wired and the motors attached with Molex connectors). I don't know what kind of leadscrews you plan on using, but with hardware-store stuff, the smaller motors work better, and the larger motors with multi-start acme screws.
der_fisherman what material do you use for your machine? Here across the pond we call the "plastic coated chipboard" melamine, typically particleboard core. But there is also melamine with MDF as well as plywood core. I did consider using melamine but worried about its durability. As a cabinetmaker by trade, I used to manully cut skids of the stuff, and I would duct tape my left hand fingers because the edges can become razor sharp. I do like the look and the durability of the surface. Do you also edgeband the exposed edges?
As far as getting parallel cuts, even on my contractor's saw, as long as the blade runs true and the blade is sharp, and the blade and fence are parallel, and the fence is straight, then you'll get parallel cuts. Wih my POS saw I have to always check, and "bump" either side of fence, and even clamp either side if cutting heavy stock.
-
07-05-2010, 07:18 PM #17
Registered
- Join Date
- Mar 2009
- Posts
- 624
Looks like you work/study in a school/collage can i suggest you enroll in the photography class. . . Lol :devious:
The build is looking great thou keep up the good work.:banana:
-
07-05-2010, 09:50 PM #18
Registered
- Join Date
- Apr 2010
- Posts
- 0
Thank you for the encouragement, things are slow now until I get the funds for the electronics/ motors. Originally Posted by hemsworthlad
I actually teach a communication class that has a photography section, but the only camera I had available to me was a cheap vivtar 3315. I was generating a lot of dust and didn't want to take my good Kodak into the shop.
-
08-02-2012, 07:25 PM #19
Registered
- Join Date
- Apr 2010
- Posts
- 0
long time since I posted
I fianlly have enough money to finish my build.
Yes it has been just over two years.
Bumping to the top
-
08-03-2012, 01:30 AM #20
Registered
- Join Date
- May 2012
- Posts
- 29
Lets see some pictures!


 Reply With Quote


Similar Threads
-
Good book for how to build a CNC conversion?
By coltz in forum Uncategorised MetalWorking MachinesReplies: 0Last Post: 08-14-2009, 10:37 PM -
Is there a BOOK on this????
By Smitty911 in forum Dolphin CAD/CAMReplies: 39Last Post: 02-18-2008, 02:44 PM -
I need a book!
By jimc in forum Servo Motors / DrivesReplies: 11Last Post: 04-13-2007, 05:13 AM -
i need a book
By rusticr6 in forum G-Code ProgramingReplies: 10Last Post: 10-23-2006, 03:47 PM -
cnc book
By georgebarr in forum DIY CNC Router Table MachinesReplies: 3Last Post: 07-05-2003, 05:08 PM
