


Yes I have actually quite a bit to update.
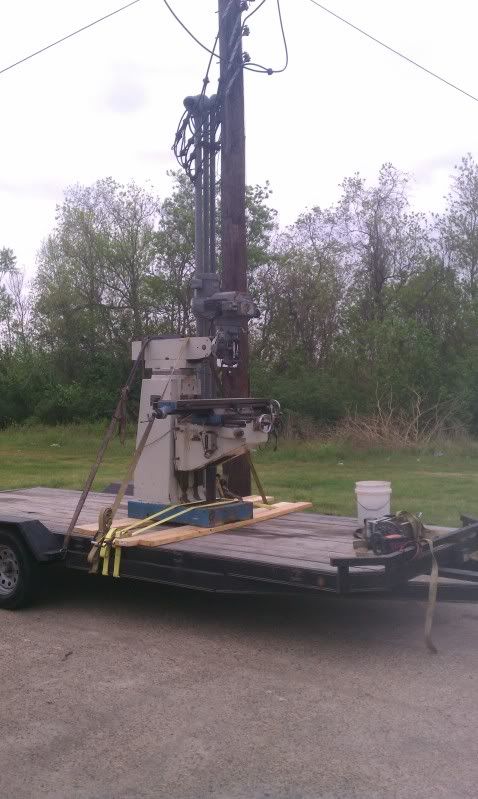
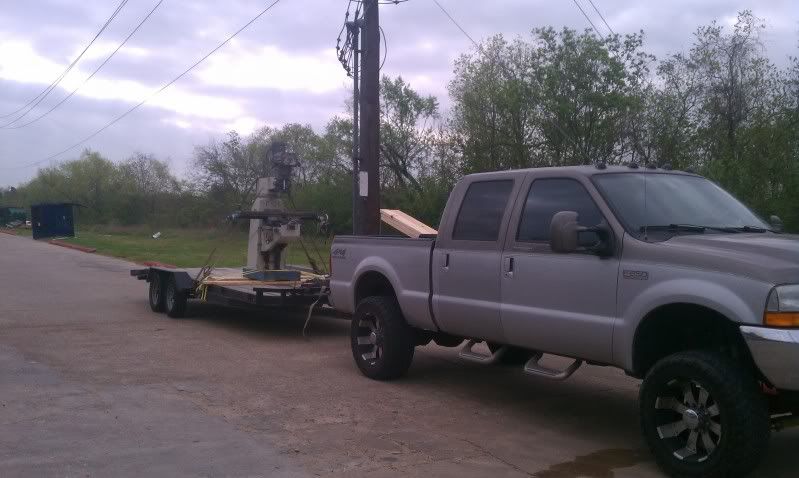
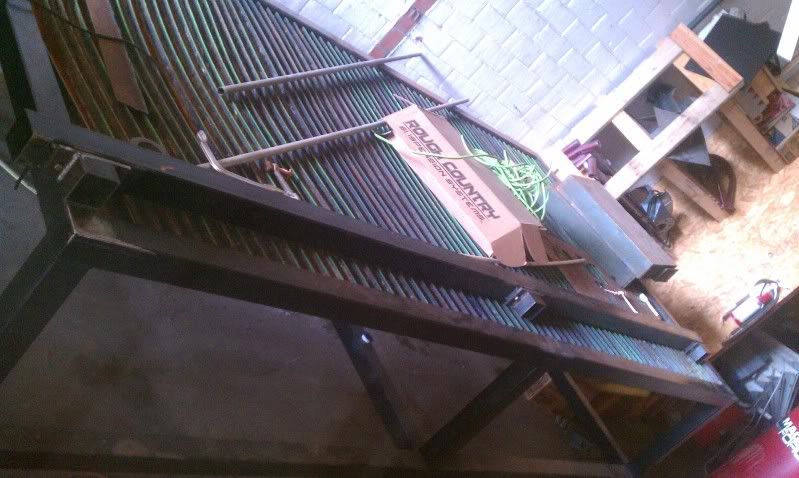
I was able to get everything up and running but, I kept having tracking problems due to the force applied to the outer rails due to the slats having a bow. This caused my perfectly aligned rails to take on a bow in the center when the slats were installed. I had a feeling that accuracy during assembly was going to be problem. So I began shopping and was able to find a supermax mill w/ dro. Everything seemed in good shape so I brought it home and began tinkering with it, since I've never use done before. Easily the most useful tool in the shop now.
Well after many hours of staring at the table in frustration I said the hell with it and cut the rails and riser blocks off. Then stepped back and wonder what the hell did I just do....O well no turning back now...:idea:
The plan is to make a set of misalignment plates that are slotted to allow the rails to be aligned independently of the table itself.
I started with 3/8" x 6" flat plate that was cut down into 12 2.5" pieces on the coldsaw. One set of 6 was set up in the mill and had 3/8" slots milled into them. Next, I ground down the old places where there rails were originally welded in place to the main stucture. I used a machinist file to smooth things out and get them near perfectly flat.
After that I began making the new riser blocks for the rails. I started with a left over stick of 3x3 tubing and rough cut 6 pieces to 2 1/16". Then each piece was put into the mill and surface milled to 2". This ensured that everything was perfectly level.
The old tubing that had the linear rails bolted to it was reused. I welded all the old mounting holes up as I had several issues with them being off over the long length and just wasn't very happy with the way they turned out. Once they were welded up they were ground down smooth. I wasn't too worried about these being perfectly flat since I planned to flip the tube around and used the opposite side so I wasn't dealing with drilling through spot welds.
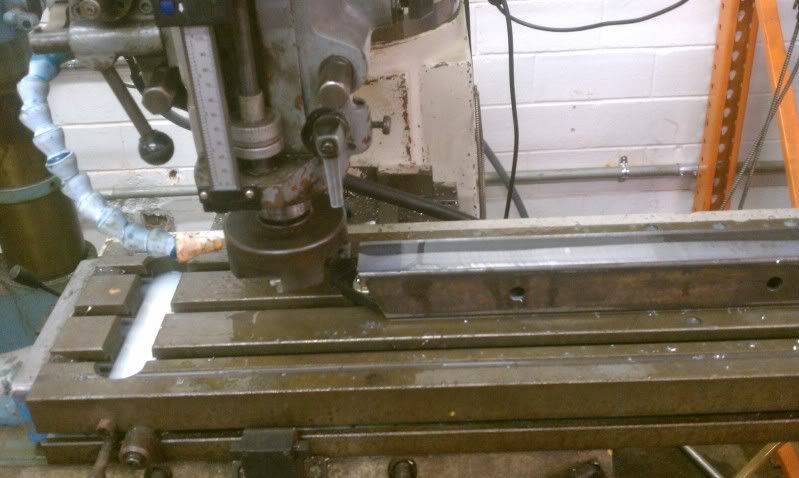
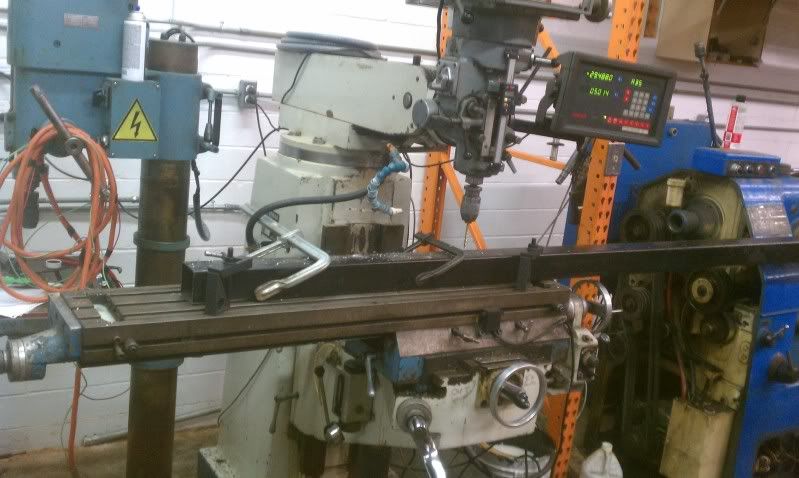
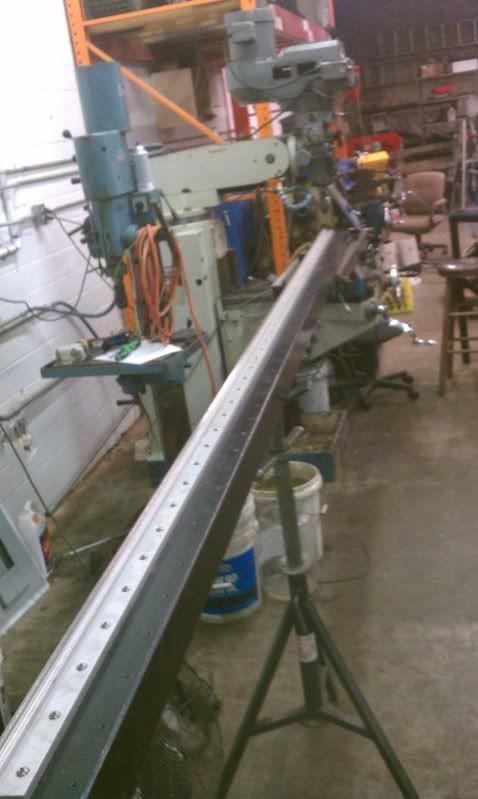
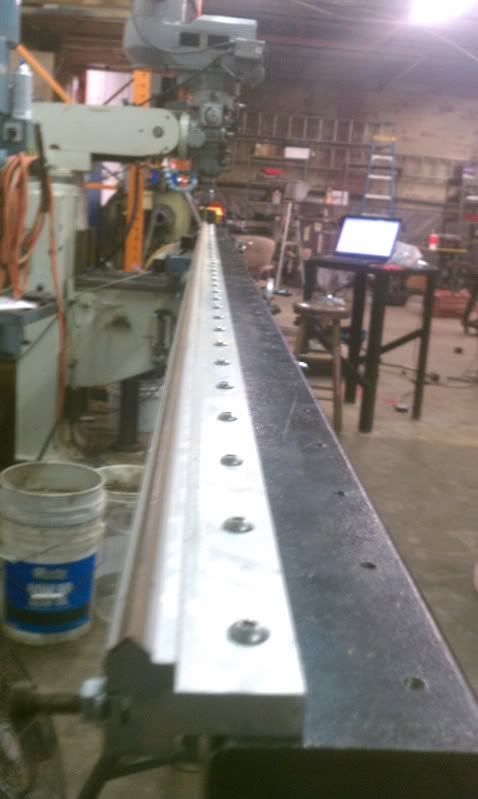
I surface milled two sides of a piece of 2"x2"x36" sq tubing to use as a guide. After it was milled I loosely bolted it into place on the mill table and then indicated it to the spindle within .004 over 26". Close enough for what I was working on. Next I set up the tubes in the mill and proceeded to drill the mounting holes using the dro on the mill to keep everything as accurate as possible. Then I got to hand tap 128 1/4-20 holes....yay...I should have setup the gearhead drill press but, I don't have any experience taping with it and I didn't have any gun taps on hand. After setting the rails in place everything lined up perfectly ...whew :cheers:
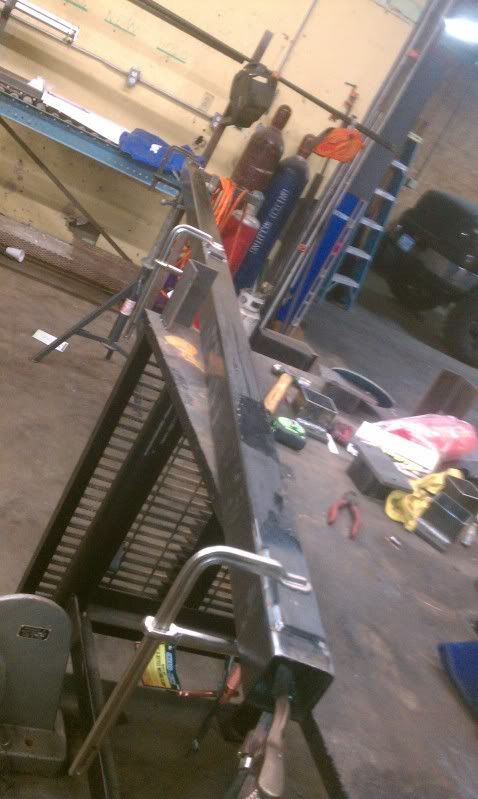
Once I finished that I set the mounting tube up on my welding table and welded the other 6 pieces of 3/8" plate to the bottom of the tubing. I also welded the riser blocks to the milled plates after i set up a jig using 123 blocks. Once these were in place it was back to the mill. Each plate that was welded to the mounting tubes were then drilled and then tapped to 3/8-16 to match the previous plates that had the slots milled in them.
The moment of truth... Do all of these parts that I have spent 2 days working on fit togther..... Yep.. Ok so I haven't wasted all that time.:banana:
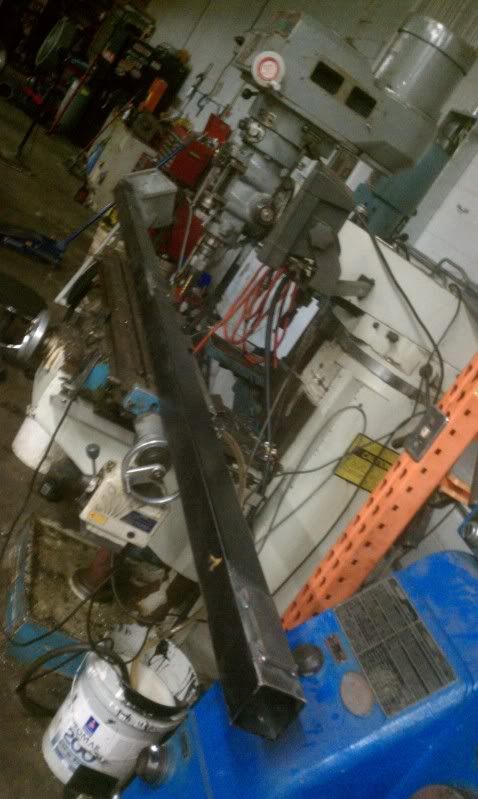
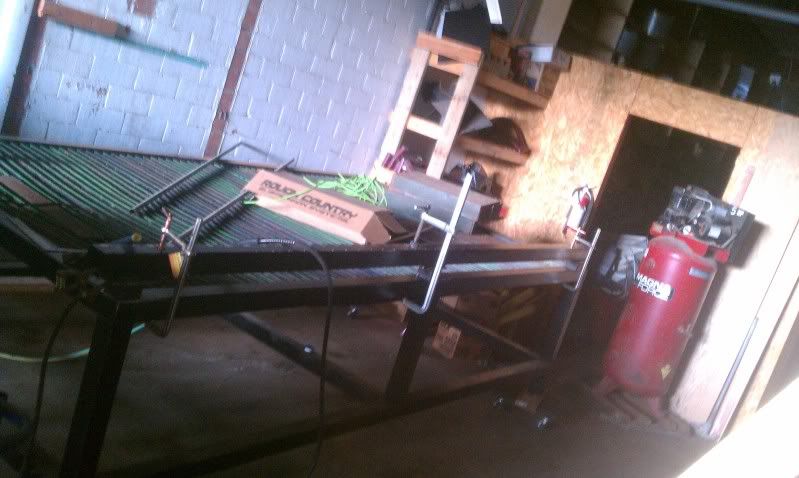
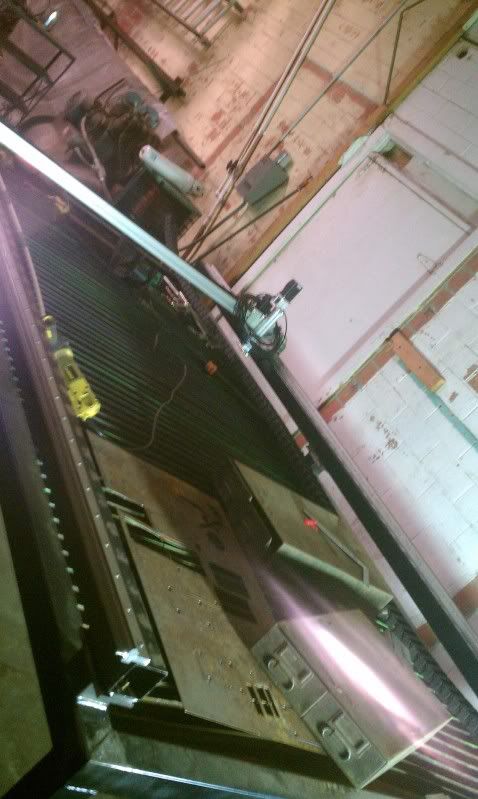
Now on to getting these parts on the table and reassembled. I setup the rails on top of the table and after measuring and clamping everything in place I measured again and again. Well everything looks good so the riser blocks were tacked in place. On to the next side and repeat.
Everything was looking good so I set the gantry in place and began adjusting the rails until it stayed perfectly on track. Sweet everything is looking good at this point.
I'll add more updates tomorrow....
Thread: Lonestar 5 x 10 Build
Results 21 to 29 of 29
-
08-04-2011, 07:49 AM #21
 Registered
- Join Date
- Sep 2010
- Posts
- 0
-
12-01-2011, 12:51 PM #22
Registered
- Join Date
- Aug 2011
- Posts
- 21
any update?
-
12-19-2011, 04:55 AM #23
Registered
- Join Date
- Dec 2011
- Posts
- 0
Funny you wound up using plates to allow you to adjust the rails. I'm just starting on my table and was thinking "how the hell am I going to get those rails perfect...what if they come off a tiny bit after heat from welding.". Solution. Make 8 - 3/8 square plates , 4 with sloted holes. The top rails will be attached plate to plate with one plate welded to the stub coming down from the rail and the other on the table. This will allow me to make the gantry perfectly straight. I may add some horizontal fine thread bolts to allow me to adjust it with those so it doesn't move when tightening the plate bolts.
Since I'm not using v rails this step is very important...
--John
-
01-01-2012, 07:31 PM #24
Registered
- Join Date
- Oct 2005
- Posts
- 378
Txchevy,
Excellent job on your build. The floating adjustable rails work great. I arrived at the same conclusion you did during my build.
Magma-joe
-
02-17-2012, 03:28 PM #25
Registered
- Join Date
- Sep 2010
- Posts
- 0
Its nice to see that I was on the right track with the second rebuild. I had hell before I tore it down and added that feature.
As far as updates they are pretty much non existent. My real job has taken over most of my time so the table sits idle.... Kinda aggravating really, big pile of money doing absolutely nothing.(chair)
The last time I ran I had hell getting it to pirece .250 or even stay running through an entire file. I'm also getting these wavy squiggles when I change direction. It seems I tracked it back down to the z axis linear guide again. I don't know it came out of adjustment or what... I was on a deadline and ended up cutting out the parts by hand... ( blah):bs:
I've been stuck working nights the past few moths and have had alot of time to ponder my troubles.
1. I'm seriously considering replacing my z axis with a K2 6" travel setup and adding a linear slide beside it to control an air scribe. The only reason I haven't pulled the tigger is that I question whether my gantry can handle the added weight. Any thoughts? The K2 setup is a much more stable design with its guiding rails. Only downfall is that I loose my 2 start screw.
2. The x axis pinion engagement system sucks IMO!!!!! It looks good on paper but, has been less that satisfactory in my use. The pinions seem to not line up and mesh properly with the gear rack due to the spring acting as a pivot. I'm still trying to decide how to fix that. I thinking remove the spring at the pivot and go to solid mount pivot would help immensely.
3. I have observed arcing between the z-axis torch mount and the torch collet. Not sure whats going on there, may need to ground the table to a grounding rod as well as the control box and pc cart.
Well if any has any input to the above issues I'd greatly apperciate it. I'll post back if I can seem to remedy any of them.
-
02-17-2012, 06:59 PM #26
Registered
- Join Date
- Jan 2011
- Posts
- 0
I have the same extruded aluminum rail for my gantry, and I'm about done with it. The only way to get rid of the "squiggles" when changing directions is to cut slower--much slower than my machine is capable of otherwise. Mine isn't quite a long as yours, either...I have a 4.5' wide cutting area.
Also, I do have a K2 Z axis--so I don't believe I have any flex coming from anywhere besides the aluminum extrusion itself.
I need to talk to an enginerd-type to figure out what I want to make a new gantry out of, that will be stiffer than the current version, but still as light as I can keep it.Carl
-
02-17-2012, 07:48 PM #27
Registered
- Join Date
- Sep 2010
- Posts
- 0
That's not what I wanted to hear. I've been considering going to a 4x4 aluminum extrusion. The only down fall is that the only part of the gantry id be reusing is the side rails. With that in mind I would be inclined to tear everything down and go to a drop rail design. Now it just snow balls from there... I know this setup is capable of quality cuts. I've seen it posted on here as well as in person when I first built it.
I think one of my biggest problems is that I can't donate continued time to the table. There's time it sits idle for weeks even months so I have to try and remember what it was that I had been experimenting with last time. This has become a major problem with moving forward.
Any idea the weight of the k2 z axis ? Any problems or issues you've had with it?
Thanks
-
02-17-2012, 10:01 PM #28
Registered
- Join Date
- Jan 2011
- Posts
- 0
I know the feeling! I've considered making mine a drop rail also, but I think I'd build a new table completely before going that far.
What I have in mind is a 2.5" or 3" square steel tube, with V rails bolted to it top and bottom, so it functions like my current extrusion only bigger. And heavier. I might make the ends to fit the current bolt-on gantry carriages I have, so I'd only have to remake my X/Z axis mount.
I haven't had any problems or complaints with my K2 Z. I don't know the weight off the top of my head--it's fairly beefy, not a lightweight unit.Carl
-
02-18-2012, 08:50 AM #29
Registered
- Join Date
- Dec 2011
- Posts
- 0
The adjustable rail idea! You stole that from my mind lol. I thought of that too like you guys "how the hell am i going to get those rails perfect....i need a way to adjust it".....so I cut 8 3/8 plates...
Almost time to head back to my shop in NY and get my table finished.
--John

 Reply With Quote
Similar Threads
-
Newbie - To build or not to build Router/Plasma Table
By dfranks in forum Waterjet General TopicsReplies: 10Last Post: 04-08-2011, 05:16 AM -
Joe's 4x4 hybrid build/2006 build
By krap101 in forum DIY CNC Router Table MachinesReplies: 1Last Post: 08-09-2010, 11:30 AM -
NEW BUILD: PVC as a build material
By Smiler in forum DIY CNC Router Table MachinesReplies: 12Last Post: 11-13-2009, 11:57 PM -
New Large Table Build in Houston, TX (Build Log)
By anitel in forum Plasma, EDM / Other similar machine Project LogReplies: 12Last Post: 12-30-2008, 09:45 AM
