


Thanks Bill. I redrew it, following a body I had laying around. It's actually a copy of a Charvel body, which is SLIGHTLY different from a Fender body. That is a Strat body. I do have a Tele model as well. I drew the models in 2D in VCarve Pro. I then sent the 2D CAD to a friend who extruded them and created 3D models for me. I use OneCNC to do 3D toolpaths...Originally Posted by bill south

Thread: Vcarve Gallery
Results 461 to 476 of 476
-
03-16-2012, 06:01 AM #461
 Gold Member
- Join Date
- Apr 2009
- Posts
- 5516
-
04-06-2012, 10:02 PM #462
Registered
- Join Date
- Sep 2010
- Posts
- 528
V-inlay
I've been using VCP for a while now and decided to try the V-inlay technique. I work mostly with ships carpenters on yachts in South Florida. Most yachts have large teak tables with inlays of compass roses or fish, so being able to do create intricate multi-colored inlays should generate a lot of business.
My test was this dragon yin-yang symbol. The background is a piece of 3/4" maple veneer plywood, the foreground is 1/4" teak. The entire symbol is 5" in diameter.
This took me about 2 hours including finding the artwork on the internet, importing it and cutting both the pocket and the inlay.
I used a 1 1/2" 90' insert bit from Amana.
The finish is a single pour of epoxy resin.
-
04-06-2012, 11:00 PM #463
Gold Member
- Join Date
- Nov 2007
- Posts
- 2466
VERY COOL !! Originally Posted by jharvey407
James McGrew CAMaster 508 ATC
www.mcgrewwoodwork.com http://dropc.am/p/EJaKyl
-
04-07-2012, 01:22 PM #464
Registered
- Join Date
- Sep 2010
- Posts
- 528
Thank James, but the credit really goes to the guy's that invented this technique. It really is a game changer. Originally Posted by cabnet636
And thanks again, I've seen your work, so any compliment from such a fine craftsman is really appreciated. I am hoping to collaborate with some local cabinet makers to expand my business and theirs.
-
04-07-2012, 02:56 PM #465
Gold Member
- Join Date
- Nov 2007
- Posts
- 2466
Originally Posted by jharvey407
i cut my woodworking teeth in my early 20s at the yacht yards starting at flavia goia in geata italy, several in fla, and finished by developing the Crown bay marina in St. thomas. came home to sc after ten years doing this work that in the mid 80's after selling the marina,, i spent 10 years on yachts and stinkpots from Bahia Mar to Zia Marina in pireaus greece. i have seen many a good piece of woodwork on many yachts and you are well on your way !!James McGrew CAMaster 508 ATC
www.mcgrewwoodwork.com http://dropc.am/p/EJaKyl
-
06-02-2012, 06:03 PM #466
Registered
- Join Date
- May 2011
- Posts
- 0
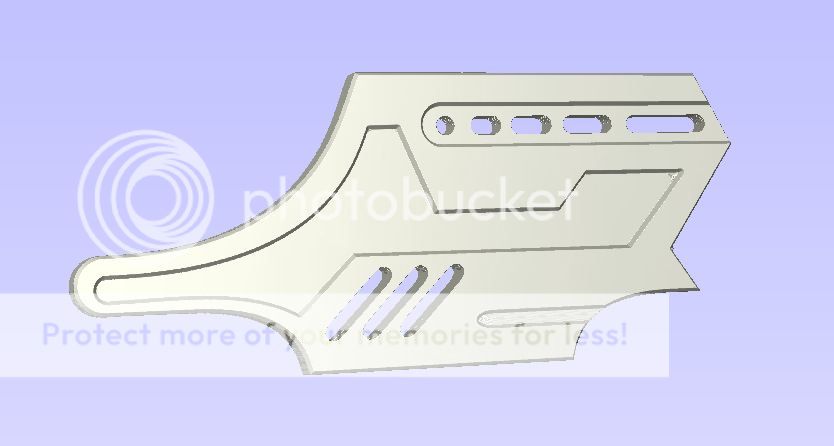
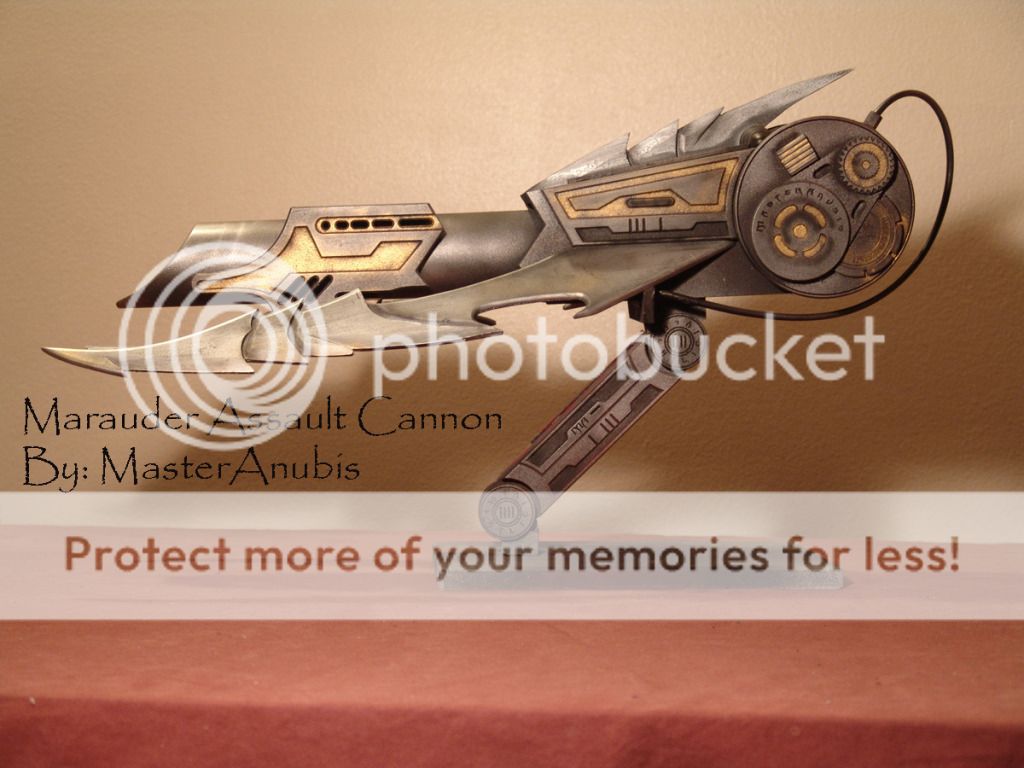
This is a little pic heavy, but that's the point of this thread. Right?

I add the tabs after I take the screenshot of the cutouts.
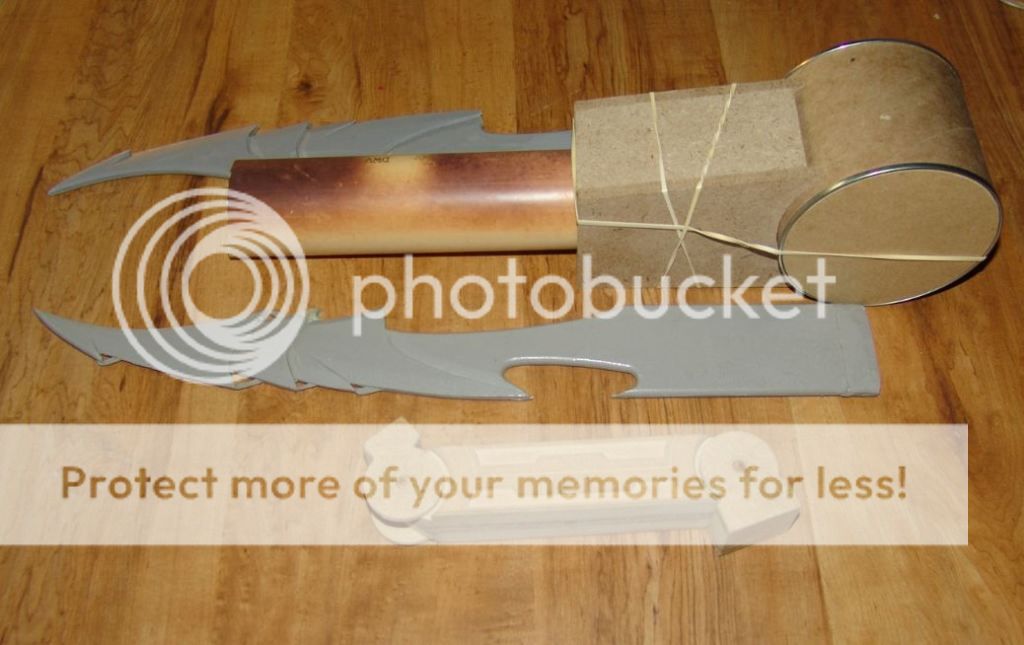
This was for a Predator shoulder cannon competition on thehunterslair.com I entered. Everything I cut I did on my Taig MicroMill so I had to work withing the space constraints.
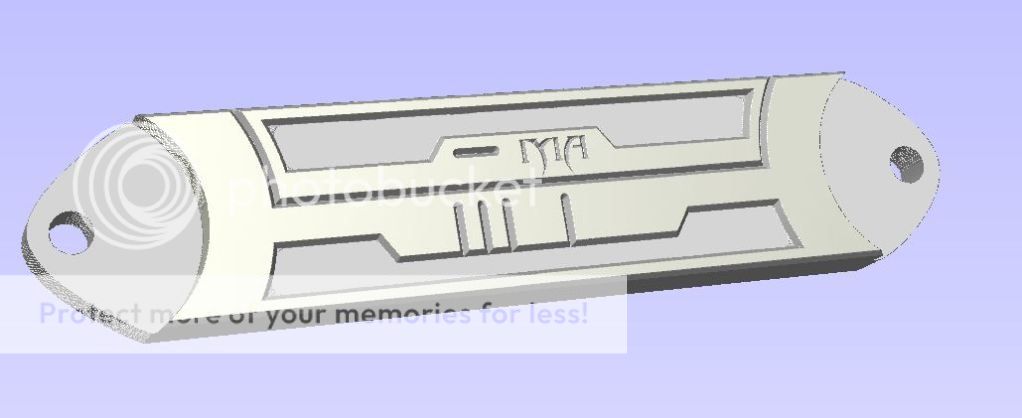
The two outer peices of the arm. They sandwich another piece to get to final thickness.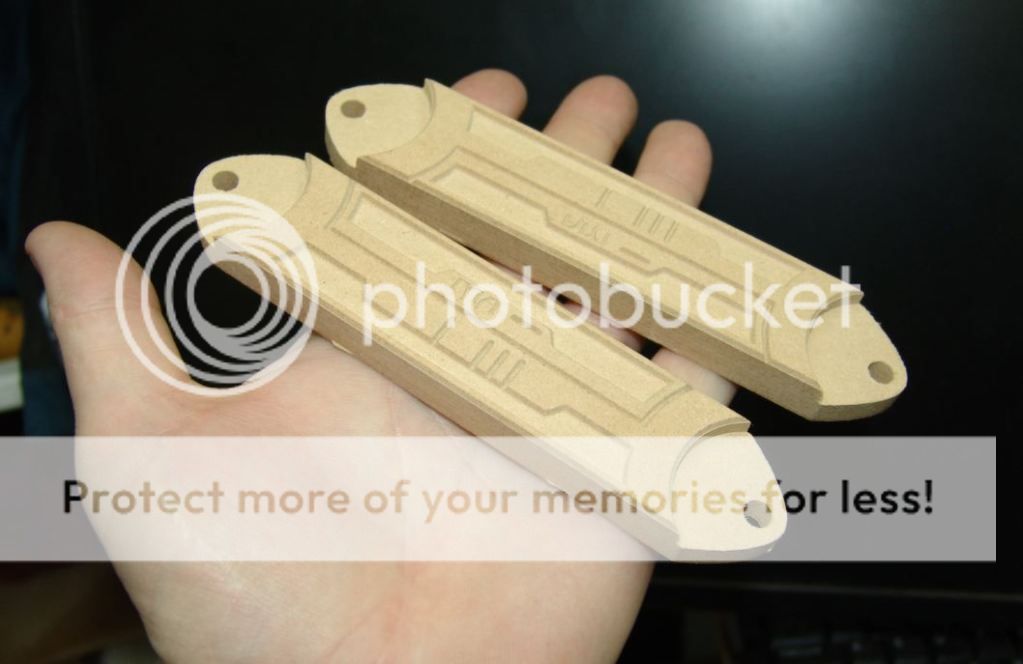
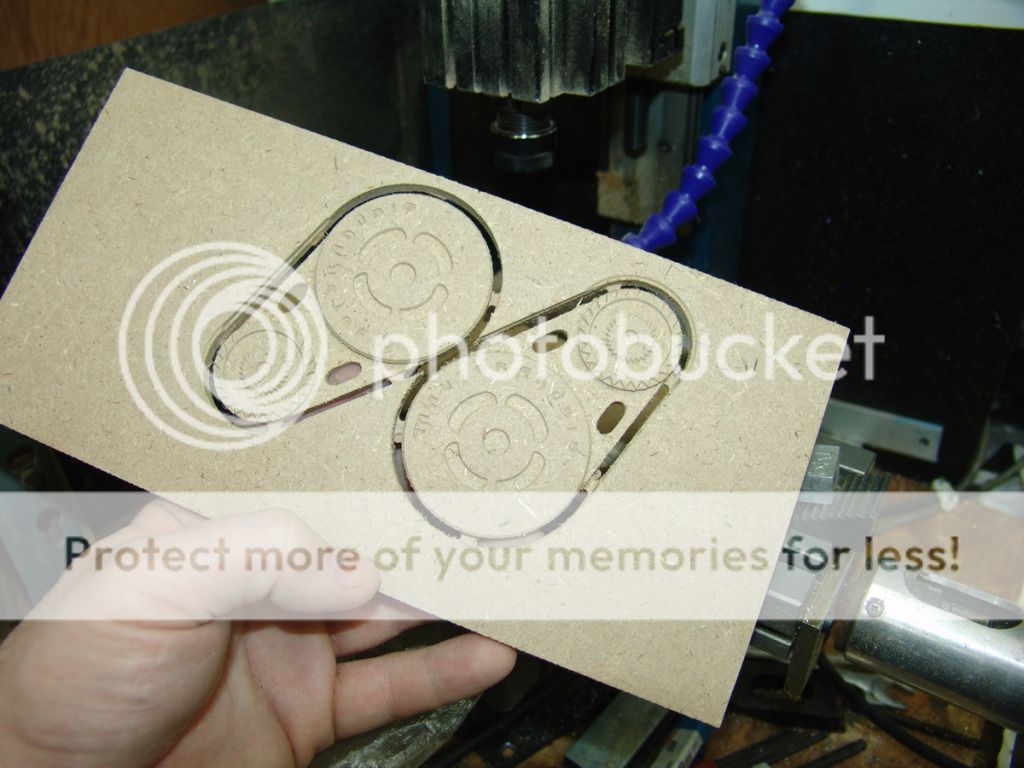
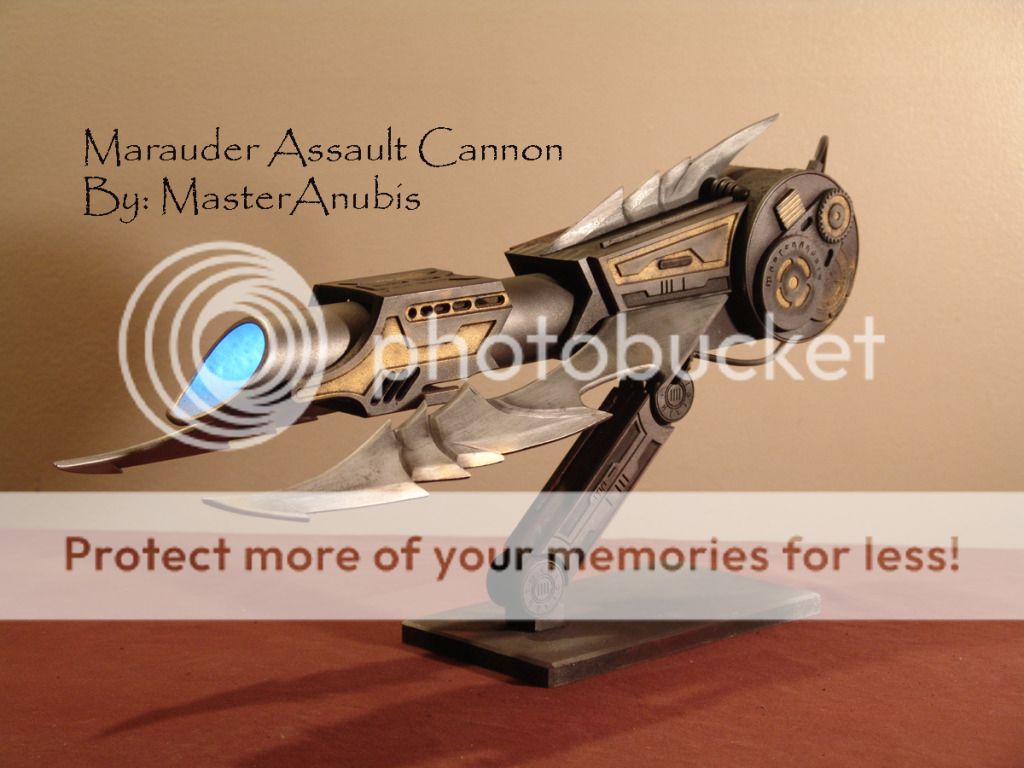
The disks to cover the can's end and the the box peices. At this piont the arm is 9 separate piece. When mounted it got 4 medalion covers over the dowels. The blades are cast from resin from my orginals that I had carved out of ABS.

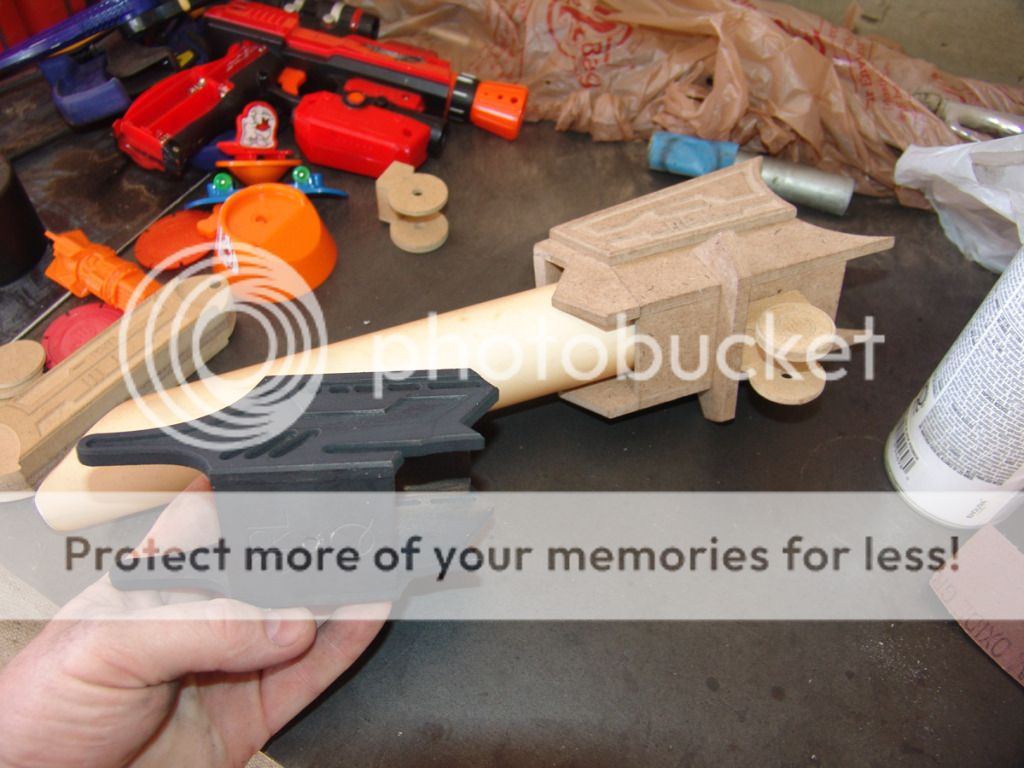
I'm really surprised how well MDF keep details. I used green scotchbrite pads to 'debur' the pieces. In the end I primered scotchbrited again and painted.
I used a total of 31 separate pieces for this project. I cut a few more.


on another note, this is a head tube badge for a mountain bike I cut to see if I could do it. I cut it out then bent it with a body dolly on a sand bag. Then painted it and used acetone to wipe it off.
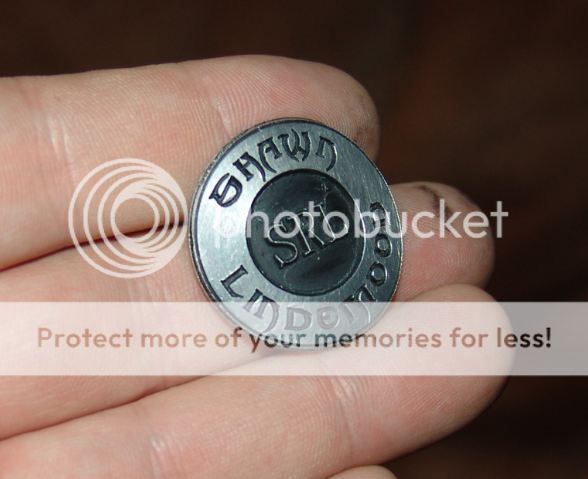
.
-
06-03-2012, 07:18 AM #467
Registered
- Join Date
- Mar 2006
- Posts
- 118
That Gun Looks awesome.
Chuck
-
06-03-2012, 01:05 PM #468
Registered


- Join Date
- Feb 2007
- Posts
- 532
Very nice work....
You've got some great model making skill, the CNC stuff is just the icing on the cake. :-)
-
06-04-2012, 06:05 AM #469
Registered
- Join Date
- May 2011
- Posts
- 0
Thanks guys. Yes the CNC has added more accuracy to things I build, that's for sure. I just got the demo of Aspire to see if I can get that to work for me. I haven't had time to try it. Originally Posted by kiwichris

I forgot to mention that the end mills I use are a 1/8" 60 degree V-bit and a regular 1/8" end mill.
-
06-04-2012, 01:46 PM #470
Gold Member
- Join Date
- Jan 2005
- Posts
- 2010
Vcarve and MDF....and a little stencil ink!
“ In questions of power, let no more be heard of confidence in man, but bind him down from mischief by the chains of the Constitution.” Thomas Jefferson
-
07-21-2012, 12:56 AM #471
Registered
- Join Date
- Mar 2007
- Posts
- 15
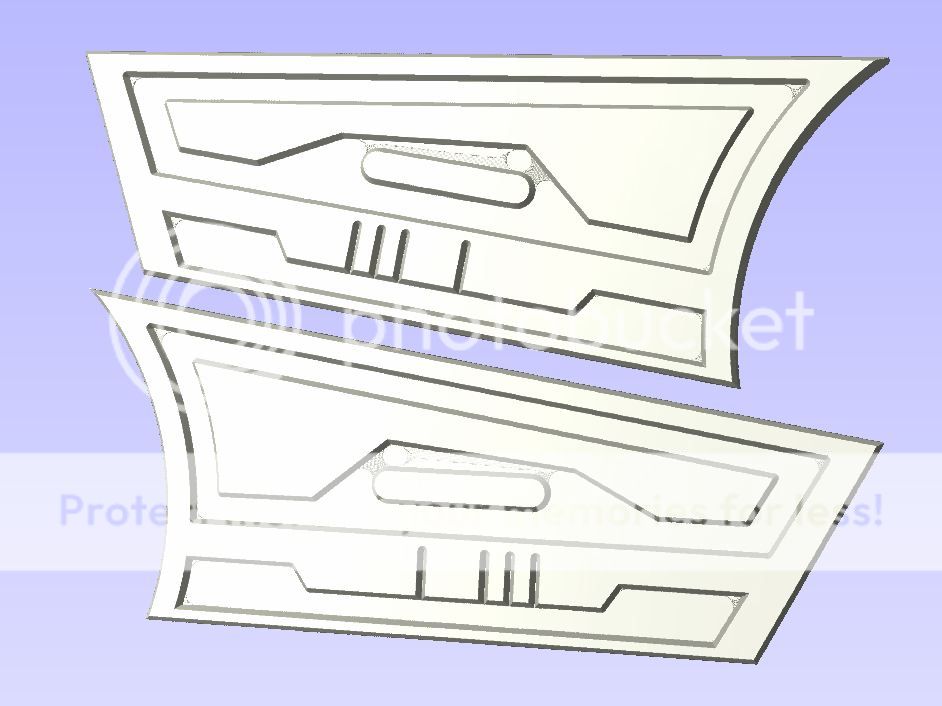
Well this is my first try making a part with this software and so far i'm happy with the simulated results. The only thing I can't seem to get rid off is the two bumps on the simulation right at the back side of the wing and the middle of the wing. Anyways thought I would post this up hopefully I will get a chance to cut this out in a week or to.

-
08-11-2012, 07:21 PM #472
Junior Member
- Join Date
- Aug 2012
- Posts
- 17
Wow! This is great work! Thanks for sharing!
My work is at http://www.Evergraphs.com
-
08-11-2012, 07:56 PM #473
Junior Member
- Join Date
- Aug 2012
- Posts
- 17
I wonder if those bumps are only visible on your original image when enlarged to about 400%? But, they show up on your finished result due to the size of the bit?
I had a problem like that when I was cutting images based upon edited photos. I couldn't figure out where the extra holes were coming from because they weren't apparent on the edited image. It wasn't until I enlarged the images that I found spots just a few pixels wide.My work is at http://www.Evergraphs.com
-
08-24-2012, 01:41 PM #474
Registered
- Join Date
- Apr 2005
- Posts
- 1268
What a Great Thread!!!!
I just switched to Aspire from VCP a couple of months ago and am loving it. However, I am quite humbled by the power of this software. I was concerned with the price at first since this is a just a hobby but now I'm kicking myself for not getting it months ago. It's the best software packag I've invested in (so far).
I've watched the videos and have been able to reproduce the lessons on my own but unfortunately, my retention is not what I wish it were. Oh well, just as in a fine wine, I'll improve with age (and experience).
I'm putting the finishing touches on my telecaster guitar which was inspired by this thread (many thanks) My next project will be a stratocaster if I can find a model for it. Hopefully some day I'll learn to play (lol).
Thanks guys for a great thread.
Bill
 billyjack
Helicopter def. = Bunch of spare parts flying in close formation! USAF 1974 ;>)
-
08-24-2012, 01:47 PM #475
Member
- Join Date
- Dec 2007
- Posts
- 2134
Great looking guitar Bill! What species of ash (looks like what we call Tassie oak/Vic Ash in OZ) is that?
cheers,
IanIt's rumoured that everytime someone buys a TB6560 based board, an engineer cries!
-
08-27-2012, 02:37 PM #476
Registered
- Join Date
- Apr 2005
- Posts
- 1268
Enter the Dragon
Hey Ian;
The body of this monster is made from laminated oak planks. I have a friend in the cabinet business and I asked him to laminate a body blank for me. Well, without specific instructions, he chose oak. I guess the weight factor never came to mind! I'm afraid it'll make a good boat anchor if weight means anything (lol).
I'll attach a pix of the finished instrument. I still need to set up the action and level the neck but I'm in no hurry. It's going to be a wall hanger for the shop. Already working on my next project with some poplar and walnut laminated.
So much to do and so little time!
Thanks for looking!
Billbillyjack
Helicopter def. = Bunch of spare parts flying in close formation! USAF 1974 ;>)

 Reply With Quote