


Here is my go on the SX3 conversion. I like threads with a lot of pictures so its gonna be a few of them and i will try to document as much as possible for future reference. The Z axis is based upon Christoph Selig(einfach-cnc.de) drawings, but modified for another ballscrew. Im gonna use a rolled ballscrew with double nuts for the Z axis,Kuroda ground ballscrews for the X & Y and stepper motors all around(3Nm/430ozf.in). The Z axis gonna be geared down to 2:1 and XY is direct drive. Im using FAG angular bearings on all three axes.
I have allready sourced the ballscrews and got them machined and the only thing im missing to complete the build is 2xstepper motors and a few bits and pieces.
Had some time to getting around to start with the Z-axis this weekend. I bought a extra cast of the housing and bearing block a few years ago so i can do everything on my own mill. First out was the nut housing.
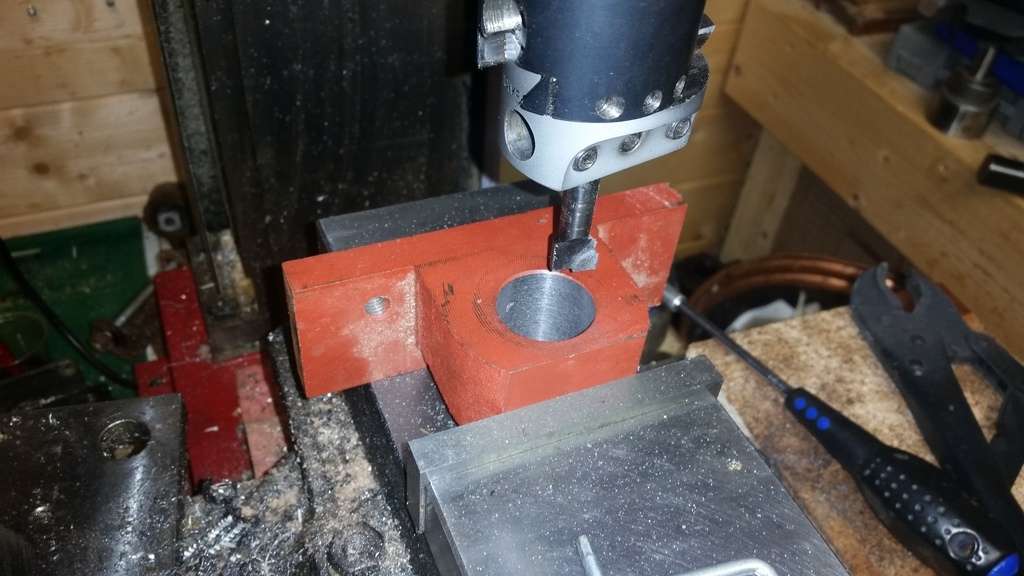
I had trammed my mill earlier that day and made sure the housing was square on my surface plate. The hole for the nut was the reference for all my measurements and i dialed in the hole with my Blake coaxial indicator i then started to bore out the hole from 30mm to 36mm:
Pardon the mess
After the hole was bored out i turned a little punch to mark the holes. I had a spare ballnut from another router build to work with so that made it a little easier.
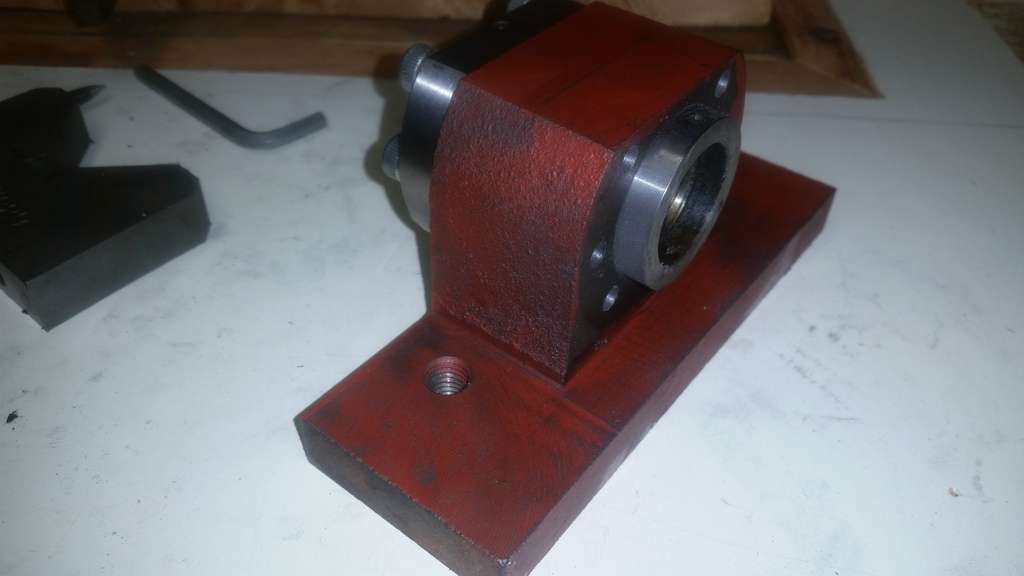
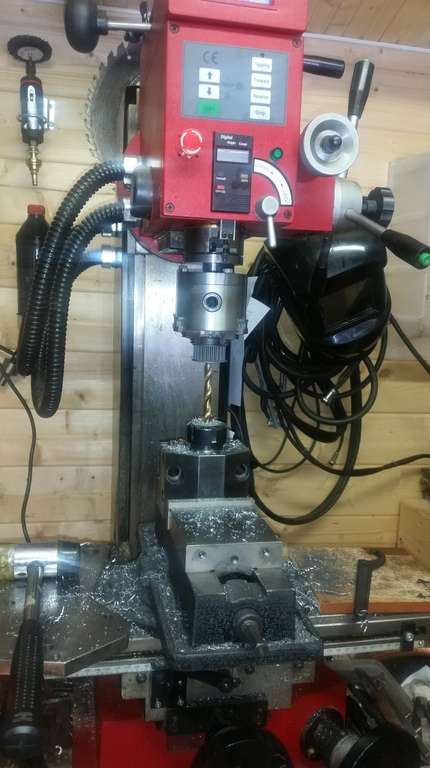
I then lined up a spot drill over the mark, drilled a 3mm hole 20mm deep, then 5mm all the way though, chamfer and tapped a M6 hole.
I really wanted to use my "new" "TTS" swizz made Edalco CNC tapping head that i turned down the shank from 25mm to 3/4" earlier that day. Its been lying in a drawer for the last two years after i bought a lot of tooling from a company going bankrupt. With a 25mm shank there was no way i could use it before. I still need to make a recess in the body so it sits on the spindle and not on the TTS collet. But i need to buy some new inserts.
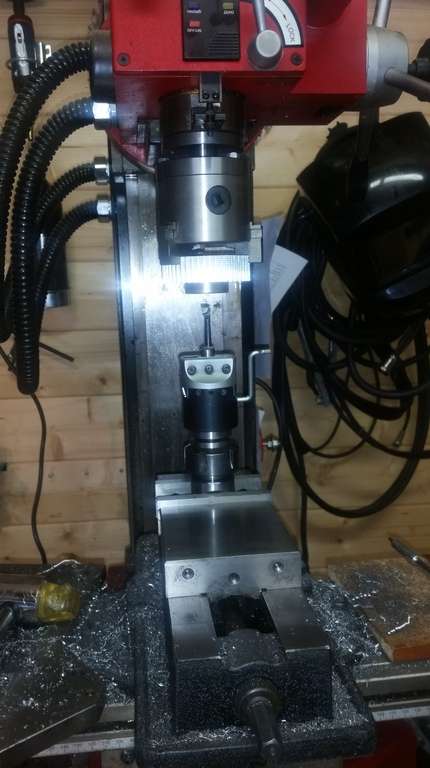
But i didnt want to break anything so i decided to go manual.
After i had tapped the first hole i did the second. After that i did the 4 last ones.
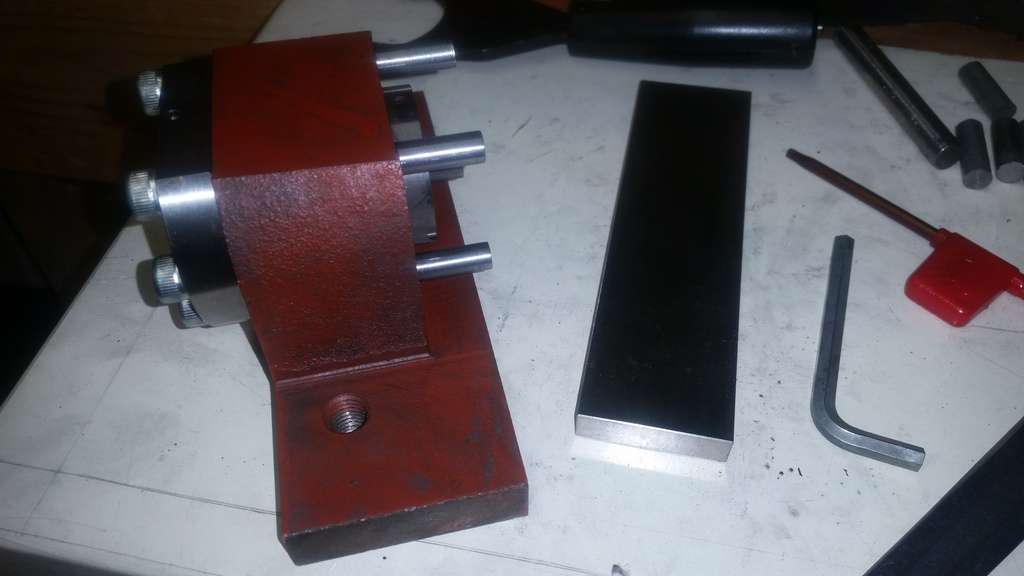
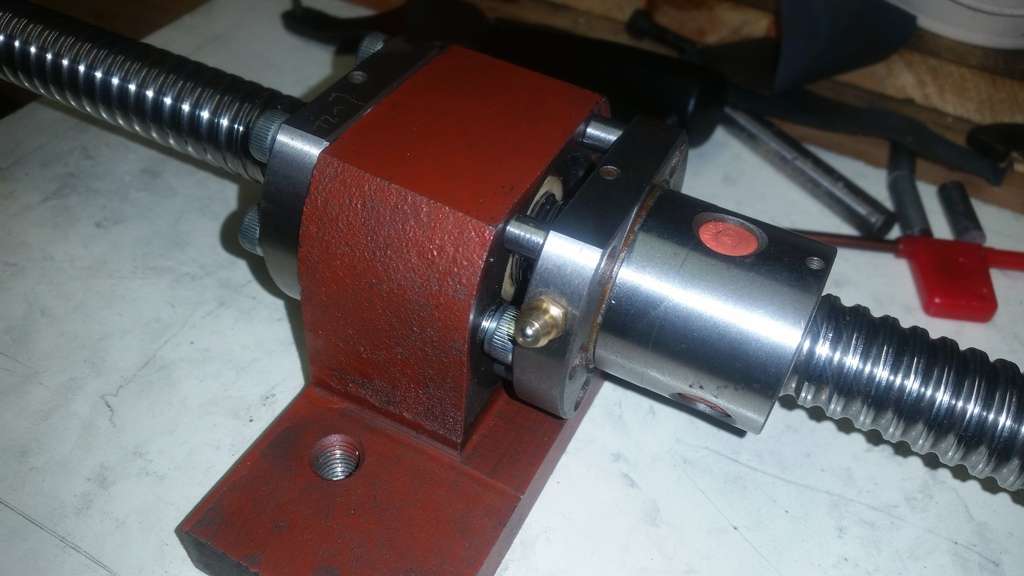
I then turned 4 pins for the second ballnut. They are a slip fit in the nuts and a press fit in the housing. I also drilled/tapped two M6 holes to preload the ballnuts.
Im now done with the machining on the ballnut housing. If you look at the last picture here you can see that its possible to reach the two M6 allen cap screw through the middle holes to adjust the preload in situ.
I then started on the Z axis motor pulley. First i set it up with and indicator so it was running true, drilled it up to 9.5mm with a undersized drill. Then i bored it up so its a slip fit. As you can see i do all my lathe work on the SX3.
Then i did the same operation on the ballscrew pulley. Only difference is that this pulley is press fitted on the shaft.
Thats what i had the time to do this weekend. Im now more motivated than ever to finish the conversion. So more to come soon
Thread: JR's SX3 build
Results 1 to 3 of 3
-
04-12-2015, 07:47 PM #1
 Registered

- Join Date
- Jul 2006
- Posts
- 87
JR's SX3 build
-
04-17-2015, 10:49 PM #2
Registered
- Join Date
- Jun 2005
- Posts
- 1015
Re: JR's SX3 build
my only criticism is that I think you need some kind of spring between the two ball nuts. the screw is not perfect and the spring will also for some play and preload, vs the static bolt you put in. but other than that, nice work.
-
04-18-2015, 12:27 AM #3
Registered
- Join Date
- Jul 2006
- Posts
- 87
Re: JR's SX3 build
Yes i have considered that. It would have been better. I had the same setup(machined spacers in different thicknesses w/o spring) on a router i built and i could take over half of the backlash before it started to bind. So i think its good enough for me and the Z axis for now. I also was more in a tight spot(student) financially when i purchased these parts about some years ago. So i might go back and get a better screw for the Z some time in the future if it turns out its not good enough.


 Reply With Quote
Similar Threads
-
Build Thread - 80/20 5X10 Woodworking CNC Build
By jsantos in forum CNC Wood Router Project LogReplies: 70Last Post: 08-20-2014, 03:15 AM -
Need some direction to build a small machine to allow me to build a larger one
By Dman65 in forum DIY CNC Router Table MachinesReplies: 3Last Post: 01-05-2013, 05:24 AM -
Mint's Build Aluminum/Steel Build thread.
By FreshMint in forum Maintenance DIY DiscussionReplies: 0Last Post: 10-31-2011, 04:18 AM -
Newbie - To build or not to build Router/Plasma Table
By dfranks in forum Waterjet General TopicsReplies: 10Last Post: 04-08-2011, 05:16 AM
