


Hey Dave, Yeah I thought of a cable system too.. but its more fun just to flick a switch and watch it move up and down...hehehehe. But in the end it'll probably just be a manual lift and pin system at various heights.
Brad.
Thread: Spidey Costume
Results 61 to 80 of 81
-
09-18-2008, 10:57 AM #61
 Registered

- Join Date
- Feb 2008
- Posts
- 54
www.spidey4fun.com
-
09-18-2008, 01:13 PM #62
Community Moderator
- Join Date
- Feb 2004
- Posts
- 2337
I notice you've abandoned the C section. Personally I like that idea better than your latest. Check out Greolts machine. I recon its almost a perfect design and build. Copying isnt a bad thing, no need to reinvent the wheel.
You're doing great, keep it up.Being outside the square !!!
-
09-18-2008, 01:32 PM #63
Registered
- Join Date
- Feb 2008
- Posts
- 54
Hey Ben, Yeah Greg's machine is very nice and I was roughly basing mine on his originally... oh I have no problems with copying a good design, but with the depth of the z-axis I changed my design to reduce the chance of errors on deep cuts. As for the C-section... yeah I liked it too but that means making a block for the x-axis bearings to go into and putting on a side plate to connect the y-axis. ... just extra parts and work. Putting the x-axis on the gantry also provides a mechanical advantage.... or so I've read..... but it doesnt look as pretty.
Mechanical Advantage.
Brad.www.spidey4fun.com
-
09-18-2008, 02:29 PM #64
Community Moderator
- Join Date
- Feb 2004
- Posts
- 2337
What about this?
It protects the rails and screws from dust and gets them out of the way when loading materials. Plus gives you great strength of C channel plus a low prifile.
Just thoughts, I'm sure what ever you deside will be great.Being outside the square !!!
-
09-18-2008, 02:38 PM #65
Community Moderator
- Join Date
- Feb 2004
- Posts
- 2337
Oh and can you give us a cost of the rails and screws and where you got them from. Its valuble information for us Aussies.
 Being outside the square !!!
-
09-18-2008, 03:02 PM #66
Registered
- Join Date
- Feb 2008
- Posts
- 54
I like that Ben... I'll have a play with that layout. Protection of the rails and ball screws is good idea. I'll see how much cutting area I can get with this type of layout.
I bought all my parts from China. The guy selling is equipment is new... not many sales but has fantasic prices and excellent service. Check out his ebay history for a run down on prices.
Linearmotionbearingswww.spidey4fun.com
-
01-22-2009, 08:15 AM #67
Registered
- Join Date
- Feb 2008
- Posts
- 54
I've been a little busy making stuff and my progress on the new CNC has kind of stopped. Here's a pic of a belt I made.
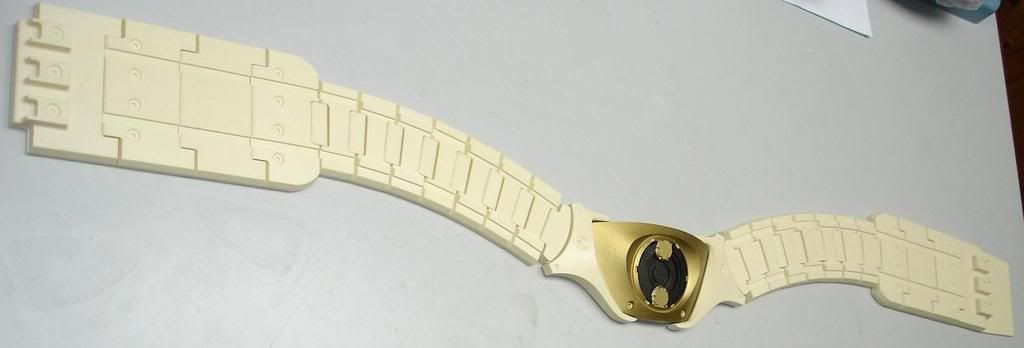
And a belt buckle for a Judge Dredd seller based on the this 3ds file image.

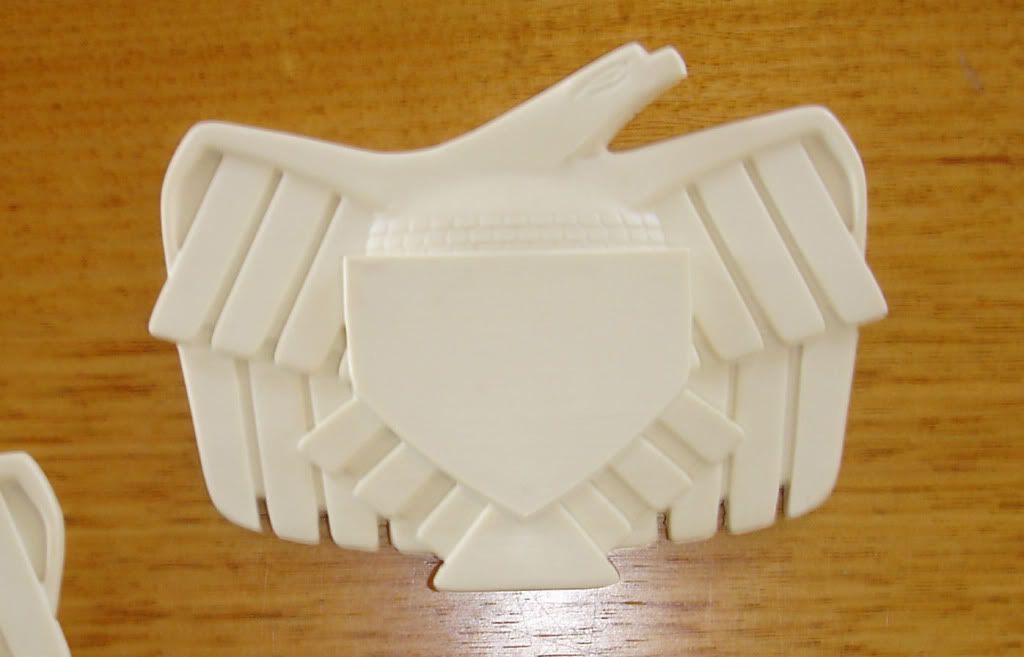
Brad.www.spidey4fun.com
-
01-22-2009, 08:38 AM #68
Community Moderator
- Join Date
- Feb 2004
- Posts
- 2337
More brilliant work Brad. I hope you bring it alone to the BBQ next week so we can be inspired by your skills.
Being outside the square !!!
-
01-22-2009, 09:57 AM #69
Registered
- Join Date
- Feb 2008
- Posts
- 54
Hey ya Benny.... unfortunately the wife has made plans for that Saturday so I'll be absent from this one.
Brad.www.spidey4fun.com
-
01-22-2009, 11:20 AM #70
Community Moderator
- Join Date
- Feb 2004
- Posts
- 2337
Our loss
 Being outside the square !!!
-
06-05-2009, 12:59 AM #71
Registered
- Join Date
- May 2009
- Posts
- 7
Everything looks very cool!
-
06-05-2009, 08:40 AM #72
Registered
- Join Date
- Feb 2008
- Posts
- 54
Here's the finished Dredd Buckle and Begin Belt.


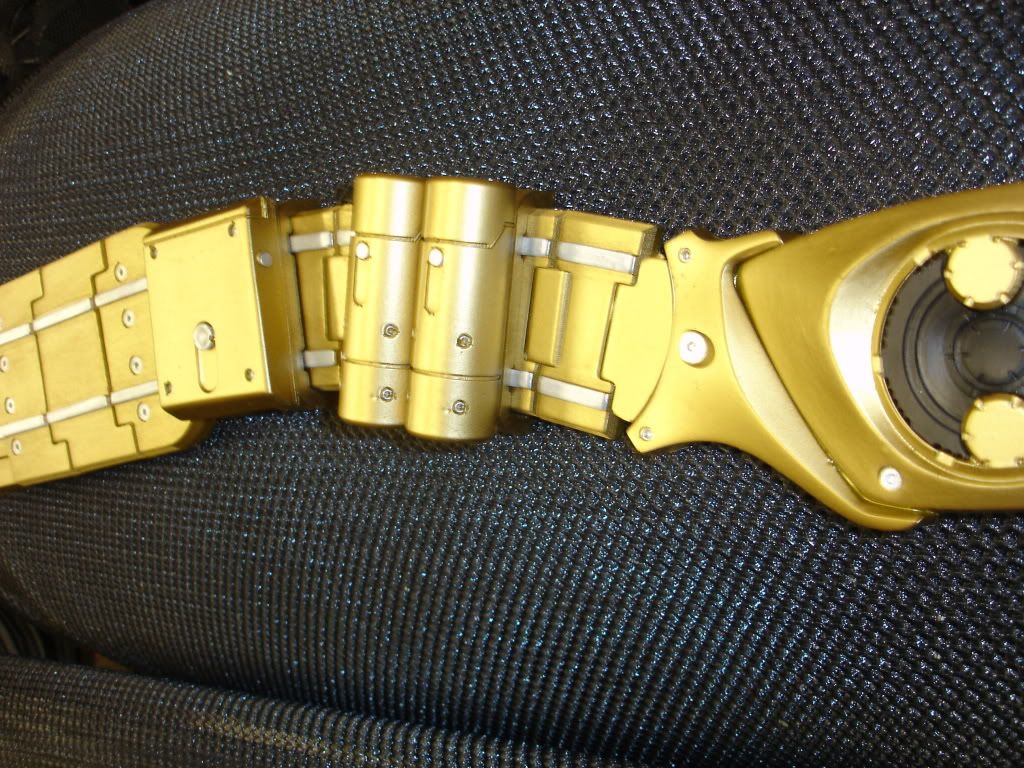
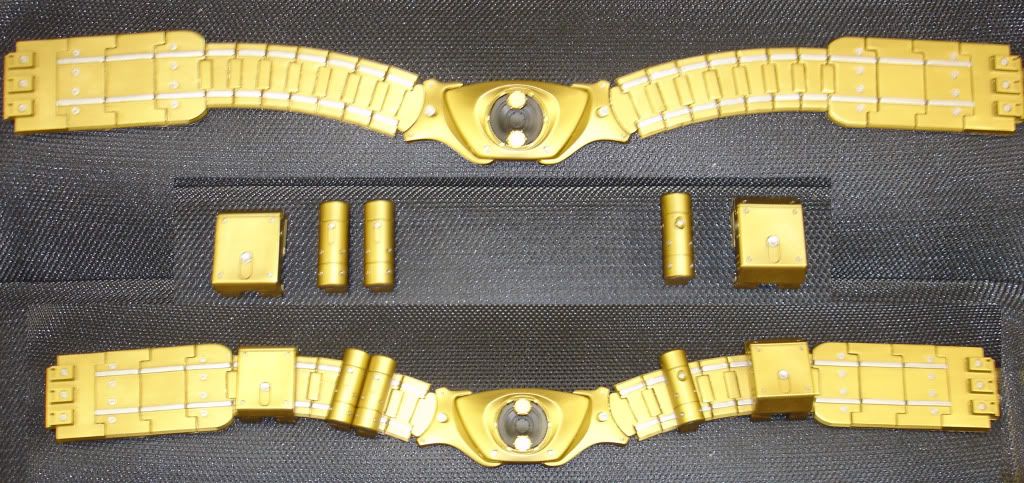 www.spidey4fun.com
-
08-18-2010, 05:39 AM #73
Registered
- Join Date
- Feb 2008
- Posts
- 54
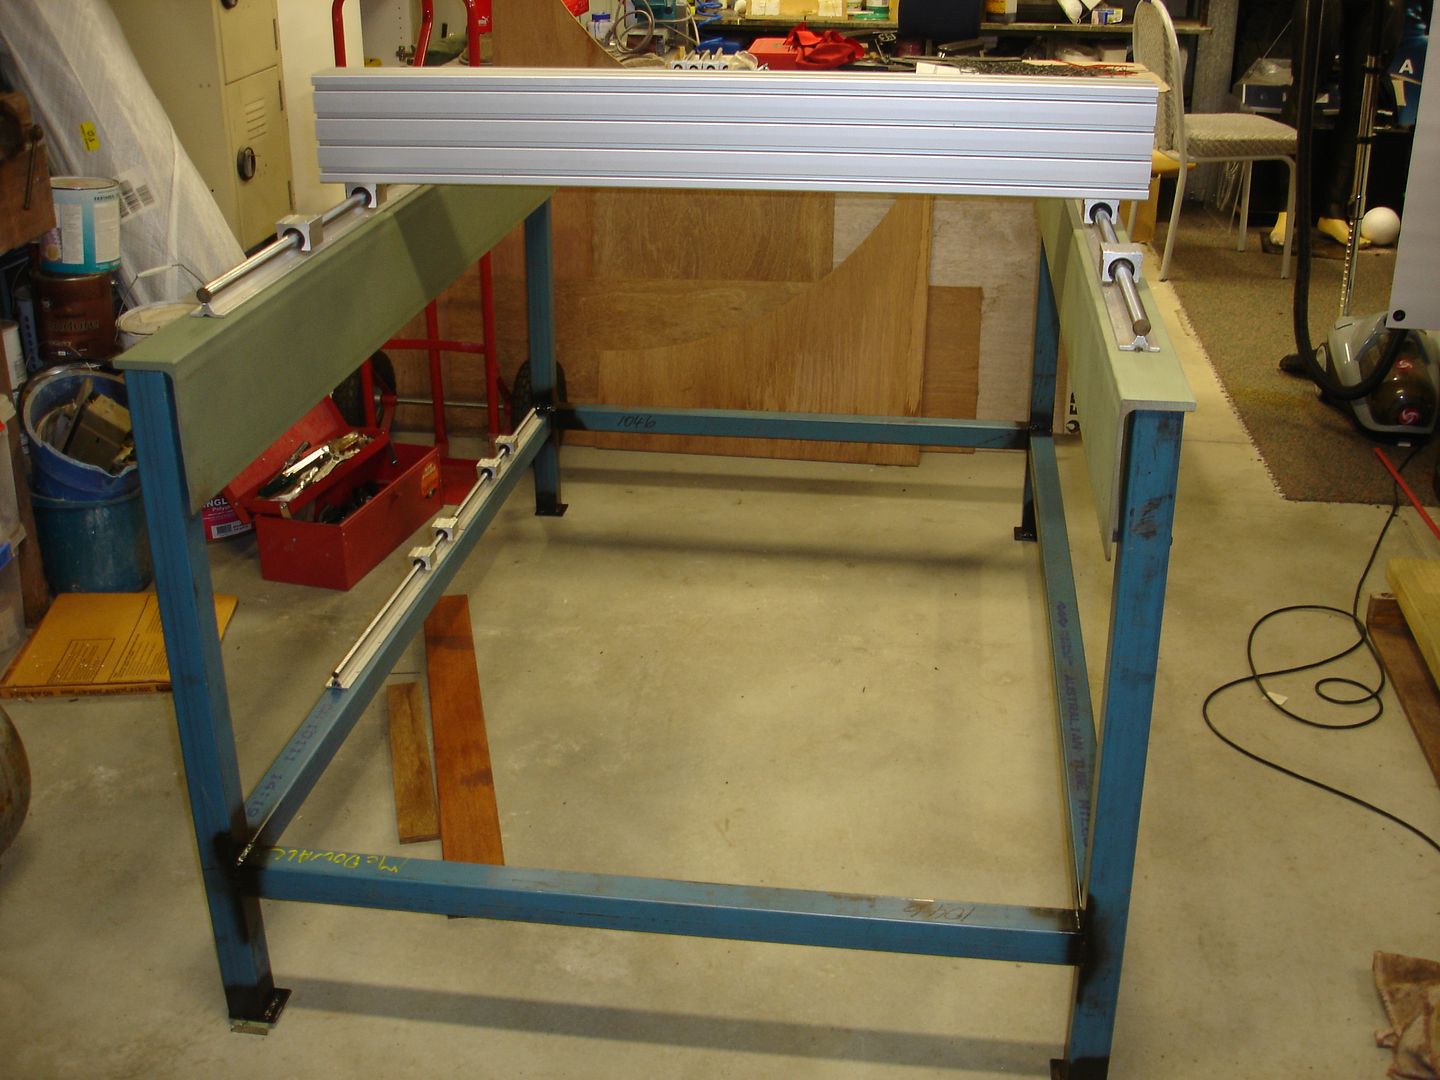
Well Im back on my build... here's some pics of the design.. so far.
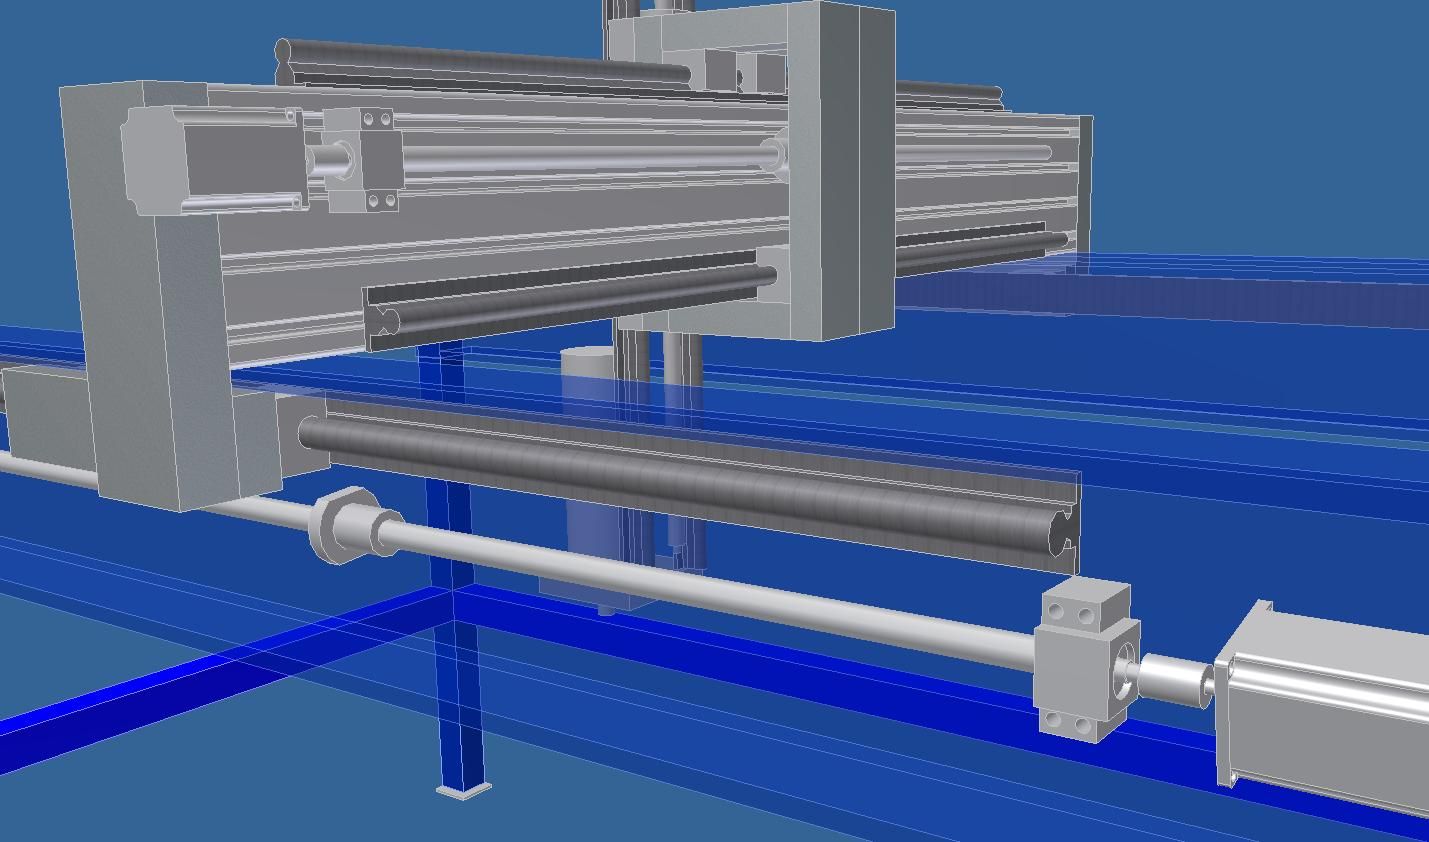
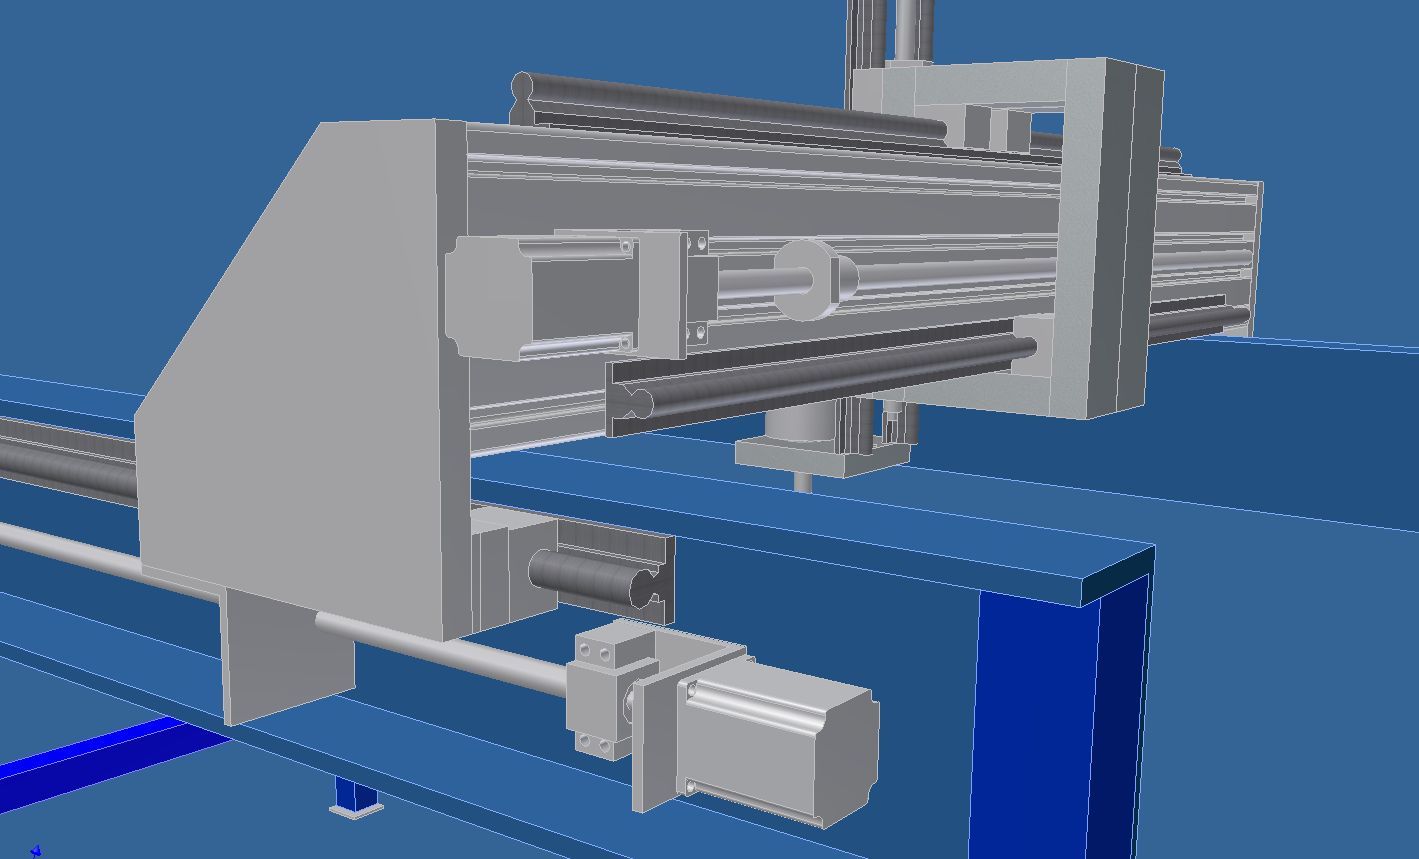
Brad.www.spidey4fun.com
-
08-18-2010, 05:45 AM #74
Registered
- Join Date
- Feb 2008
- Posts
- 54
Some steel...
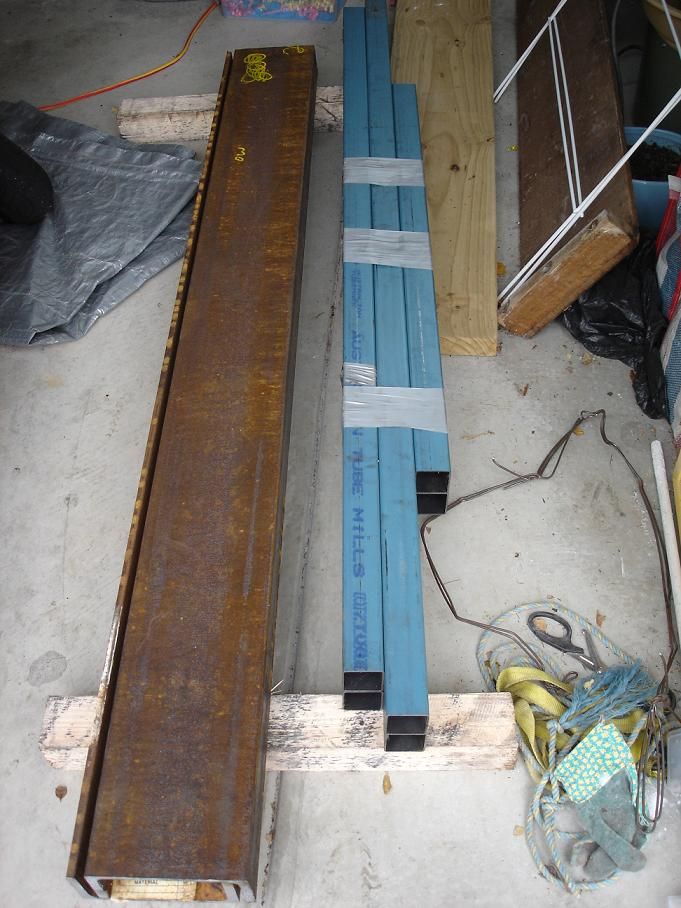
Some welding...
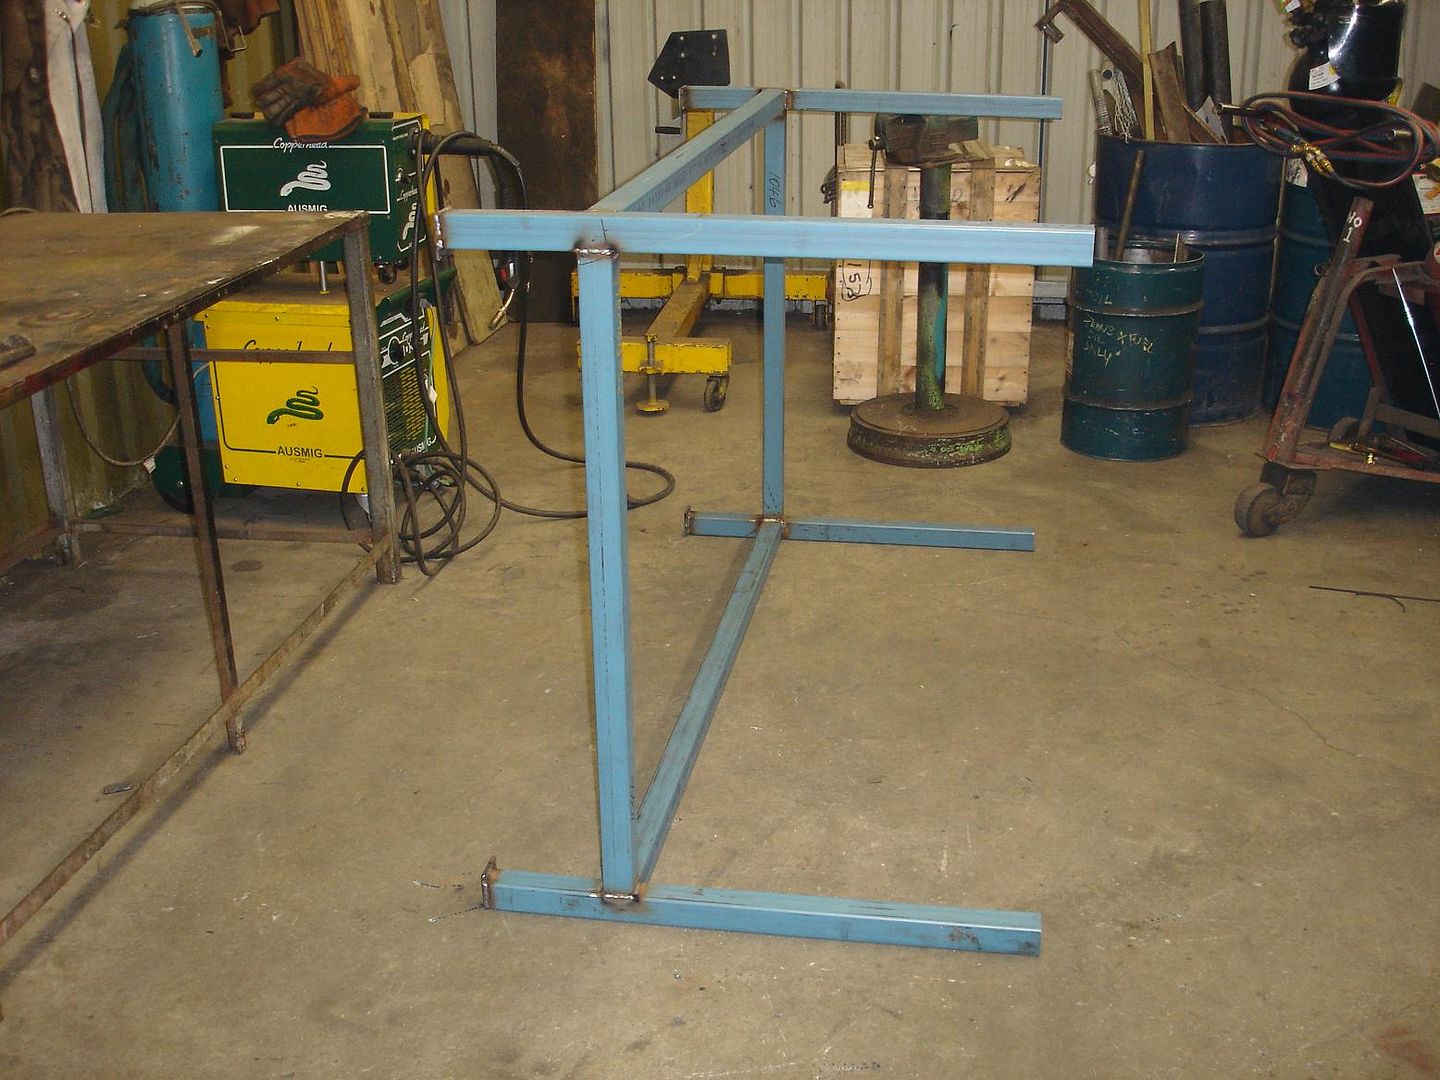
Painted the C-section and discovered one was twisted.... so I exchanged it for another straighter length.

Brad.www.spidey4fun.com
-
08-19-2010, 01:58 AM #75
Registered
- Join Date
- Jan 2007
- Posts
- 355
Brad,
Great to hear from you. Looking good, keep 'em coming!
-
08-19-2010, 03:13 PM #76
Registered
- Join Date
- Feb 2008
- Posts
- 54
Did some more...
Cut out a small part of the C-section where the legs fit.
Tapped some holes for the rails. Just to hold them in place.
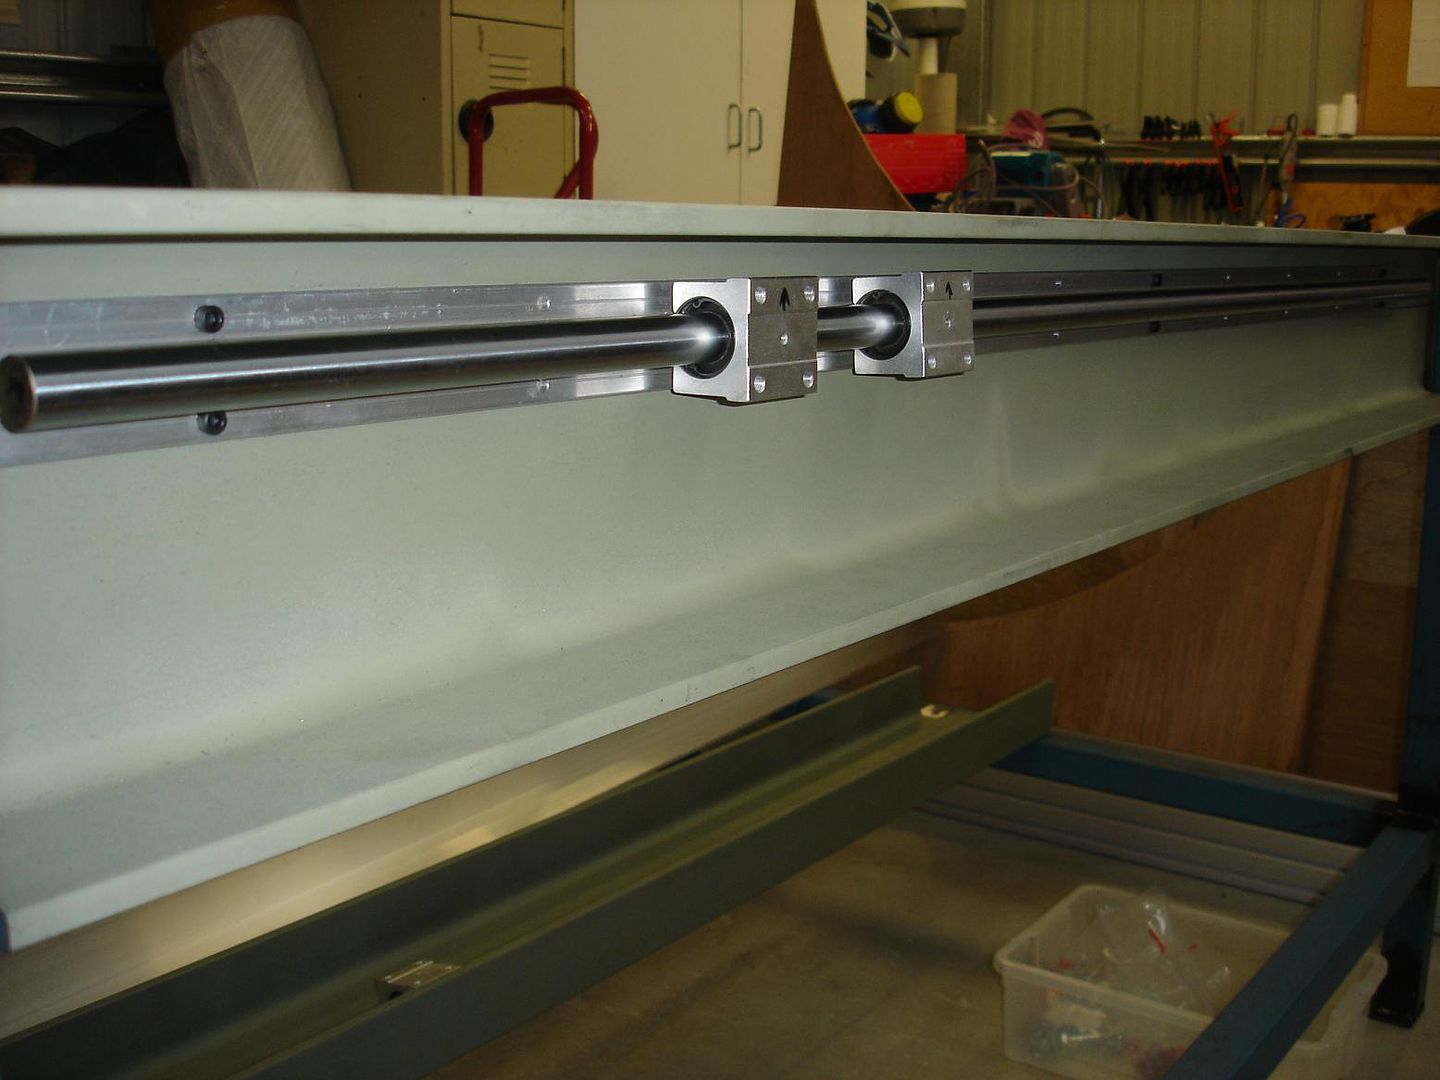
Made a scale copy of the gantry to place on the gantry support plate and punch small holes to indicate where to drill.... this made the job a lot easier.
Drilled some holes..
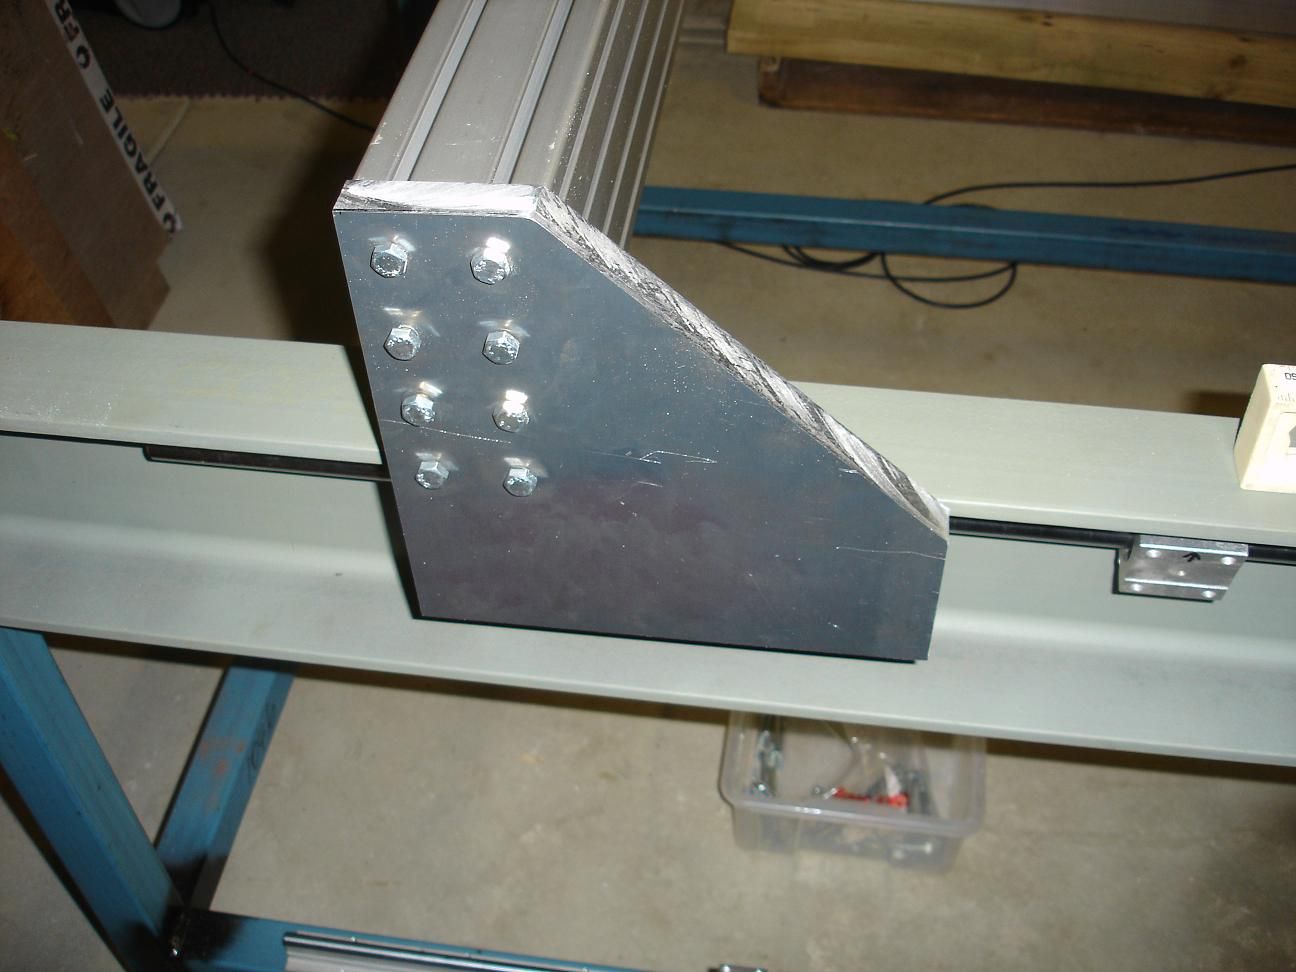
Added to my scale drawing to show where to drill the holes for the bearings.
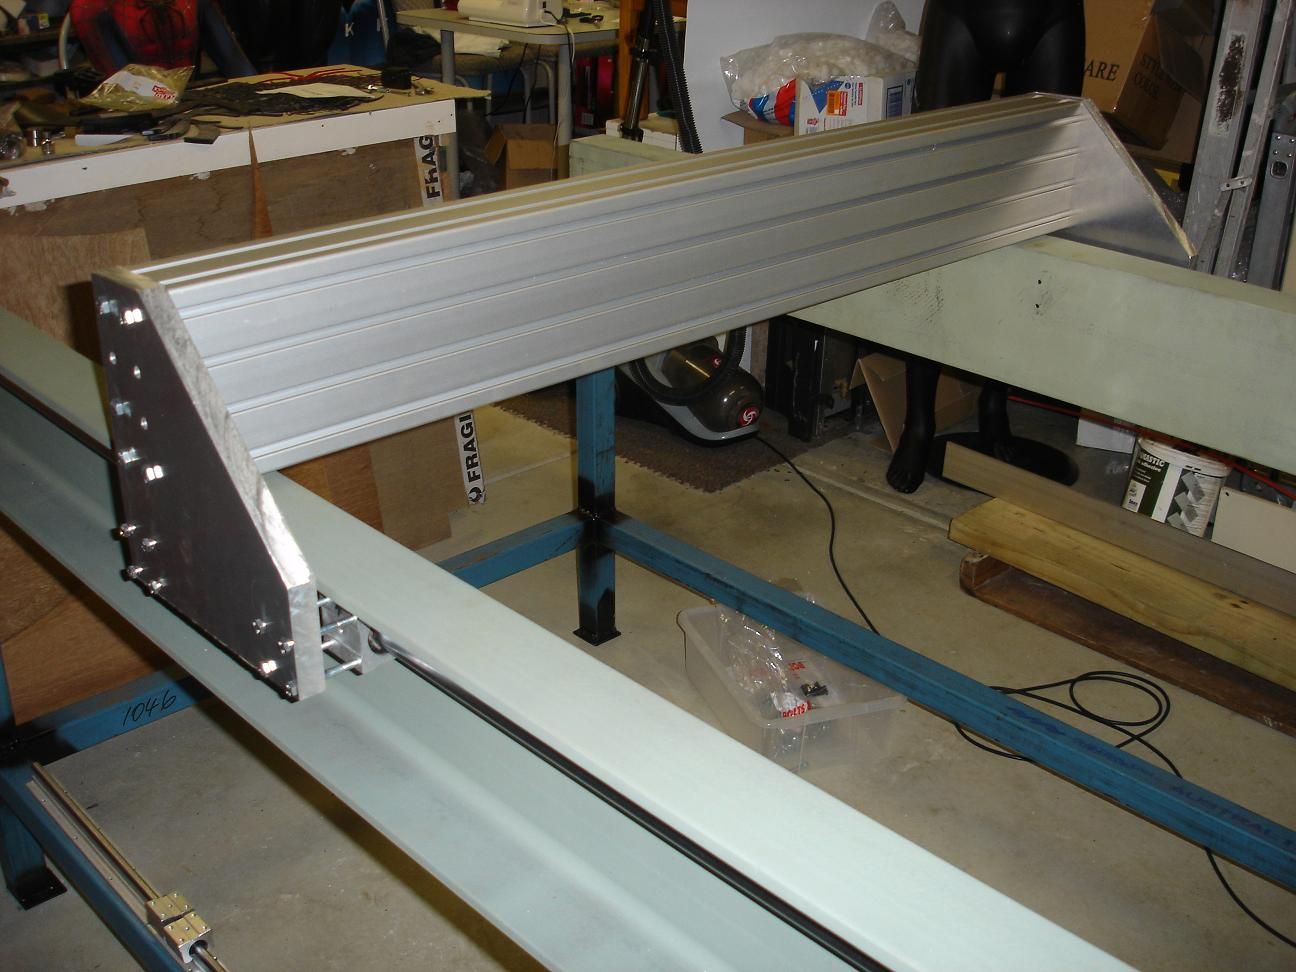
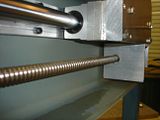
Seems to track nicely.
Next I'll make some spacers to fill out the gap between the bearing and gantry support plate.
Brad.www.spidey4fun.com
-
09-05-2010, 03:19 PM #77
Registered
- Join Date
- Feb 2008
- Posts
- 54
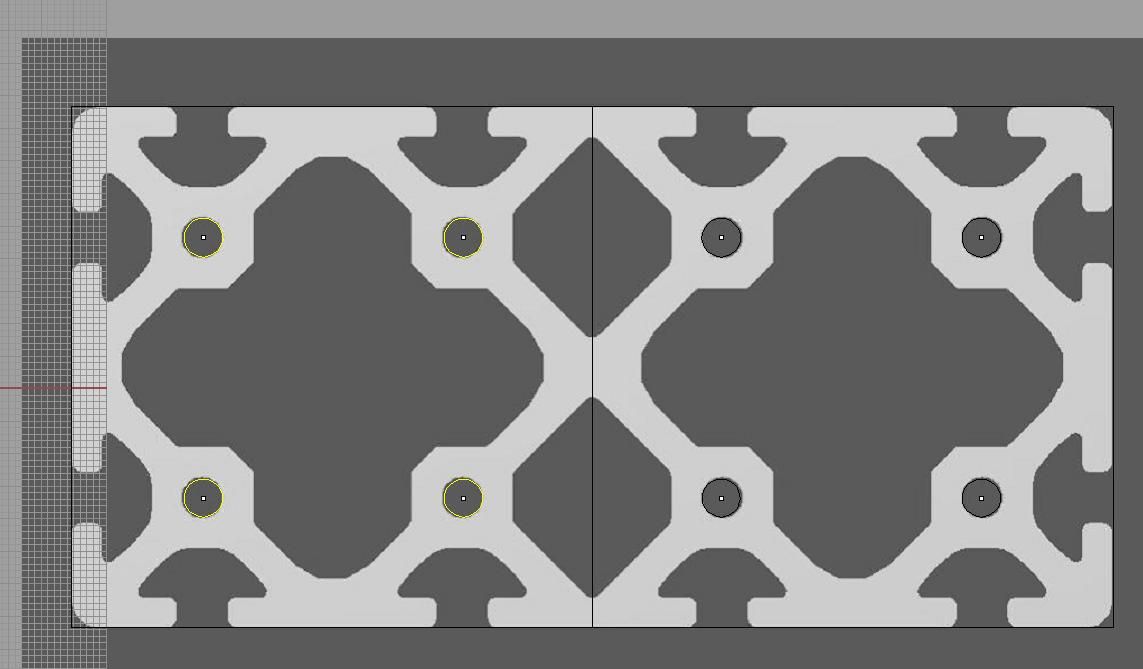
The stepper motor brackets seem to work. Made on my little CNC.

I had to put a 6mm spacer under the bearing to provide enough space for the 387oz motors.
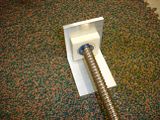
Next was tapping a few holes.... and snap!!! I broke my first tap. Good thing I got a $50 Mitre 10 voucher off my little boy today. :cheers: Happy Fathers Day!!!
I need to get some longer bolts to hold the bearing / motor in place. When I purchased the bolts I hadn't planned on the 6mm spacer for the larger motors. Apart from that it seems to be going to plan so far. Now to do the other side.
Brad.www.spidey4fun.com
-
09-05-2010, 10:59 PM #78
Community Moderator
- Join Date
- Feb 2004
- Posts
- 2337
Keep powering on lad. You're doing well.
Being outside the square !!!
-
09-06-2010, 03:36 PM #79
Registered
- Join Date
- Feb 2008
- Posts
- 54
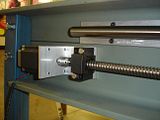
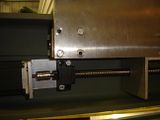
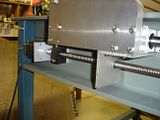
IT"S ALIVE!!!!! Completed the other side today.
I started it at 200mm/min and increased it to 2000mm/min with acceleration at 30mm/min. Not sure what to run it at really. What's the norm for something this size and weight?
I think the ballscrews need some greese? They came with some nibs which I've yet to attach and I've not put anything on them since I purchased them a few years back. Does anyone know what the maintenance schedule is? And what to use?
Brad.www.spidey4fun.com
-
08-22-2011, 03:16 PM #80
Registered
- Join Date
- Feb 2008
- Posts
- 54
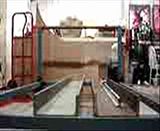
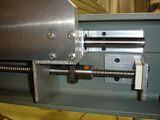
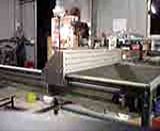
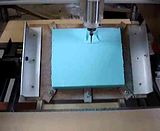
It's been a while.. but here's what it looks like today. I recently added a table to the 4th axis to mill a job needing a cut at 33 degrees.
Brad.www.spidey4fun.com

 Reply With Quote


Similar Threads
-
'spidey' Scales Heights
By WallCrawler in forum Community Club HouseReplies: 0Last Post: 08-05-2004, 01:47 PM
