

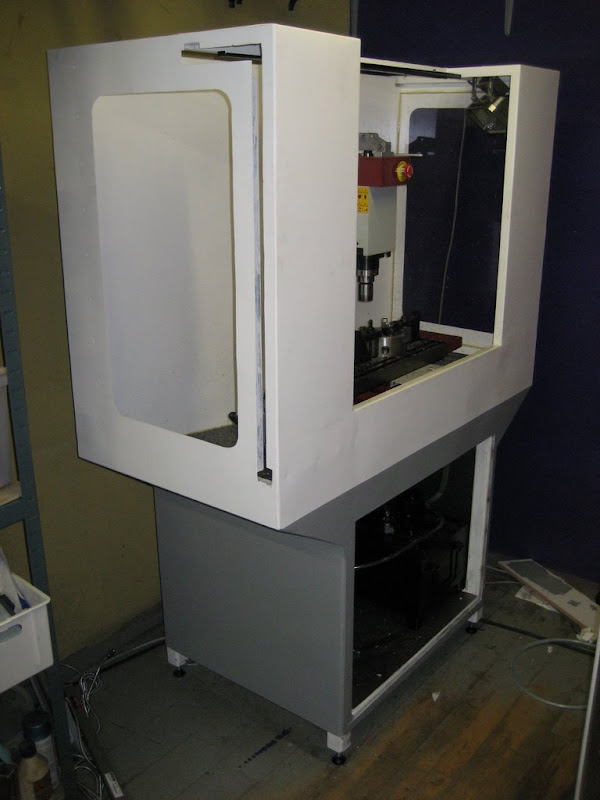
More progress. Today I spend some time sealing the cabinet with silicone. When its hardend, the mill is fully functional again.
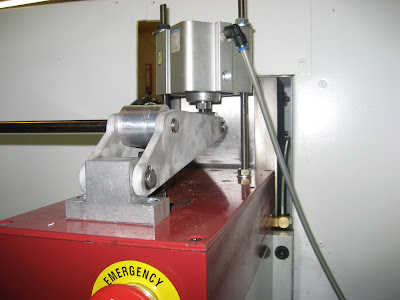
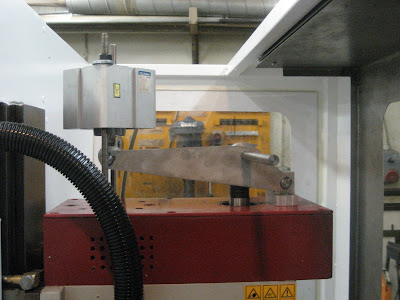
Other than the cabinet ive been working on the power drawbar
From KX3
I mounted it and did a test, the toolholder pops out just fine. Concept works, only needs a little tweeking:-)
From KX3
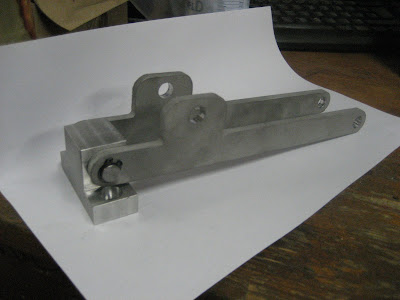
No, its not supposed to bend like this. I designed one which should be stronger, this will be my first test run with flood coolant. If it still bends, I will make it out of steel instead.
From KX3
Thread: My KX3, tweaks and various stuff
Results 21 to 40 of 64
-
05-17-2009, 07:43 PM #21
 Registered
- Join Date
- May 2006
- Posts
- 573
-
05-21-2009, 12:08 AM #22
Gold Member
- Join Date
- Aug 2006
- Posts
- 1602
That enclosure is just fantastic!
-
05-21-2009, 01:57 AM #23
Registered
- Join Date
- Jun 2008
- Posts
- 130
Well done!
JimNo time to do it right, plenty of time to do it twice.
-
05-21-2009, 02:32 AM #24
Gold Member
- Join Date
- Aug 2004
- Posts
- 2849
I know this is a repeat....but that is one nice looking enclosure! Great job!
Paul
-
05-21-2009, 08:17 PM #25
Registered
- Join Date
- May 2006
- Posts
- 573
Thank you guys. If I had to do it again i would change a lot of things. Mainly I would have the sheetmetal lasercut and bend and just bolt it together instead of the tube structure ive made now.
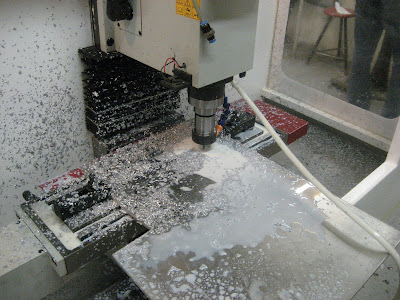
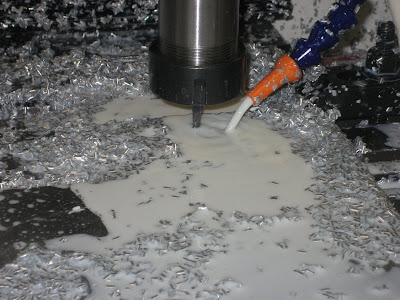
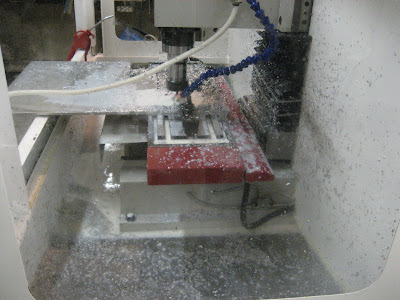
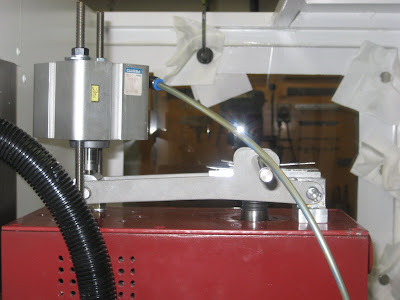
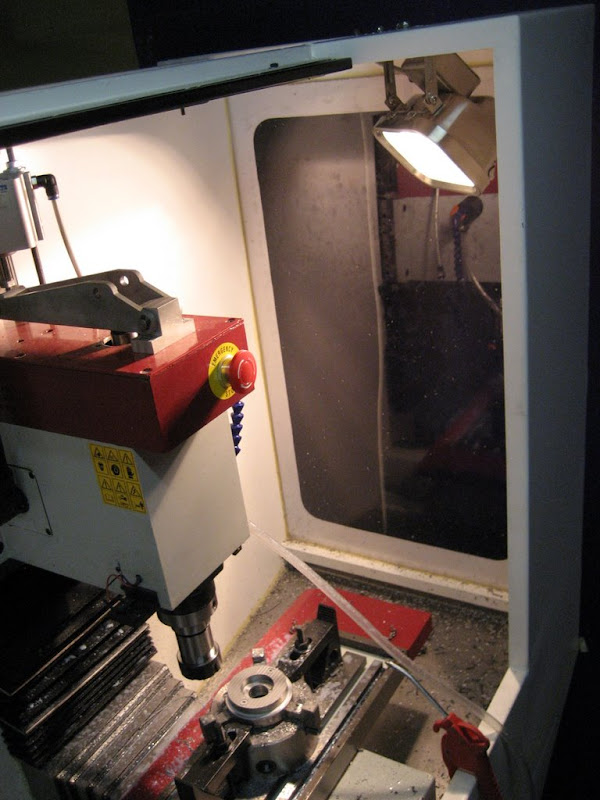
Anyway, now the machine is at the point where i can use it again. After some milling today with flood coolant it became very clear why you need an enclosure:-)
From KX3
From KX3
From KX3
What I was cutting was the new "bars" for the power drawbar. It now works perfectly. Now if i only had some money to buy some er collet chucks...
From KX3
From KX3
-
05-22-2009, 09:00 PM #26
Gold Member
- Join Date
- Aug 2006
- Posts
- 1602
That looks really great Guildberg!
How many disc-springs do you have on that power-drawbar, and where did you find them? I know they're readliy available in the US, but I haven't seen anyone selling them online in the UK...
Also, you said you adjusted the limit switches to get a bit more travel - what do you get now?
Cheers.
-
05-22-2009, 09:56 PM #27
Banned
- Join Date
- Mar 2009
- Posts
- 1114
What gage sheet metal did you use?
-
05-23-2009, 10:31 AM #28
Registered
- Join Date
- May 2006
- Posts
- 573
10 or 12 discsprings as far as I remember. The more you can fit there, the better. They are stacked to just increase travel, not to get more travel but to only work in top of the force curve,
I have to get back to you regarding the travel, but it wasnt really anything great. More like I got the travel the brochure promised:-)
I used 1mm sheets, mainly because thats the maximum our metal shear can handle. Also I was limited to 1m of cutting and bending. I really could have needed some larger equipment for this job, but then again couldn you always.
I think 2mm would be appropriate to use, then you could avoid the tube structure
-
05-23-2009, 10:41 AM #29
Gold Member
- Join Date
- Aug 2006
- Posts
- 1602
Thanks Guildberg!
I imagine your tubular frame probably does a good job preventing your sheet metal from acting like a giant musical instrument! Flappy sheet metal can make chatter audible from the next timezone
-
05-23-2009, 12:07 PM #30
Registered
- Join Date
- May 2006
- Posts
- 573
Good point. But if you look at the real VMCs, the enclosure is just sheetmetal bolted together, so somehow it must be possible to make a structure stiff enough
-
05-27-2009, 10:34 PM #31
Registered
- Join Date
- May 2006
- Posts
- 573
Hurray. I got a not only one, but two jobs. Now comes the fine art of choosing the right job. Im leaning forward to take the job as engineer in maintenance on a garbage incineration plant. Only downside compared to the other job is that it pays 1000$ less a month before taxes. But what the heck, money isnt anything:-)
Anyway, soon there will be money to do some serious purchase of tools etc. Hurray again
-
05-28-2009, 08:42 PM #32
Registered
- Join Date
- Jul 2008
- Posts
- 922
congrats dude!
-
05-31-2009, 06:17 PM #33
Registered
- Join Date
- Nov 2004
- Posts
- 284
Very nice Stand. You have built a good looking CNC mill. Keep up the good work.
Willy
-
06-20-2009, 11:52 PM #34
Registered
- Join Date
- May 2006
- Posts
- 573
-
07-14-2009, 11:13 AM #35
Registered
- Join Date
- Jul 2009
- Posts
- 10
WOW looks great.
I dont understad what the power drawbar is for ? yup im a newbie.
Thanks for linking me here, i will be watching intensly
you say you got the unit direct ? from?
Keep up the nice work
ROV
-
07-14-2009, 05:59 PM #36
Banned
- Join Date
- Mar 2009
- Posts
- 1114
It is to make tool changes faster.
-
07-18-2009, 11:20 PM #37
Registered
- Join Date
- May 2006
- Posts
- 573
-
07-19-2009, 10:07 AM #38
Gold Member
- Join Date
- Aug 2006
- Posts
- 1602
Wow - that enclosure looks better every time I see it!
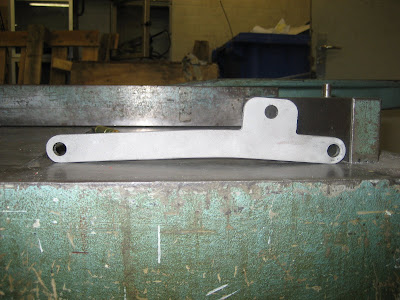
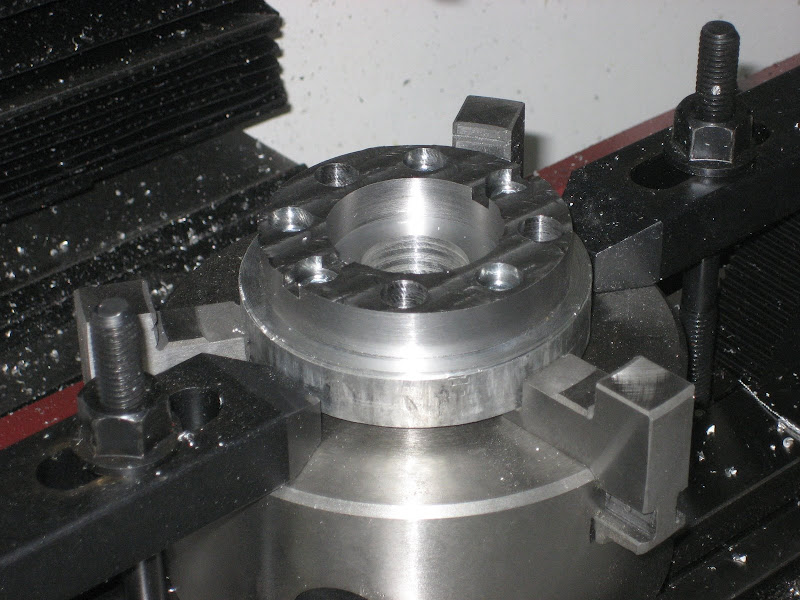
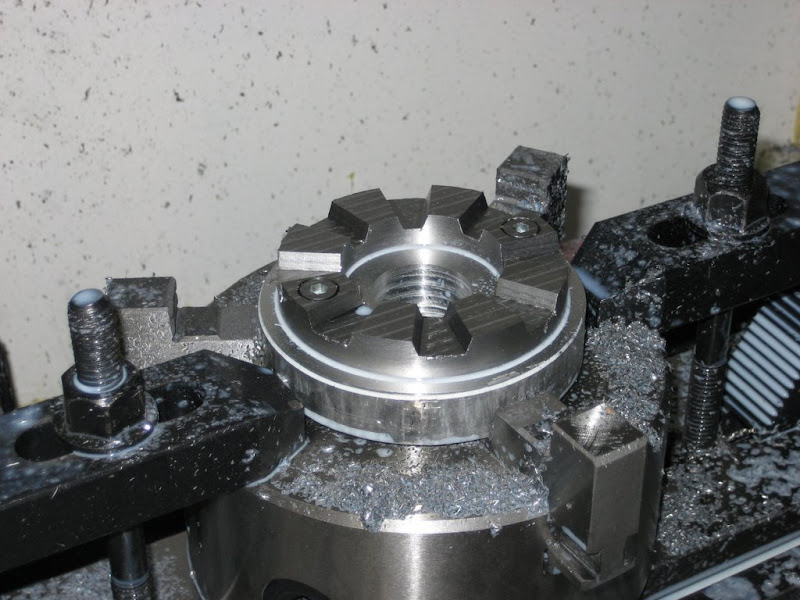
Those toothed parts for your lathe have come out brilliantly too - are they exact mirror images, or did you have to allow some tollerance to allow correct mating?
-
07-19-2009, 03:54 PM #39
Registered
- Join Date
- May 2006
- Posts
- 573
They are opposit each other. In the picture posted the bolt holes are in the "upper" slimmer part, in the other they are in the lower wider part. They go great together, but there are a bit of rocking still. I dont have any engineering blue, but a quick test mating test with some blue and some lapping would probably do it good. I suspect not all 16 sides mates at this point, but with enough holding force, that probably doesnt matter anyway
-
07-19-2009, 07:04 PM #40
Gold Member
- Join Date
- May 2005
- Posts
- 2502
First there was "Mini-Me" from Austin Powers...
Now I see from the color scheme we have "Mini-Haas"!
Brilliant!
BW
PS I daresay a "KX3" logo painted in red with a Haas-like typeface on the left side of the enclosure would complete the picture as well as matching the red colors on your mill.

 Reply With Quote
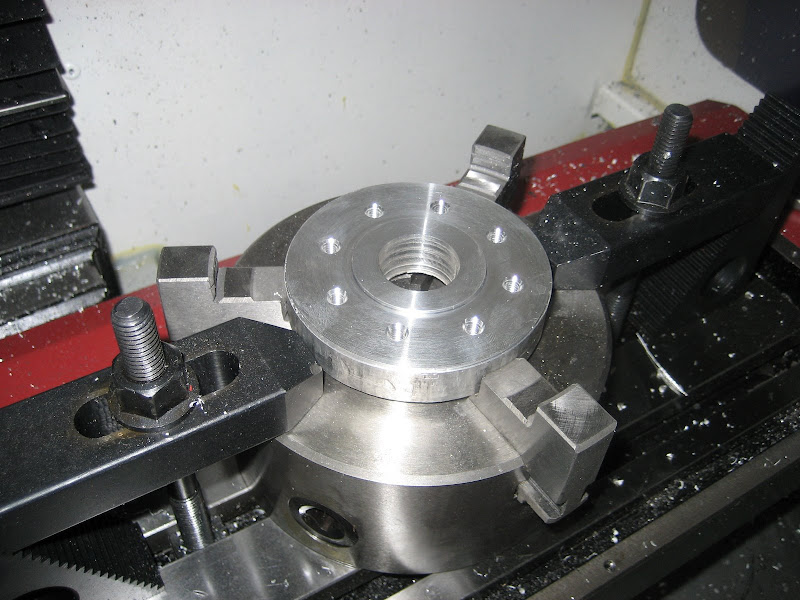
Similar Threads
-
Lms large table tweaks?
By mbergmueller in forum Benchtop MachinesReplies: 2Last Post: 08-22-2012, 04:43 AM -
Coolant System Tweaks and Tricks
By Donkey Hotey in forum Haas MillsReplies: 56Last Post: 06-29-2011, 05:08 AM -
My KX3, tweaks and misc. stuff
By Guldberg in forum Benchtop MachinesReplies: 3Last Post: 03-26-2009, 04:20 PM -
Mach3 tuning (cuts small stuff fine, but is off on big stuff)
By jdbaker in forum Mach Software (ArtSoft software)Replies: 4Last Post: 03-15-2007, 05:30 PM -
welding thick stuff to thin stuff - need advice
By cross6 in forum Welding Brazing Soldering SealingReplies: 5Last Post: 01-13-2005, 08:39 AM
